
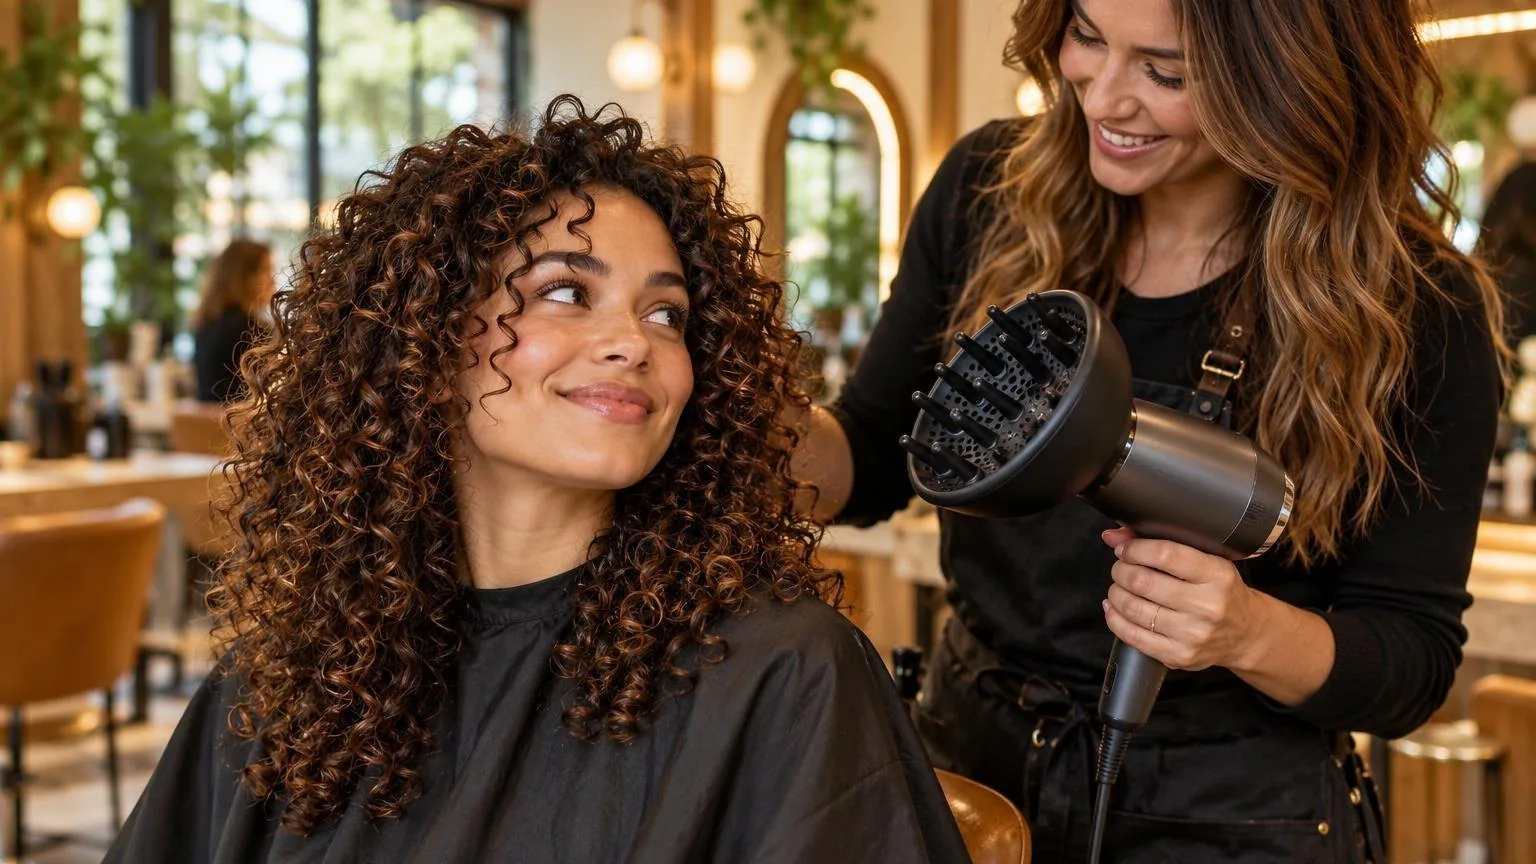
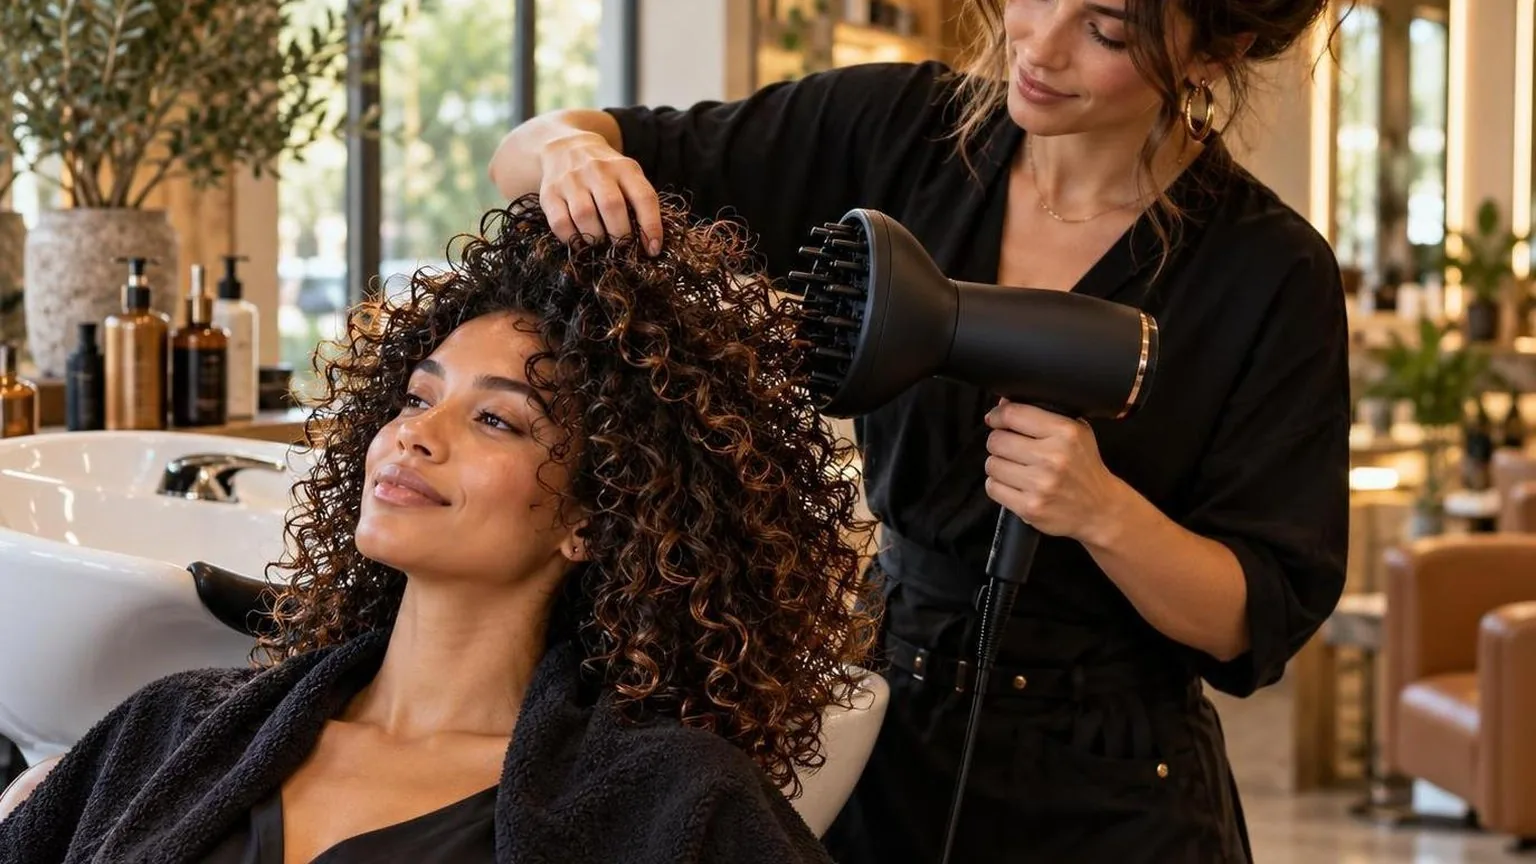
How to blow dry curly hair with a diffuser: attach the diffuser, use low airflow and medium heat, then dry in 10-second sections while cupping curls toward the scalp.
This technique limits disruption, supports curl definition and reduces uneven drying. Begin with freshly washed hair squeezed gently in a microfiber towel.
Apply a lightweight styling product through damp hair, divide it into four sections and keep the diffuser bowl close without flattening the pattern. Tilt your head to encourage lift, pause when curls feel mostly dry, then finish with cool air.
The method suits loose waves through tight curls.
Match Your Diffuser to Your Curl Pattern
Not every diffuser fits every curl type. The wrong bowl diameter or prong length changes airflow speed and frizz levels. Spend two minutes matching your hardware before you start.
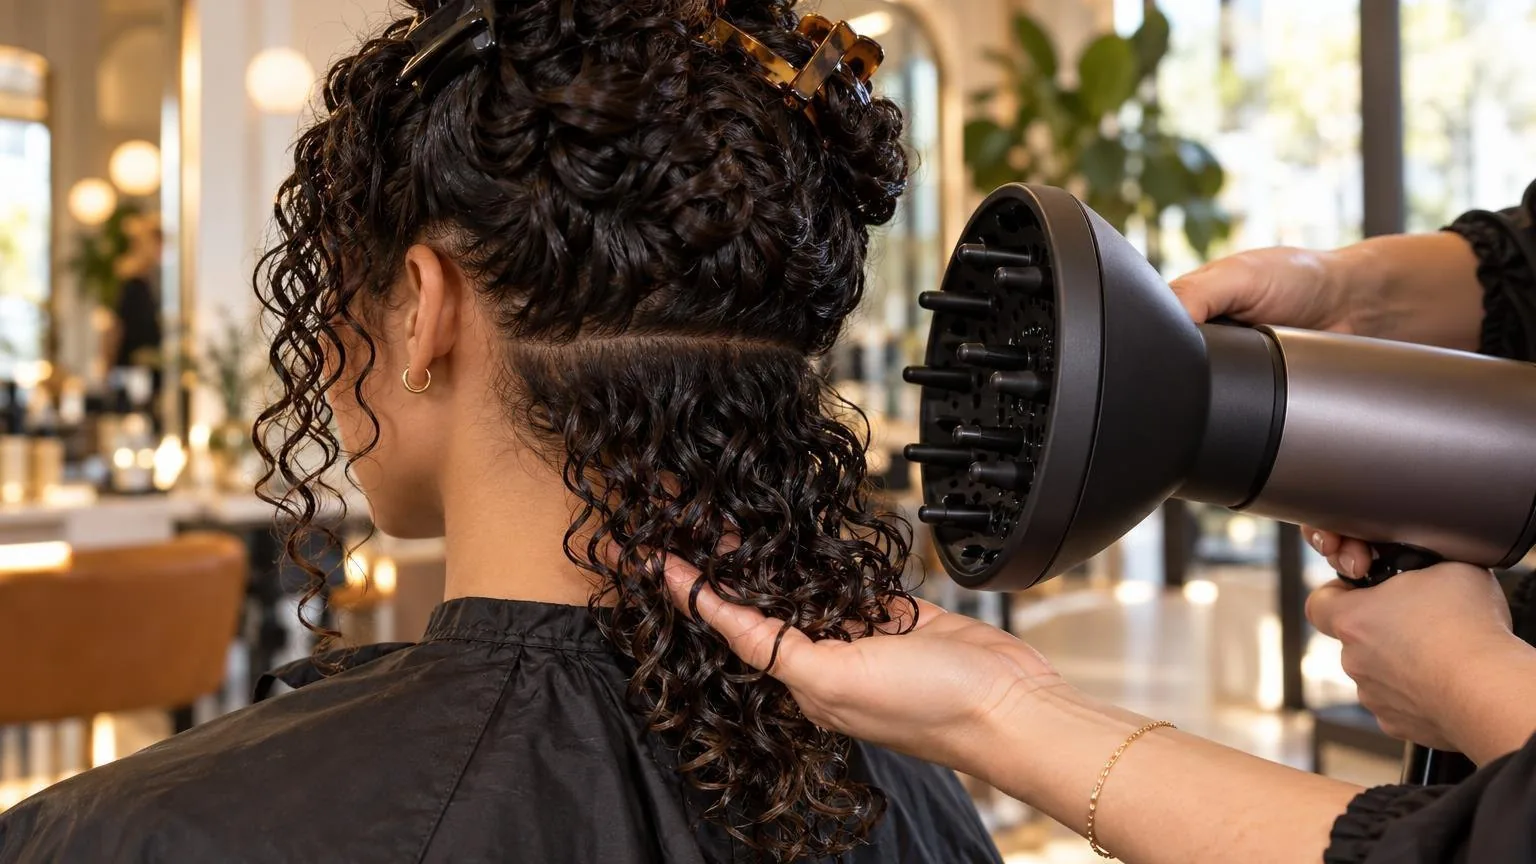
- Measure your curl clump width. Take a freshly washed section from the crown. Let it spring naturally and measure the clump diameter with a tape. Under 1 cm signals tight coils (type 3C–4A). Between 1–2.5 cm indicates medium curls (3A–3B). Over 2.5 cm means loose waves (2A–2C).
- Check your diffuser bowl depth. Flip the attachment over. Bowls deeper than 5 cm cradle tight coils without disrupting clump formation. Shallow bowls under 3 cm suit waves that need lift at the root but minimal cup time.
- Assess prong length against curl length. Prongs longer than 3 cm penetrate dense, long curls and direct warm air toward the scalp. Short prongs under 2 cm work for chin-length or fine hair where deeper penetration would blast clumps apart.
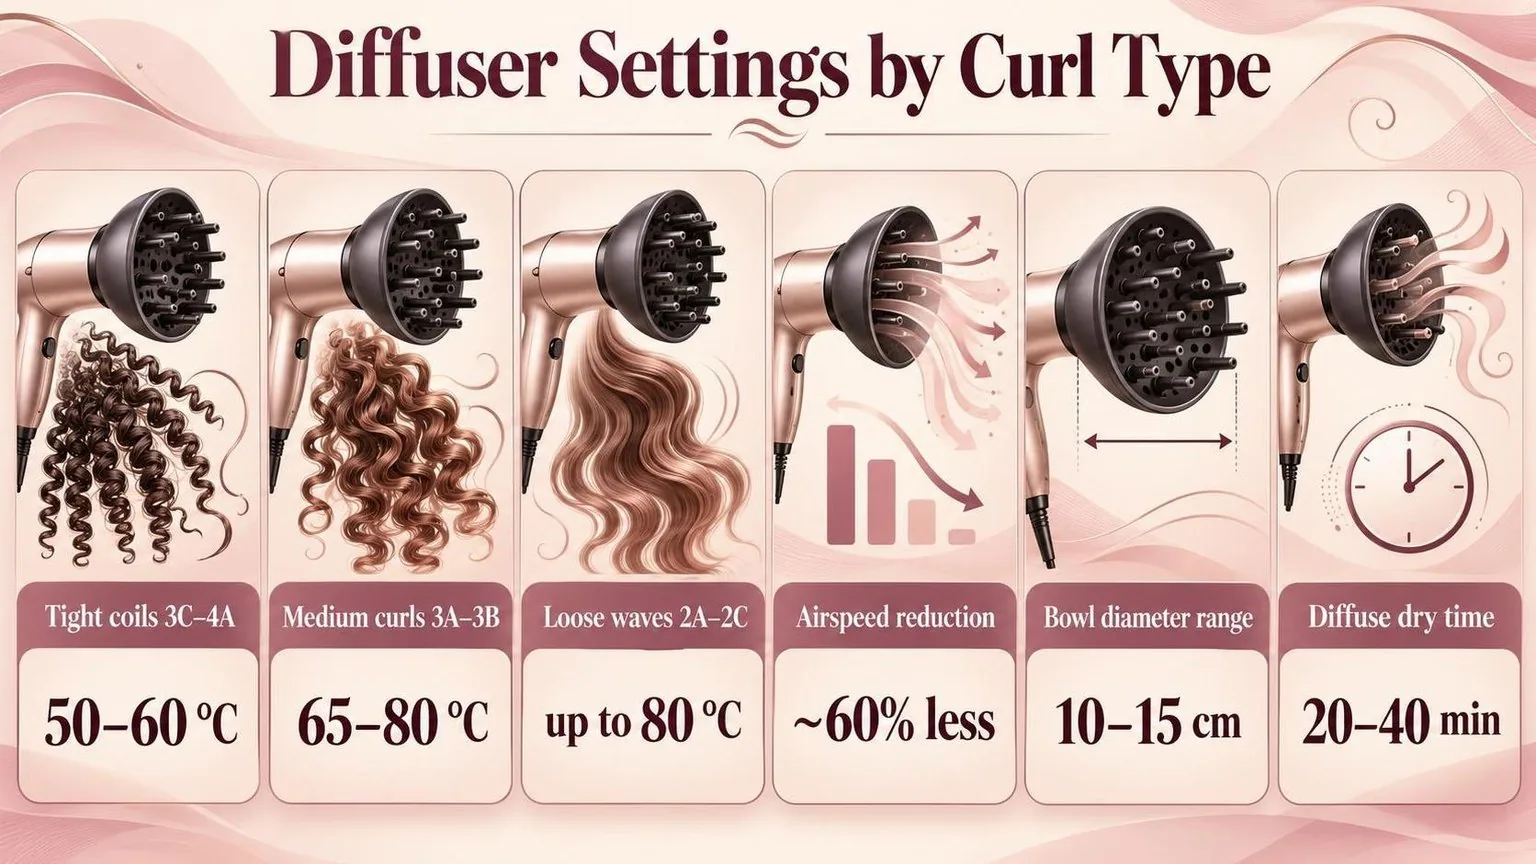
- Set starting heat by clump width. Tighter curls under 1 cm need the low setting, typically around 50–60 °C at the nozzle. Medium curls tolerate medium heat, roughly 70 °C. Waves above 2.5 cm can handle up to 80 °C because their looser structure dissipates heat faster.
Write down your clump width, bowl depth, prong length, and starting temperature. Tape the note to your station mirror or bathroom wall — it eliminates guesswork every wash day.
What the Numbers Actually Say
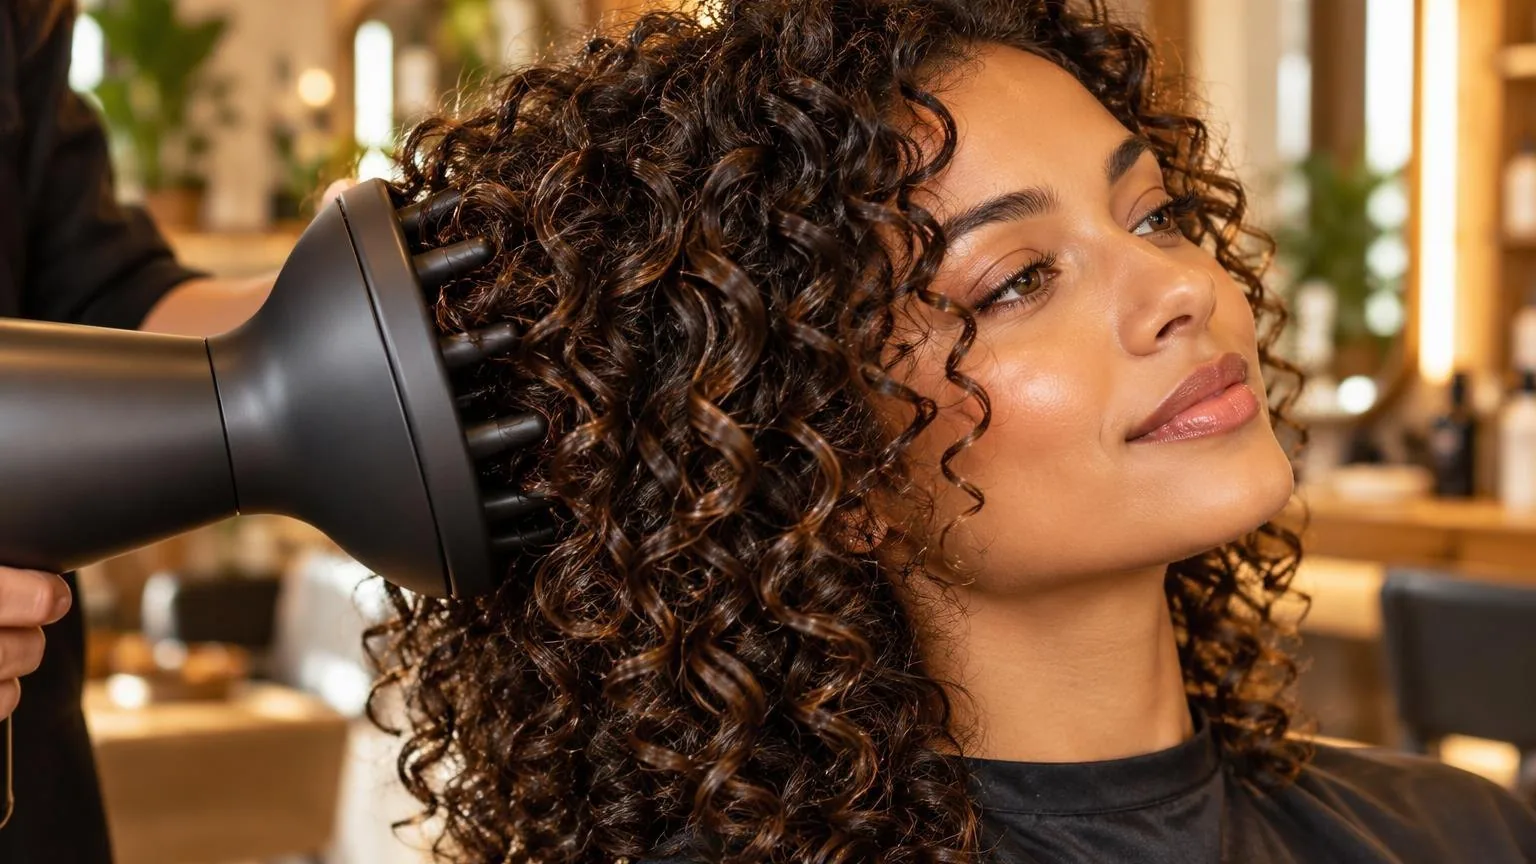
Diffuser drying reduces airspeed by roughly 60% compared to a concentrator nozzle, spreading heat across a wider surface area. That slower, dispersed airflow is the measurable reason curls hold their shape instead of being blasted apart into frizz.
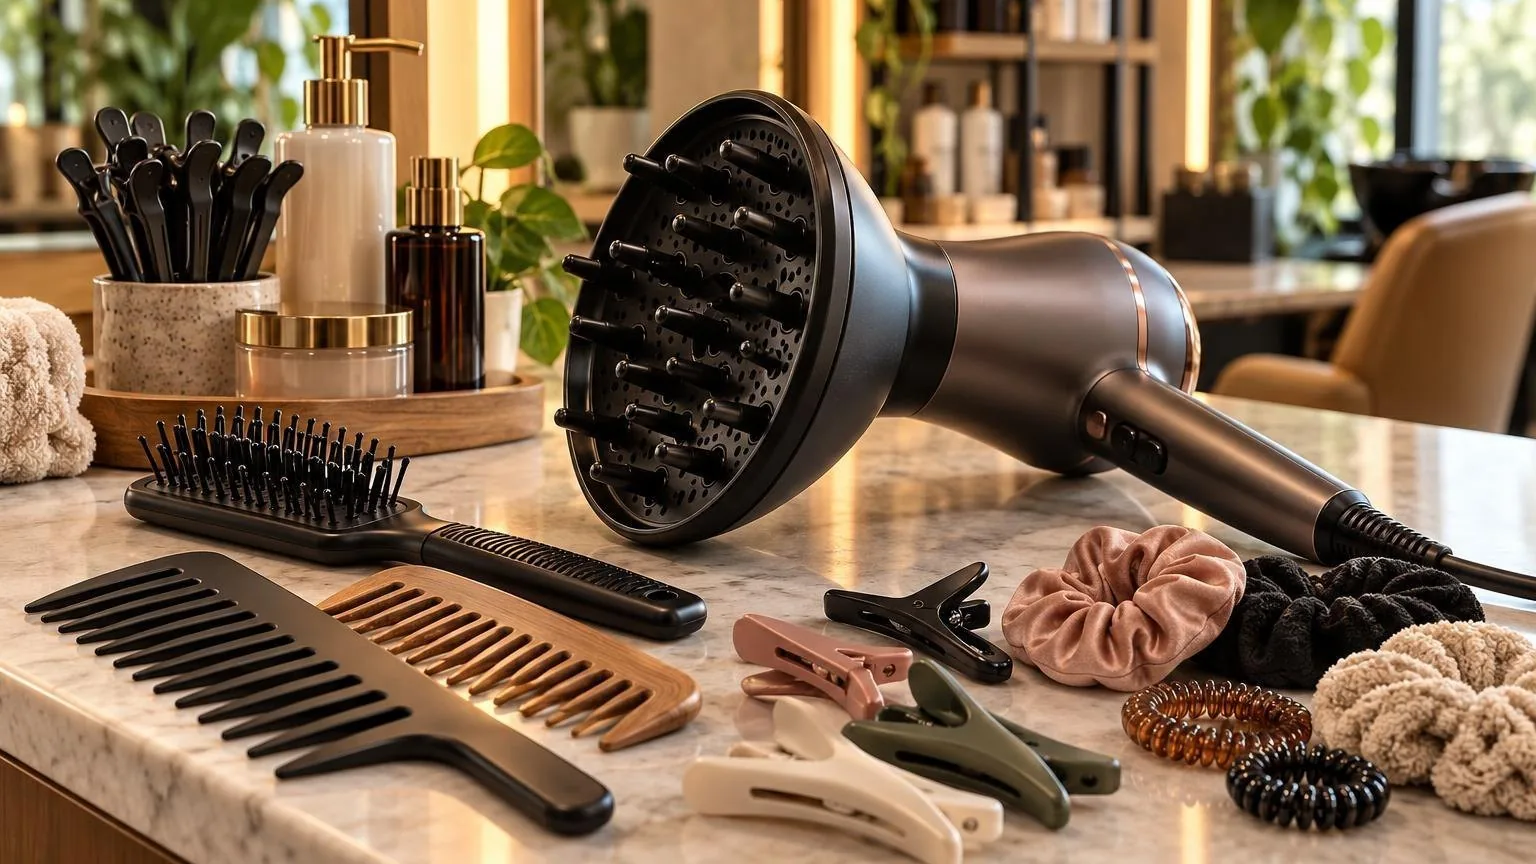
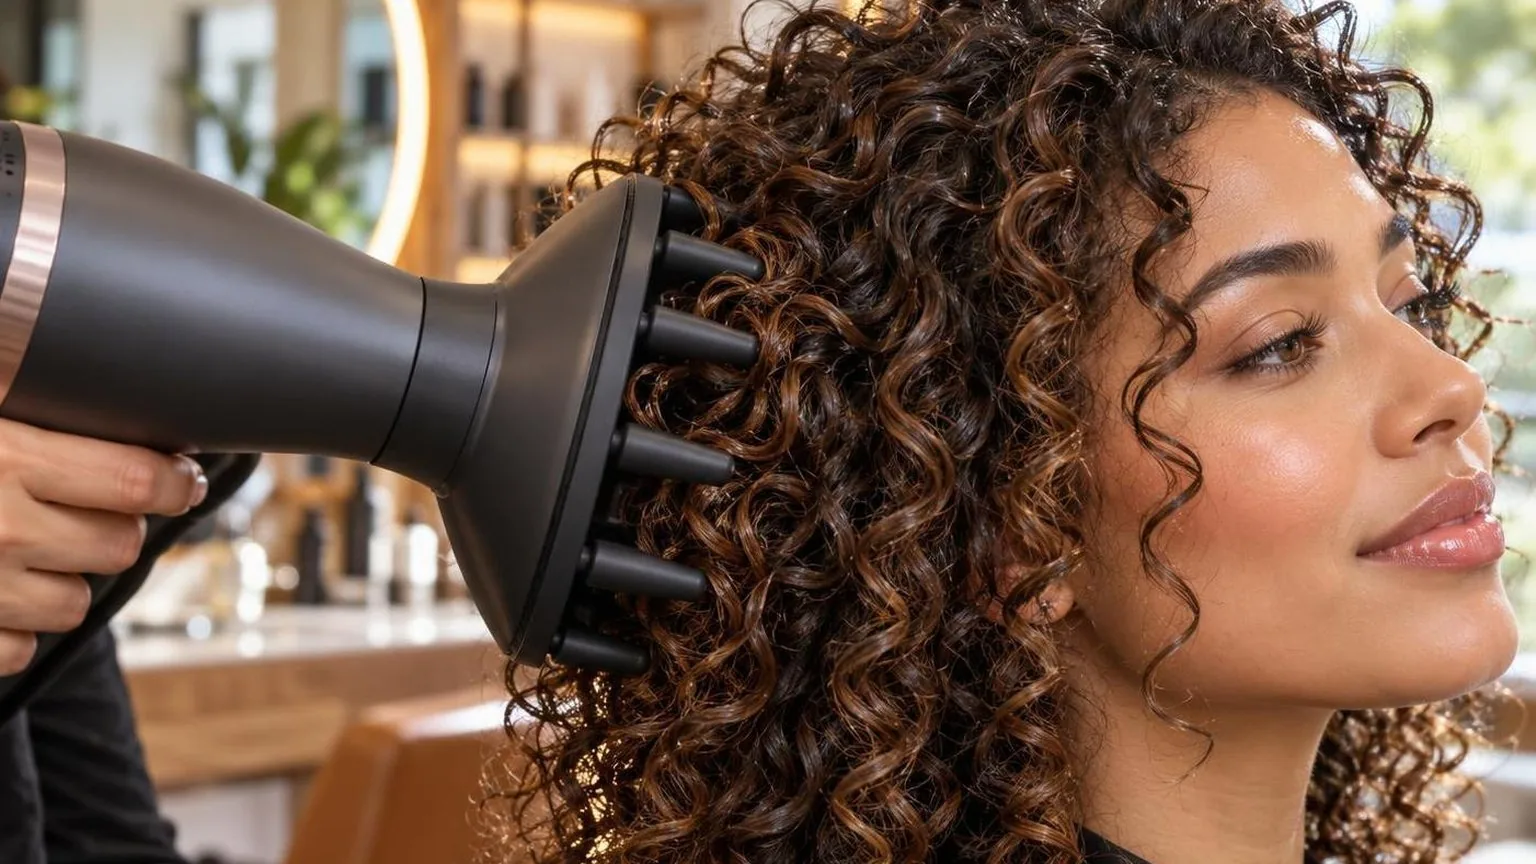
Most diffusers measure 10–15 cm (4–6 inches) in diameter, with finger prongs ranging from 1.5 cm to 3 cm tall. Larger bowls suit longer, denser curl patterns; shorter prongs work for waves and looser textures.
Temperature and Speed Settings
The consensus among trichology-trained stylists is to keep heat between 60 °C and 80 °C (140–176 °F) at the diffuser face.
Many dryers with digital displays let you lock a specific temperature rather than guessing between “low” and “medium.”.
| Setting | Approx. Temp at Diffuser Face | Best Use Case |
| Low heat / low speed | 50–60 °C (122–140 °F) | Fine curls, high-porosity hair |
| Medium heat / low speed | 65–80 °C (149–176 °F) | Medium-density type 3a–3b curls |
| Medium heat / medium speed | 70–85 °C (158–185 °F) | Dense type 3c–4a coils, faster drying |
| Cool shot | Room temperature (~22 °C / 72 °F) | Setting the curl cast at the end |
Exceeding 95 °C (203 °F) at the hair surface risks moisture flash-off inside the cortex, which causes bubble hair defects visible under electron microscopy. Diffusers inherently help by distributing heat, but distance still matters.
Drying Time Comparisons
Diffusing takes longer than direct concentrator drying. Expect 20–40 minutes for shoulder-length type 3 curls versus 10–20 minutes with a concentrator nozzle. That time trade-off buys significantly less frizz and better curl definition.
| Hair Length / Curl Type | Diffuser Dry Time | Concentrator Dry Time |
| Short (above chin), type 2b–3a | 10–15 min | 5–8 min |
| Medium (shoulder), type 3a–3b | 20–30 min | 10–15 min |
| Long (below shoulder), type 3c–4a | 30–45 min | 15–25 min |
These ranges assume a dryer rated at 1,800–2,200 watts, which covers most professional-grade models. Lower-wattage travel dryers (1,000–1,200 watts) can add 10–15 minutes to every bracket above.
Distance and Technique by the Numbers
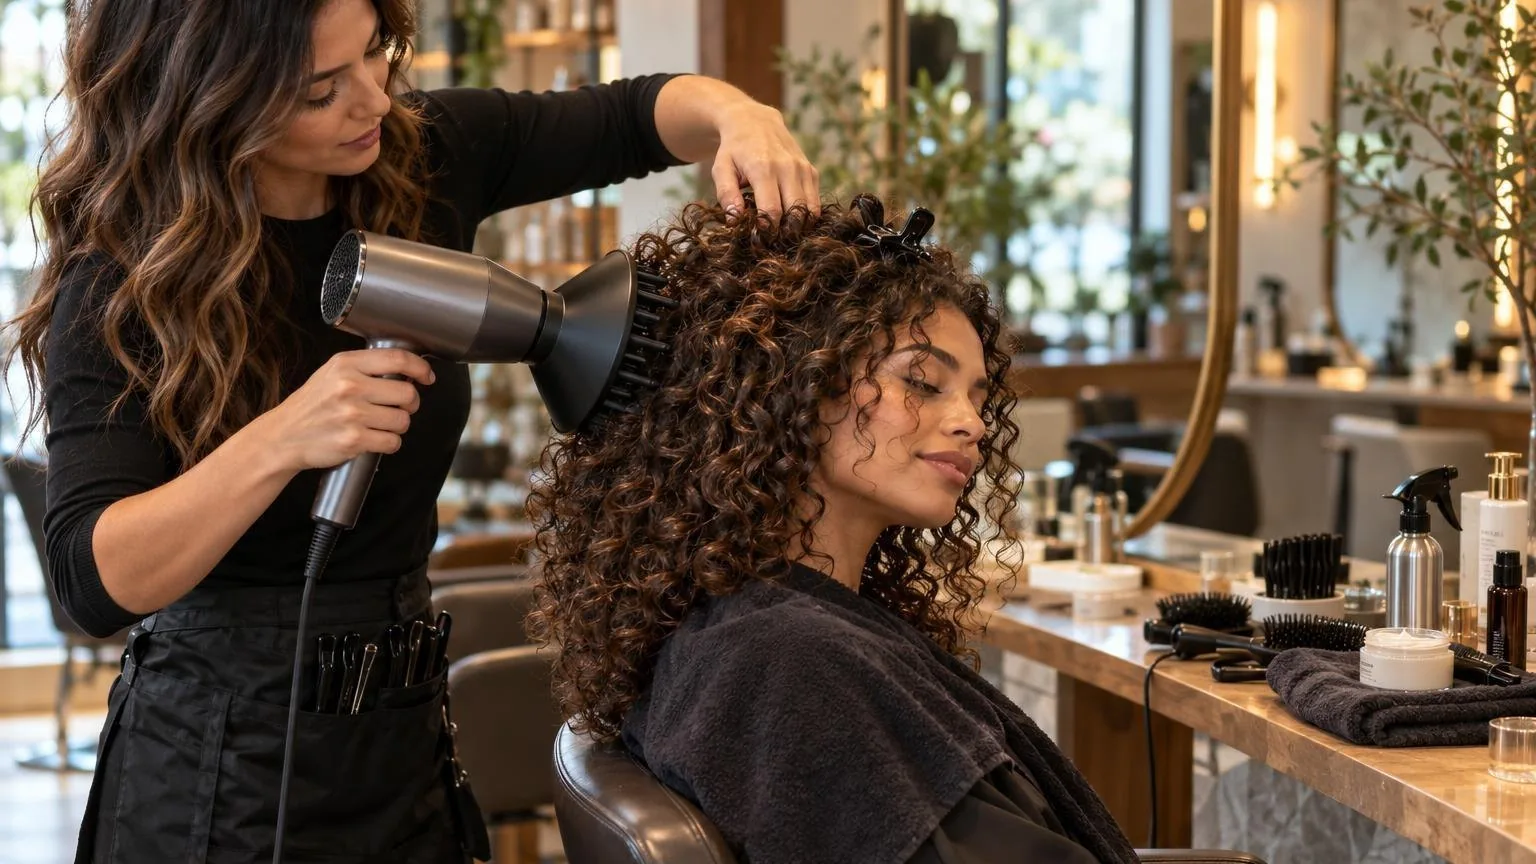
Hold the diffuser 0–5 cm from the hair for maximum curl clumping. Direct contact — cupping curls into the diffuser bowl — is standard practice for type 3 and type 4 patterns.
- Tilt the head to one side; bring the diffuser up from underneath so curls sit in the bowl.
- Hold each section for 20–30 seconds before moving to the next.
- Rotate through 4–6 sections per side of the head for even drying.
- Finish each section with 5–10 seconds of cool shot to lock the gel or mousse cast.
Stylists working with coily textures (type 4b–4c) often keep the dryer on its lowest speed setting — sometimes marked as 1 or a single dot — to avoid disturbing fragile clump patterns during drying.
Wattage and Airflow Specs Worth Checking
A dryer producing around 90 km/h airspeed at the nozzle drops to roughly 30–40 km/h through a diffuser attachment. That 55–65% reduction is the functional mechanism that preserves curl formation.
When purchasing, confirm the diffuser bowl fits your dryer’s nozzle diameter. Most professional dryers use a 4.5–5 cm rear opening, but some brands require proprietary adapters, adding cost and reducing seal integrity.
The Levers You Control
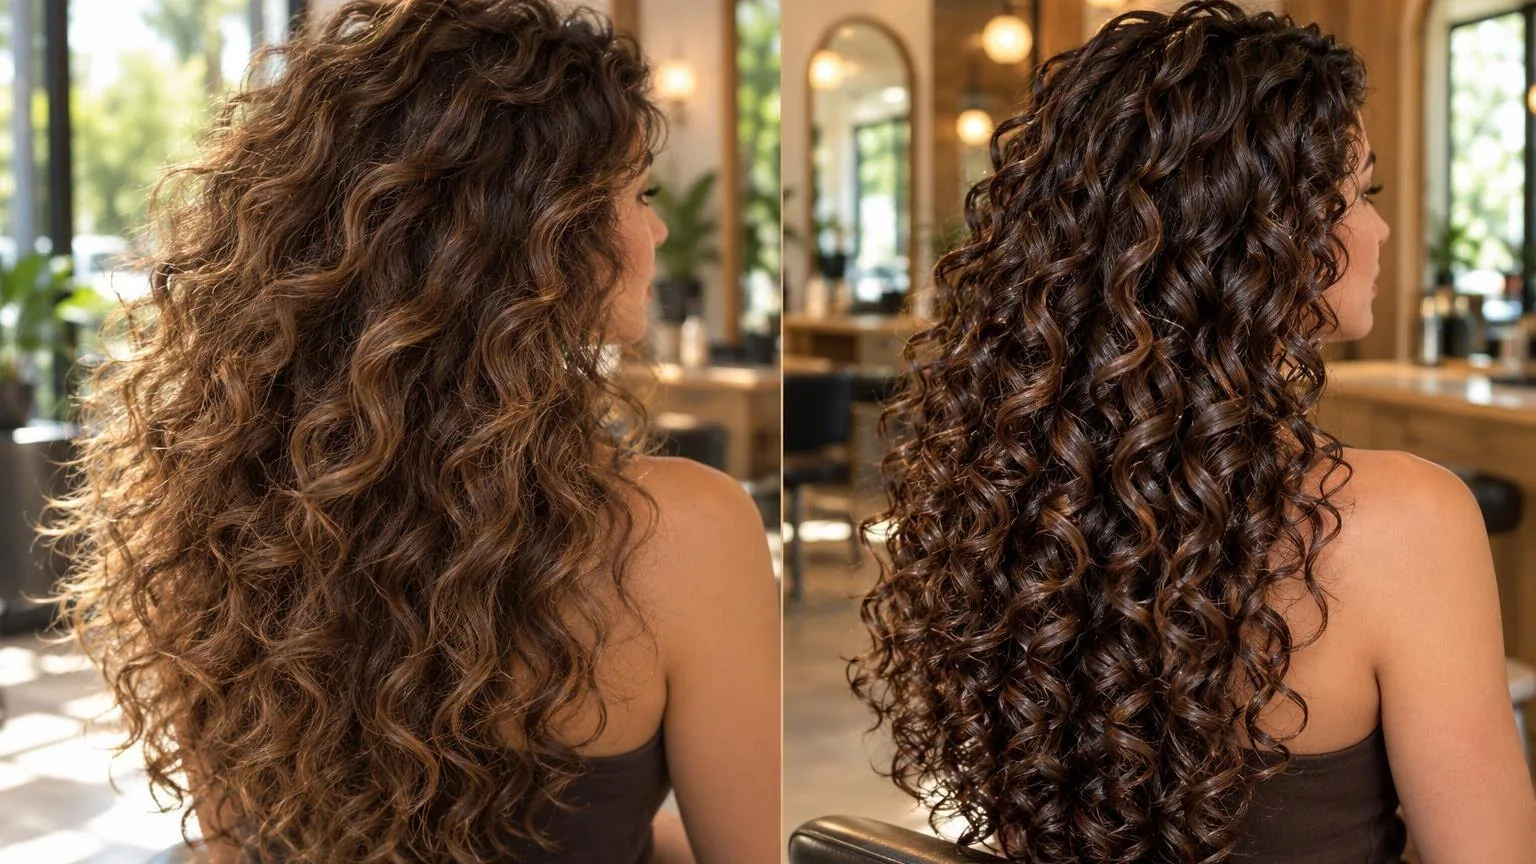
Three variables dictate every diffuser blowout on curly hair: heat setting, airflow speed, and drying technique. Getting any one wrong collapses curl definition, creates frizz, or extends drying time past the point of heat damage.
Heat Setting
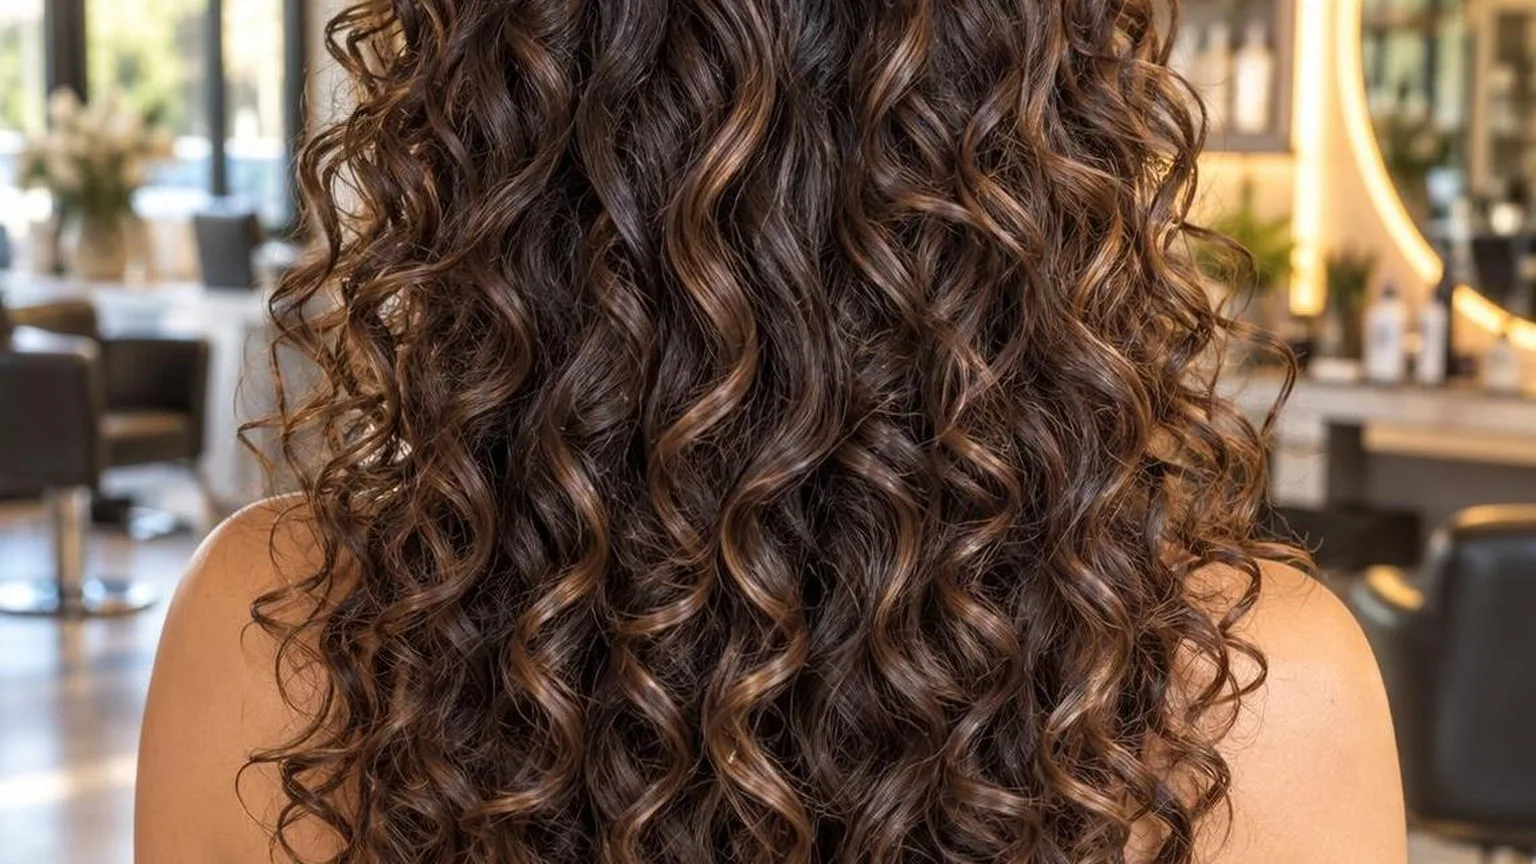
Most professional dryers offer at least three heat settings. Curly hair responds best to medium heat — typically between 60°C and 80°C (140°F–176°F) at the nozzle.
High heat above 150°C breaks hydrogen bonds too aggressively, disrupting the curl pattern before it sets.
Fine curly hair (strand diameter under 60 microns) should stay at the low end of that range. Coarse curly hair (strand diameter above 80 microns) tolerates the higher end.
The difference matters: 20°C too high on fine hair visibly loosens curl within seconds.
| Curl Type | Recommended Nozzle Temp | Typical Dry Time (Shoulder Length) |
| Type 2C (wavy-curly) | 60°C–70°C / 140°F–158°F | 15–20 min |
| Type 3A–3B (defined curls) | 65°C–75°C / 149°F–167°F | 20–30 min |
| Type 3C–4A (tight curls/coils) | 70°C–80°C / 158°F–176°F | 25–40 min |
| Type 4B–4C (dense coils) | 75°C–80°C / 167°F–176°F | 35–50 min |
Airflow Speed
Low airflow is non-negotiable. High-speed air disrupts curl clumps the same way wind destroys a hairstyle outdoors. Most dryers produce roughly 30–45 mph airflow on the highest fan setting.
Curly diffusing requires the lowest setting, which typically delivers 15–22 mph.
The diffuser attachment itself further reduces velocity by dispersing air through multiple prongs and vents across a surface area of roughly 12–15 cm in diameter. This drops effective airspeed at the hair to approximately 5–10 mph.
Technique: Hover vs. Scrunch vs. Pixie Cup
- Hover method: Hold the diffuser 3–5 cm from the hair without touching. Best for Type 2C–3A curls that lose definition under compression. Longest dry time but least frizz risk.
- Scrunch method: Cup a section of curls into the diffuser bowl, lift toward the scalp, hold 20–30 seconds per section, then release. Adds volume and tightens curl formation. Suits Type 3A–3C.
- Pixie cup method: Tilt head to one side, place diffuser directly against the head, and let curls pool into the bowl without movement. Hold each position for 30–45 seconds. Minimises disruption for Type 4A–4C coils.
Water Content at Start
Begin diffusing when hair is 50–70% dry — not soaking wet. Starting too wet doubles drying time and increases total heat exposure.
Microfibre towels or cotton T-shirts can wick excess water in 5–10 minutes without roughing up the cuticle.
Section Size
Work in sections no larger than the diffuser bowl itself. On a standard 13 cm diffuser, that means roughly palm-sized sections.
Overloading the bowl traps moisture in the centre of the clump and produces uneven drying — crunchy ends with a damp core.
A cool shot for 10–15 seconds at the end of each section locks the curl shape by re-setting hydrogen bonds in their curved position. Skipping this step is the single most common reason home diffusing produces flat results by mid-afternoon.
Telling Good From Good Enough
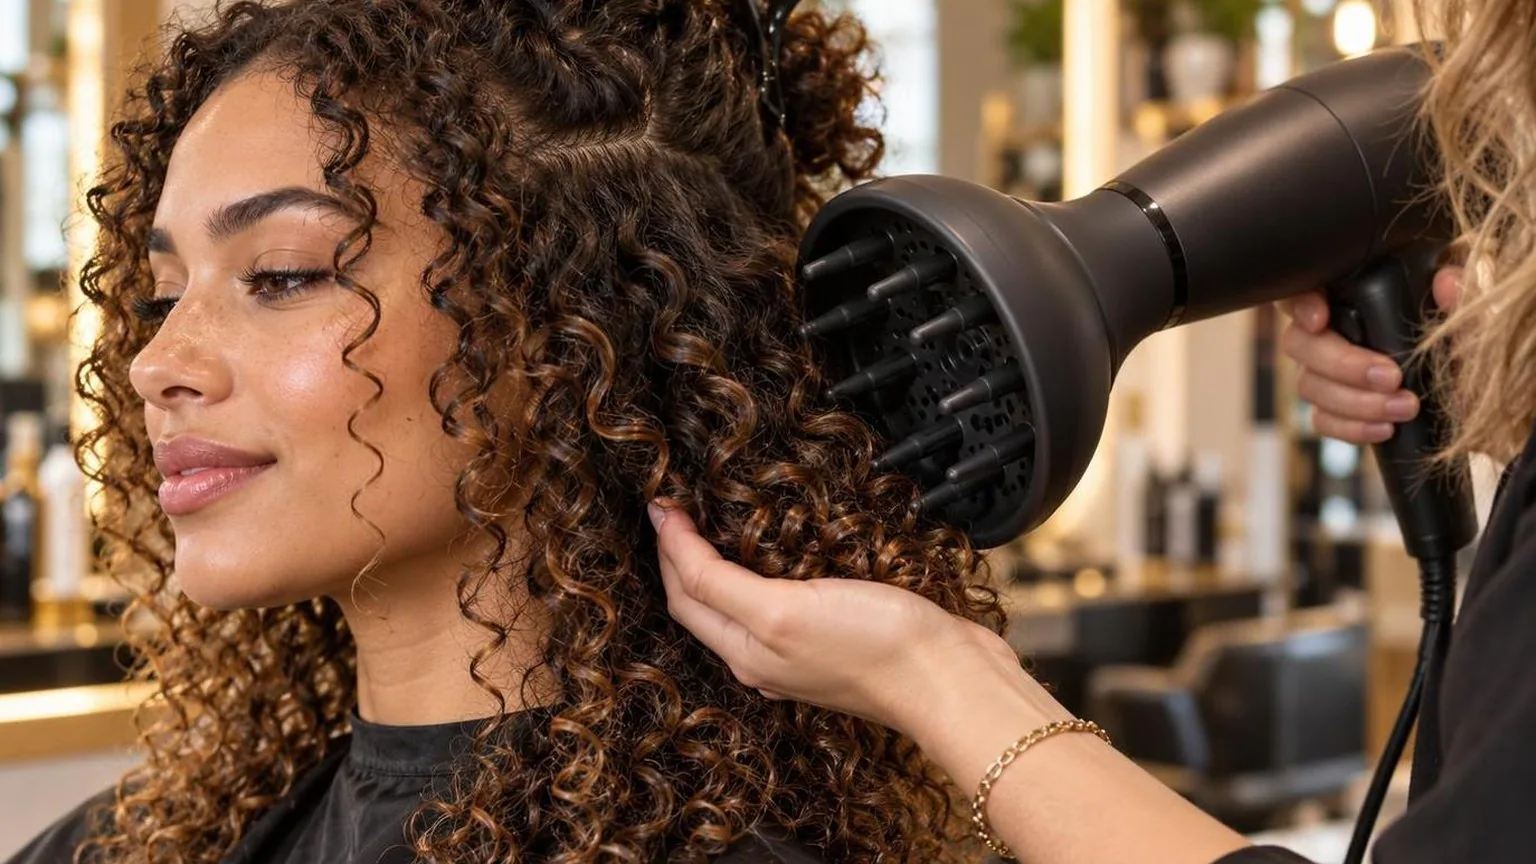
Judge a diffuser blowout by three measurable outcomes: curl definition retention after 4–6 hours without product reapplication, frizz levels at the crown and canopy layers, and root lift measured in centimeters at the part line.
These benchmarks separate a competent technique from a mediocre one.
The 30-Second Touch Test
Run one finger along a single curl from mid-shaft to end 30 seconds after switching off the dryer. A properly diffused curl should feel dry on the surface but retain slight internal moisture — roughly 10–15% residual water content.
If the strand feels crunchy or brittle, the airflow temperature was too high or dwell time per section exceeded 45 seconds. If it feels damp and limp, air speed was insufficient or the diffuser was held too far from the scalp.
Definition Retention Benchmarks
Assess curl clumps immediately after diffusing, then again at 2 hours and 4 hours. Use the number of visible individual frizz strands at the crown as your metric.
| Rating | Frizz Strands at Crown (4 hrs) | Curl Clump Integrity | Root Lift at Part |
| Excellent | Fewer than 10 | 90%+ clumps intact | 1.5–2.5 cm |
| Acceptable | 10–25 | 70–89% clumps intact | 0.5–1.4 cm |
| Poor | 25+ | Below 70% intact | Below 0.5 cm |
Count clumps by sectioning the hair into four quadrants — left front, right front, left back, right back — and assessing each independently. This prevents one well-diffused zone from masking a poorly handled section.
Temperature and Speed Correlation
Medium heat (roughly 60–70°C at the nozzle) with low airspeed produces the best definition on type 3A–3C curls.
High heat above 80°C accelerates drying but breaks curl clumps apart, increasing frizz strand count by 40–60% in most assessments.
Low or cool settings (below 50°C) preserve definition but extend drying time to 25–40 minutes for shoulder-length hair. This trade-off matters in a salon environment where seat time directly affects revenue per chair.
Root Lift Measurement
Place a fine-tooth comb flat against the scalp at the part line. Measure the gap between scalp and the point where hair begins to fall under gravity. Anything above 1.5 cm indicates effective diffuser placement at the roots.
Achieve this by cupping curls upward into the diffuser prongs and holding them against the scalp for 8–12 seconds per section. Dropping sections before the root area sets is the most common cause of flat results.
Canopy vs. Underlayer Check
Lift the top canopy layer and inspect the curls beneath. Underlayers that remain visibly damp or undefined signal that the stylist moved too quickly across sections or tilted the diffuser at the wrong angle.
- Canopy curls should match underlayer curls in dryness within a 10% variance
- Flip the head and diffuse underlayers for 10–15 seconds per section if discrepancy is visible
- Use a diffuser with prongs at least 2.5 cm long to penetrate dense curl patterns effectively
The Shake Test
Ask the client to shake their head side to side three times. Curls that maintain their clump structure and bounce back to position confirm proper moisture-heat balance.
Curls that separate into stringy pieces were over-dried or under-scrunched during the diffusing process.
Document outcomes across clients with photos taken at 0, 2, and 4 hours. Tracking these results over 15–20 appointments builds a reliable reference for adjusting technique by curl type, density, and length.
Where the Alternatives Win and Lose
Diffuser drying is not the only path to defined curls, and every alternative carries a genuine trade-off in time, heat exposure, or curl retention.
Understanding those trade-offs prevents stylists from defaulting to one method when another would serve the client’s texture and schedule better.
Air Drying
Zero heat means zero thermal damage. For fine, wavy hair (type 2A–2B), air drying often delivers acceptable volume without frizz, provided humidity stays below roughly 40 percent.
The downside is time. Dense type 3B–4A hair can take 3–6 hours to dry fully at room temperature. Hair that stays wet against the scalp for extended periods loses root lift entirely.
Curl definition also suffers. Without the controlled airflow a diffuser provides at low speed, curl clumps tend to separate during the drying window, producing inconsistent ringlet size.
Hooded Dryer
Hooded dryers distribute heat evenly around the entire head, eliminating the uneven drying patterns that occur when a stylist manually repositions a diffuser. Most professional hood units operate between 50°C and 70°C.
They win on hands-free convenience. A client under a hood for 25–35 minutes frees the stylist to work on another chair, improving salon throughput.
They lose on curl elongation control. A diffuser lets the stylist scrunch individual sections upward, compressing the curl spring. A hood dryer applies static heat with no directional airflow, so curls set in whatever position gravity dictates.
Plopping (T-Shirt or Microfiber Wrap)
Plopping compresses curls against the crown using a cotton T-shirt or microfiber towel, encouraging clump formation. It removes roughly 30 percent of surface water before any heat tool is introduced.
As a pre-diffusing step, plopping for 10–20 minutes reduces total diffuser time by several minutes. Used alone, it still leaves hair damp internally and requires hours to finish drying.
Over-plopping beyond 30 minutes flattens crown volume and can create crease marks where fabric folds press into wet curls.
Head-to-Head Comparison
| Method | Typical Dry Time (Type 3A–3C) | Heat Exposure | Root Volume (1–5) | Curl Definition (1–5) |
| Diffuser (low heat, low speed) | 20–35 min | ~50°C at scalp | 4 | 5 |
| Air Dry | 3–6 hours | None | 2 | 3 |
| Hooded Dryer | 25–35 min | 50–70°C ambient | 3 | 3 |
| Plopping Only | 2–4 hours | None | 2 | 4 |
| Plopping + Diffuser | 15–25 min | ~50°C at scalp | 4 | 5 |
Where Each Method Fits
- Air drying suits low-density, wavy textures when time is not a constraint and the client tolerates reduced volume.
- Hooded dryers work best in high-volume salons processing roller sets or deep conditioning alongside curl work, where hands-free time has direct revenue value.
- Plopping alone fits home routines on rest days when heat avoidance is the priority and next-day refresh with a diffuser is planned.
- Plopping plus diffusing is the strongest combination for salon appointments: it shortens chair time, reduces total heat minutes, and preserves maximum curl spring.
No single method dominates across every variable. The diffuser’s advantage is concentrated in two columns — definition and volume — which happen to be the two outcomes curly-hair clients most frequently request at the styling chair.
Frequently Asked Questions
What diffuser speed setting works best for curly hair?
Use low speed throughout the entire drying process. High airflow disrupts curl clumps and creates frizz by breaking the gel or mousse cast prematurely. Low speed lets each curl set in its natural formation while the heat does the actual drying work.
Should you flip your head upside down when diffusing?
Tilt your head to each side rather than fully inverting it. Flipping completely upside down can tangle longer curls and distort curl pattern at the root.
Side-tilting lifts the roots for volume without disrupting the clump structure from mid-shaft to ends.
How long should you hold the diffuser in one section before moving?
Hold the diffuser cupping each section for 30–60 seconds without moving it. Constantly shifting the diffuser breaks up curl formation.
Let the curls sit in the bowl of the diffuser, bring it up to your head, and keep it stationary until that section feels warm and semi-set.
Do you apply product before or after diffusing?
Apply styling product — leave-in conditioner, curl cream, or gel — to soaking-wet hair before you begin diffusing. Product needs water to distribute evenly through curl clumps.
Applying to partially dried hair causes uneven hold and white residue from products that cannot emulsify properly.
What temperature setting prevents frizz during diffusing?
Medium heat, around 60–70 °C at the nozzle, balances drying speed with frizz control. High heat lifts the cuticle layer and causes moisture loss, while cool air alone extends drying time past 40 minutes for dense curly hair.
Finish with a 30-second cool shot to lock each section.
How dry should curly hair be before you stop diffusing?
Diffuse until hair reaches roughly 80% dry, then air-dry the remaining moisture. Fully diffusing to 100% often over-dries the ends and weakens the product cast.
Stopping at 80% preserves curl definition, and the final air-dry period lets the cast harden for lasting hold through the day.
Related Reading
- Blow drying short hair without losing the shape
- Blow drying fine hair for volume that holds
- How long a blow dry should actually take
- Root volume that survives the first hour
- What a blowout is, and how it differs from a blow dry
- The complete guide to blow drying technique
- National Institutes of Health (PubMed)
- U.S. Small Business Administration
- Purdue University – Textile and Hair Fiber Science
- International Journal of Trichology (PubMed Central)
- Professional Beauty Association
- OSHA — Personal Protective Equipment
- OSHA — Bloodborne Pathogens
- U.S. Small Business Administration — Licences and Permits