
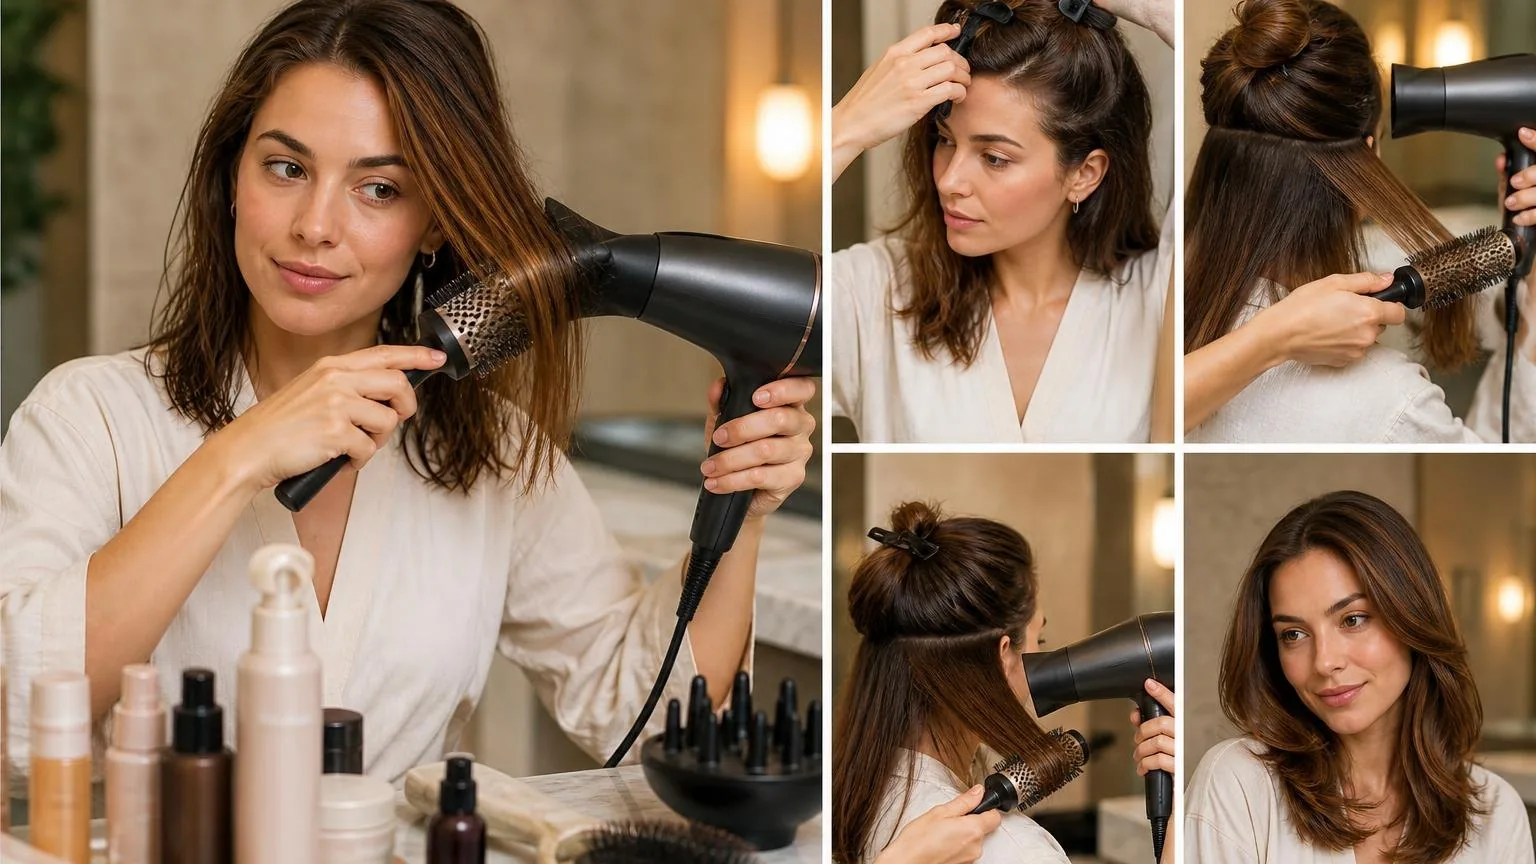
Use 80% rough-drying, a concentrator nozzle, and 2-inch sections: How to blow dry your hair at home, step by step means drying roots first, building tension with a brush, then cooling each section before release.
This guide translates salon blowout mechanics into a home routine: towel-blot, apply heat protectant, pre-dry on medium heat, section cleanly, and work from nape to hairline using controlled airflow.
Expect practical timings, brush-size guidance, nozzle angles, and heat settings, including when to switch to cool air so the finish looks polished rather than puffy.
Map Your Blowout Setup
Before you switch on the dryer, set your timing, sections, and brush size. This prevents over-drying the top layer while the roots underneath stay damp.
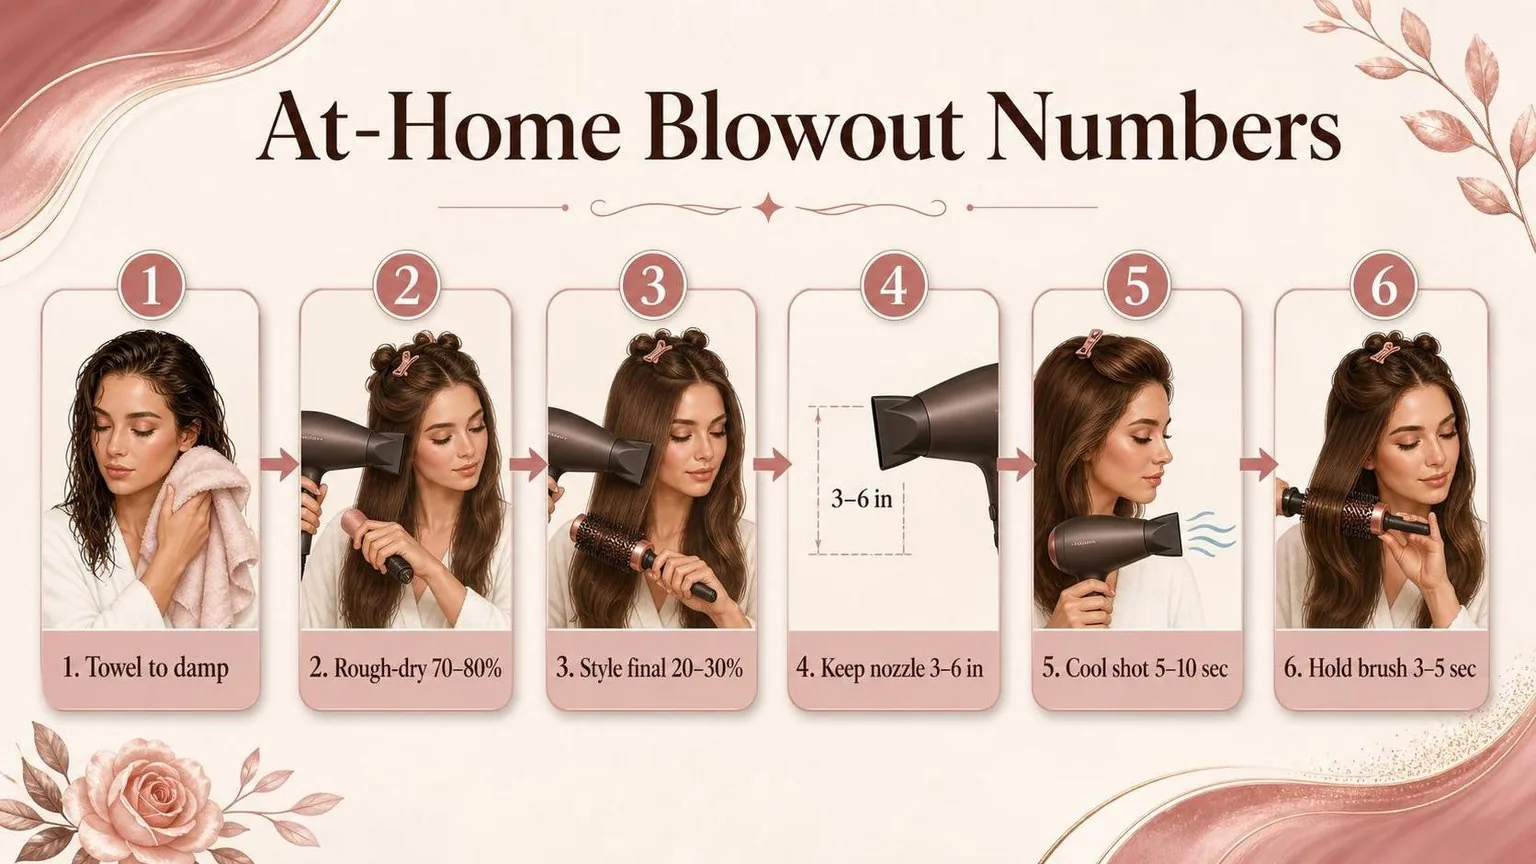
- Check starting dampness. Hair should feel damp, not dripping. If water transfers to your hand, towel-blot again. Rough-dry on medium heat until hair is about 80% dry before brushing.
- Choose your brush size. Use a 1.5-inch round brush for short layers or bend. Use a 2-inch brush for shoulder-length hair. Use a 2.5-inch brush for long hair or a smoother, looser finish.
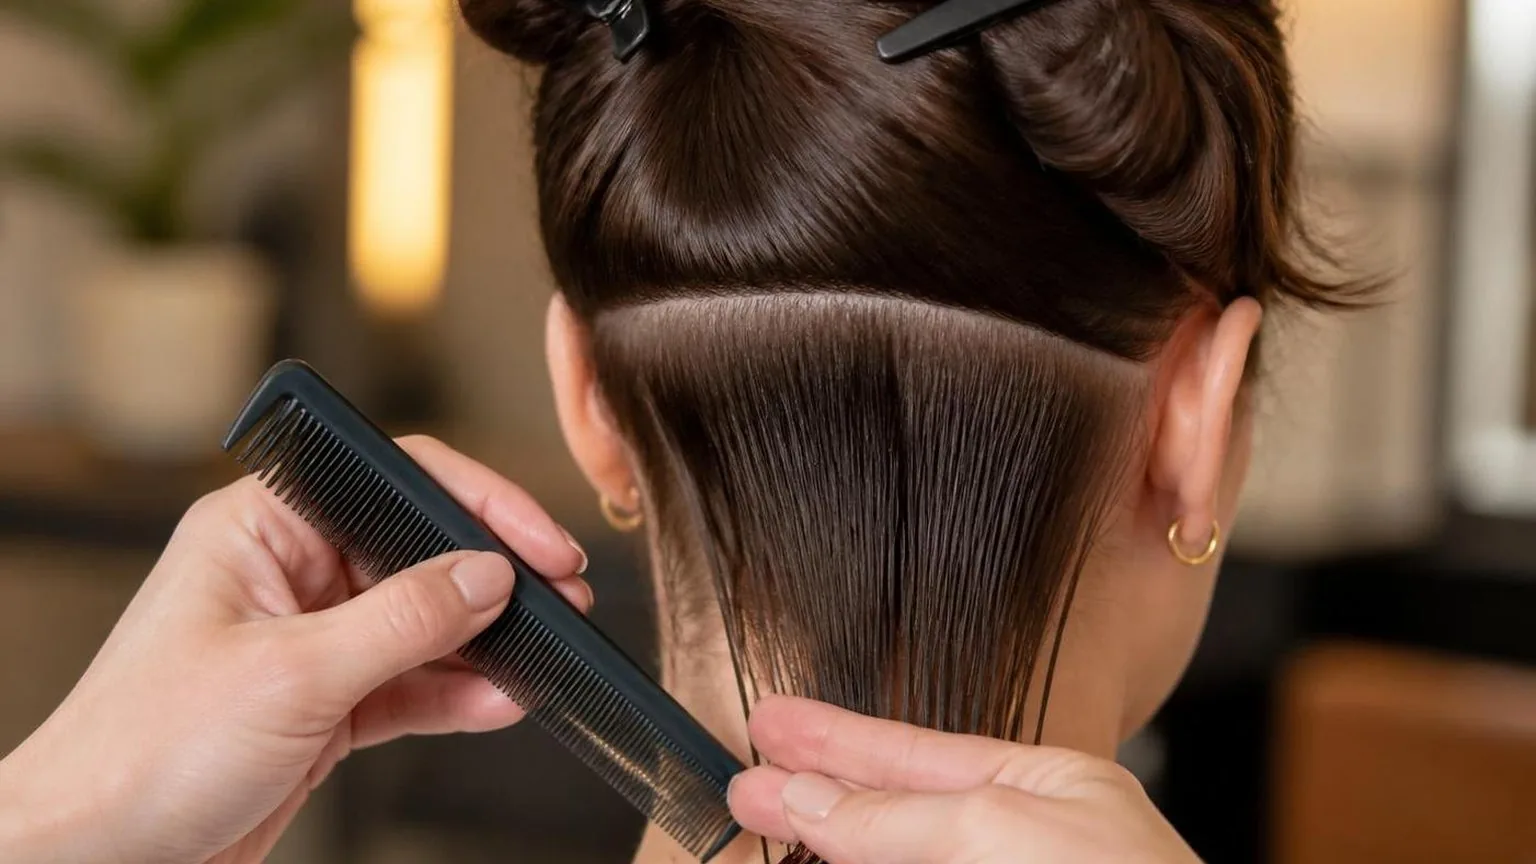
- Divide into 4 clean sections. Make one section at the nape, two side sections, and one crown section. Clip everything you are not drying. Work in 2-inch subsections for control.
- Set your dryer position. Attach the concentrator nozzle. Hold the dryer about 6 inches from the hair, with airflow pointing down the strand from roots to ends.
- Assign time per section. Spend about 60 to 90 seconds drying each 2-inch subsection, then use the cool shot for 10 seconds before releasing the brush.
If your hair is dense, make 5 or 6 sections instead of 4. If your hair is fine, keep the sections larger but reduce heat and keep the nozzle moving.
What the Numbers Actually Say
A good at-home blowout is mostly controlled by water removal, airflow, heat, section size, and brush tension.
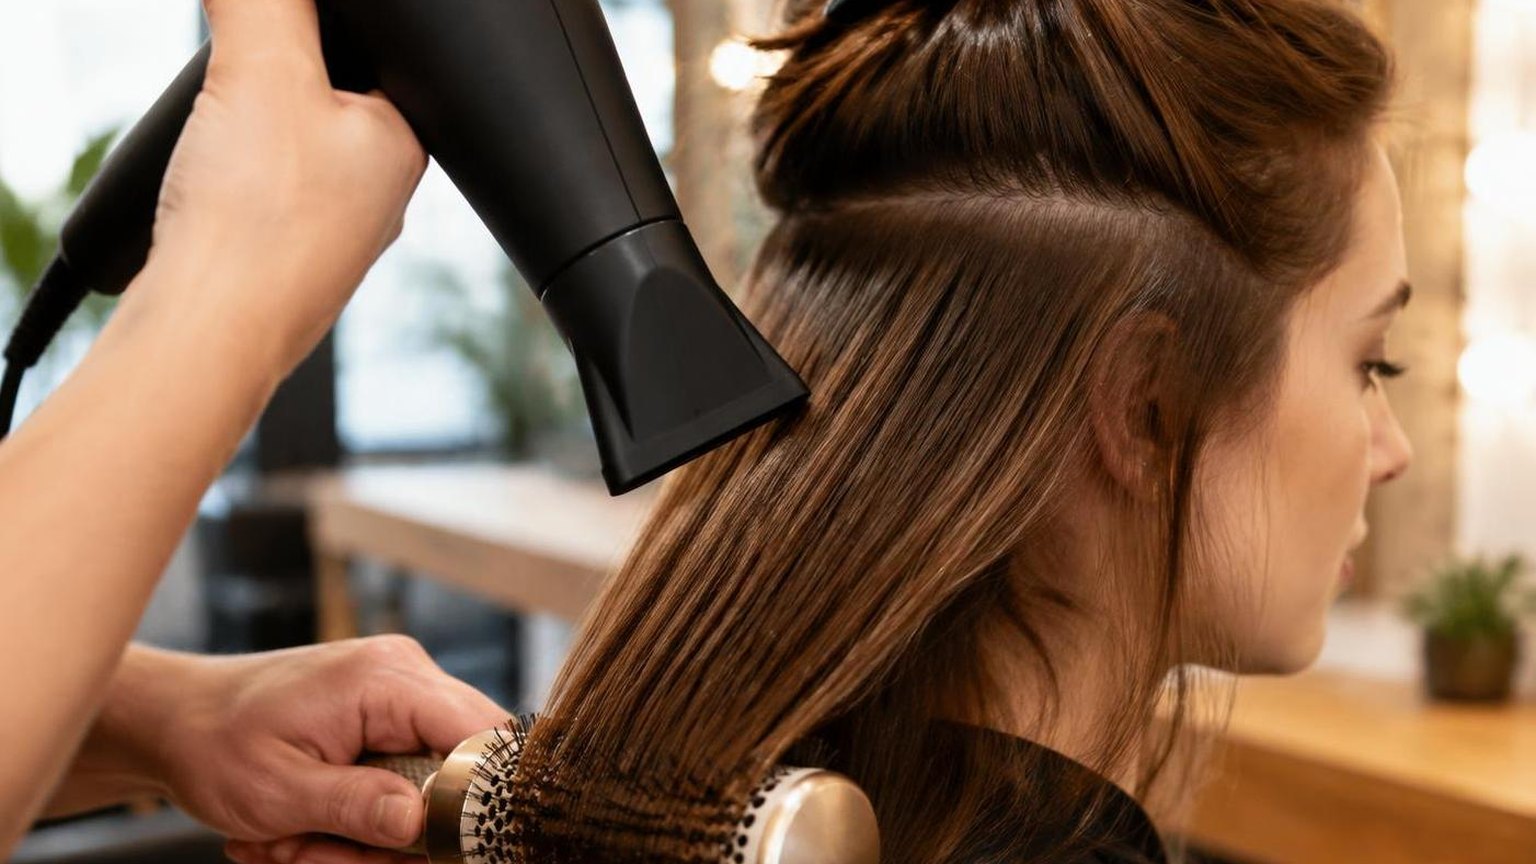
The numbers show why rough-drying first, using smaller sections, and finishing with cool air gives a smoother result with less unnecessary heat exposure.
Hair is weakest when saturated, so do not start round-brushing from dripping wet.
Cosmetic science texts, including Robbins’ Chemical and Physical Behavior of Human Hair, describe wet hair as more stretchable and more vulnerable to mechanical damage than dry hair.
| Step | Target number | Why it matters |
| Towel-dry before using the dryer | Remove excess water until hair is damp, not dripping | Less water means less drying time and less brushing on fragile wet hair |
| Rough-dry before styling | Dry to about 70% to 80% before round-brushing | Shape is set more efficiently when hair is damp, not soaked |
| Final brush work | Work the last 20% to 30% with tension | This is where polish, bend, and root direction are created |
Section size changes everything. If the section is wider than the brush barrel, airflow cannot reach the inner layers evenly.
In salon practice, clean sectioning is often the difference between a finish that lasts and one that collapses within minutes.
| Hair area | Practical section size | Tool guide |
| Hairline and fringe | 1 to 2 inches wide | Small round brush or nozzle detail work |
| Crown and top | 2 inches wide | Medium round brush for lift and bend |
| Back and sides | 2 to 3 inches wide | Large round brush or paddle brush for smoothing |
Heat should be managed, not maximised. Appliance safety standards such as IEC guidance focus on controlling surface and airflow temperatures because concentrated heat can quickly over-dry hair fibre.
Keep the nozzle moving and avoid pressing it directly onto the hair.
| Control point | Useful number | Best practice |
| Nozzle distance | About 3 to 6 inches from the hair | Close enough to smooth, far enough to avoid scorching |
| Nozzle angle | Point downward along the strand | Helps the cuticle lie flatter for more shine |
| Cool shot | 5 to 10 seconds per section | Lets the shaped section cool before release |
| Brush hold after heat | 3 to 5 seconds | Supports bend and volume while the fibre cools |
Dryer power is not the whole story, but it affects speed. In professional settings, many dryers sit in a higher-wattage range, while compact travel dryers are usually lower powered. Airflow and nozzle control matter as much as wattage.
| Dryer type | Common wattage range | What to expect |
| Compact travel dryer | About 1,000 to 1,600 watts | Slower drying, useful for short or fine hair |
| Standard home dryer | About 1,600 to 1,875 watts | Suitable for most at-home blowouts |
| Professional salon dryer | Often around 1,800 to 2,200 watts | Faster airflow when paired with good technique |
The practical takeaway: remove water first, style in small sections, keep the nozzle moving, and cool each section before dropping it. Those numbers matter more than using the hottest setting from start to finish.
What Changes the Result
Your result changes most when water level, airflow direction, section size, brush size, heat, and tension change.
At home, the finish usually fails because the hair is either too wet, the sections are too large, or the nozzle is not aimed down the strand.
Professional blowouts are controlled drying, not just hot air. The cuticle lies flatter when airflow travels from roots toward ends, which is why a concentrator nozzle and a brush matter more than simply using maximum heat.
Moisture level before styling
Start shaping only after rough-drying to a damp, not dripping, state. If water is still sitting on the surface, the brush polishes poorly and the style collapses faster because the section spends too long under heat.
| Hair state | Best action | What it changes |
| Dripping wet | Squeeze with a towel first | Reduces drying time and heat exposure |
| Very wet | Rough-dry before brushing | Prevents limp roots and frizz |
| Damp | Use brush tension and nozzle control | Creates shape, shine, and movement |
Section size and brush diameter
Smaller sections dry more evenly because air can pass through the hair. In salon practice, a section should not be wider than the brush barrel and should be thin enough for airflow to reach both sides.
| Goal | Useful section width | Brush diameter |
| Root lift | About 1 to 2 inches | About 1 to 1.5 inches |
| Smooth bend | About 2 to 3 inches | About 1.5 to 2 inches |
| Loose, polished finish | About 3 inches | About 2 to 2.5 inches |
Heat, airflow, and the cool shot
Use heat to reshape, airflow to remove moisture, and cool air to set the bend. Many professional dryers sit in the high-heat range at the outlet, so keep the nozzle moving and avoid pressing it against the hair.
| Control | Typical use | Result |
| High airflow | Rough-drying roots and lengths | Faster moisture removal |
| Medium heat | Brush work on most hair | Smoother finish with control |
| Cool shot | After each section is dry | Helps lock in the shape |
Nozzle angle and tension
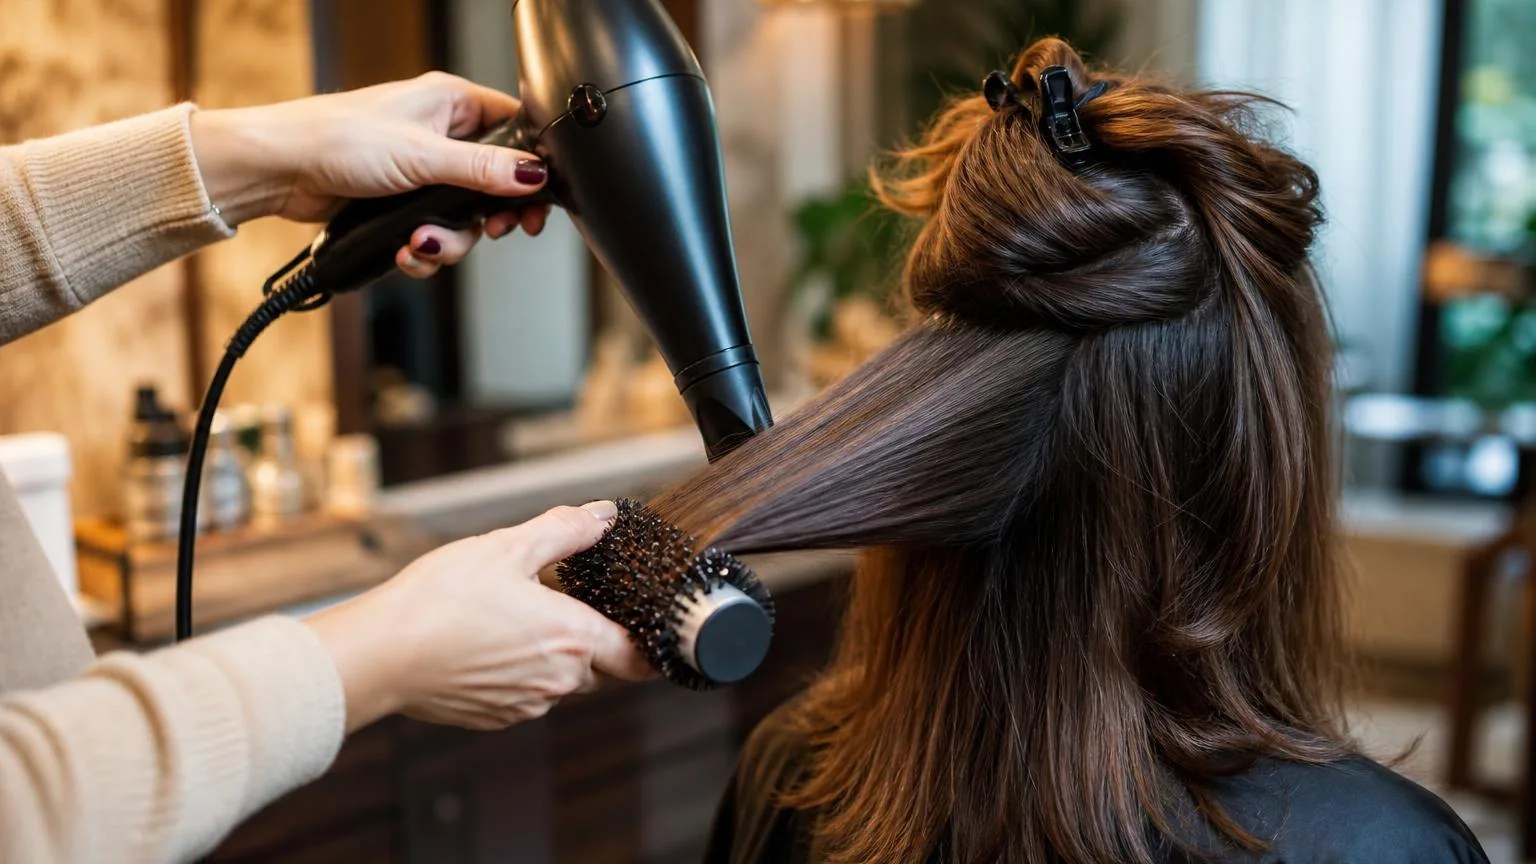
A concentrator nozzle narrows the air stream, which helps direct the cuticle downward. Hold the dryer above the section, aim from root to end, and keep the nozzle parallel to the hair rather than blasting upward.
- Tension: The brush should feel firm, not painful, and should glide without snagging.
- Distance: Keep a small gap between nozzle and hair instead of touching the barrel.
- Timing: Do not move to the next section until the roots and mid-lengths feel dry.
- Finish: Let the section cool on the brush before releasing for more bend and polish.
Judging It in Practice
Judge a home blow dry by what the hair does after the nozzle moves on, not by how it looks while it is still warm. Finished hair should feel dry at the root, controlled through the mid-lengths, and cool into its final shape without puffing back up.
The best salon test is tactile. Press the root with the pads of your fingers, then slide down the section. If the root feels cool or damp, keep drying before adding brush tension; if the ends feel hot and papery, reduce heat or increase distance.
| Check point | What to feel or see | What to do next |
| Root area | No cool patches, no spongy feeling | Dry with airflow aimed from root to mid-length |
| Mid-lengths | Smooth, flexible, not swollen | Add brush tension and direct the nozzle downward |
| Ends | Polished, not crispy or separating | Lower heat and finish with airflow following the cuticle |
| Hairline | Controlled without bend marks | Use smaller sections and lighter brush pressure |
Work in sections that match your brush barrel, not your patience. A section wider than the brush will dry unevenly, because the center receives less tension and less directed airflow than the edges.
| Brush barrel | Best section width | Useful finish |
| 25 mm | About 25 mm wide | Short layers, fringe, tighter bend |
| 33 mm | About 33 mm wide | Bob lengths and root lift |
| 43 mm | About 43 mm wide | Medium lengths, soft movement |
| 53 mm | About 53 mm wide | Long hair, smoother volume |
Heat should be chosen by hair response. Fine hair often finishes better with medium heat and strong airflow; coarse or dense hair usually needs more tension and more drying time, not endless heat.
Professional dryer makers commonly cap air temperature at controlled levels to reduce heat exposure.
| Judging sign | Likely cause | Correction |
| Frizz returns fast | Moisture left inside the section | Dry smaller sections until the root feels fully dry |
| Flat crown | Root dried in its natural fall | Lift the section upward before smoothing it down |
| Brush gets stuck | Section too thick or too wet | Pre-dry more before adding tension |
| Ends look rough | Airflow moving upward or too much heat | Point the nozzle from roots toward ends |
A useful finish test is the cool-set test used behind the chair. Hold the dried section on the brush until it no longer feels warm, then release it. If the shape drops immediately, the section was either too damp, too large, or not cooled in place.
- Keep the concentrator nozzle close enough to control airflow, but not pressed onto the hair.
- Move the dryer continuously; lingering in one spot creates uneven finish.
- Use tension from the brush, not pulling from your wrist or shoulder.
- Finish each section with airflow travelling in the same direction as the hair strand.
Final judgement should happen after the whole head has cooled. Run your fingers through the underneath, crown, and hairline. If those areas stay smooth without steam, dampness, or expansion, the blow dry is properly finished.
Where the Alternatives Win and Lose
A home blow dry gives the closest balance of polish, control, and repeatability.
Compared with air drying or hot-tool styling after rough drying, it shapes the hair while moisture is leaving, which is why the finish usually lasts better and needs less reworking.
In salon work, the key difference is tension. A round brush plus directed airflow stretches and sets the cuticle alignment section by section, while air drying leaves the hair to settle in its natural pattern.
| Method | Typical active time | Main finish | Best use |
| Home blow dry with nozzle and brush | Twenty to forty minutes | Smooth volume with shape at the ends | Most shoulder-length to long styles |
| Air drying | Little active time, longer total drying time | Natural texture, less root lift | Low-effort days or highly textured finishes |
| Rough dry, then flat iron or tong | Fifteen to thirty-five minutes | Sharper bend, flatter root area | Very straight or defined curled looks |
| Salon blowout | Thirty to sixty minutes | Most consistent tension and section control | Events, dense hair, or a longer-lasting finish |
| Hot air brush | Fifteen to thirty minutes | Soft bend, moderate smoothing | Quick refreshes and medium-density hair |
The home blow dry wins over air drying when you want lift at the crown.
Use a concentrator nozzle and aim airflow from roots to ends; this follows standard professional practice and aligns with American Academy of Dermatology guidance to avoid excessive heat exposure.
| Tool choice | Useful size range | What it changes |
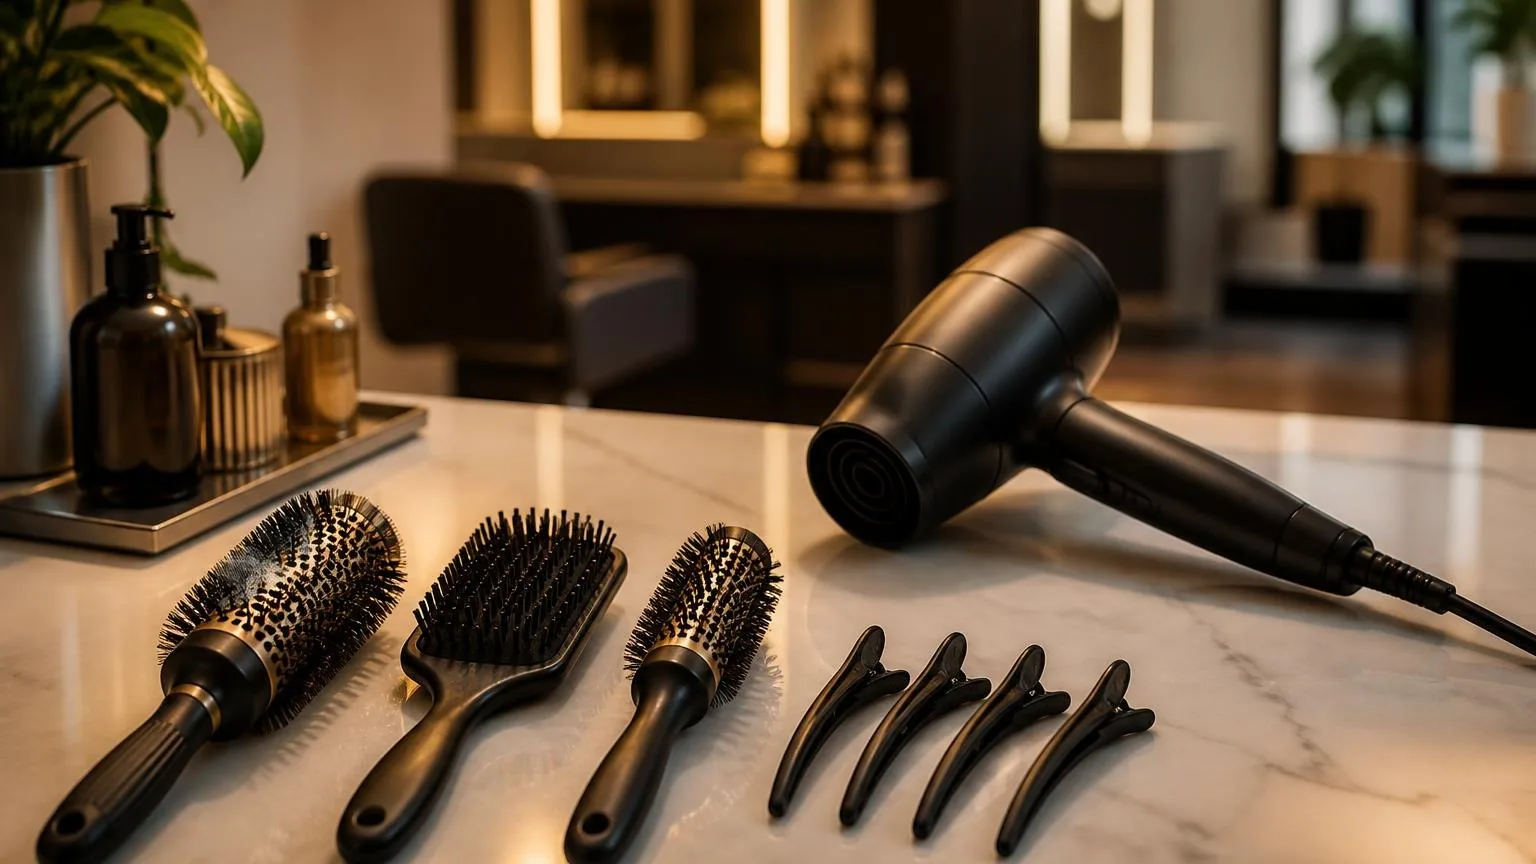
| Small round brush | Twenty-five to thirty-five millimetres | More bend, fringe control, shorter layers |
| Medium round brush | Forty to fifty-three millimetres | Classic blowout curve and root lift |
| Large round brush | Fifty-five to seventy millimetres | Smoother finish with looser movement |
| Paddle brush | Wide flat base | Straighter finish with less bevel |
Compared with a flat iron, a blow dryer usually feels softer because the hair is shaped with brush tension rather than clamped between hot plates.
Flat irons commonly have adjustable settings far above typical warm dryer airflow, so careful heat selection matters.
| Heat reference | Common range | Practical takeaway |
| Blow dryer warm airflow at the hair | About sixty to ninety degrees Celsius when kept moving | Better for gradual shaping |
| Flat iron plate setting | About one hundred fifty to two hundred thirty degrees Celsius | Best reserved for targeted finishing |
| Cool shot | Room-temperature airflow | Helps set the brush shape before release |
A hot air brush is simpler, but it is not identical. Because the airflow exits through the brush head, it gives less directional control than a nozzle. It can polish mid-lengths quickly, but roots and dense sections often need pre-drying first.
- Choose a full blow dry when you need root lift, smoothness, and movement in one service-style result.
- Choose air drying when texture matters more than polish.
- Choose hot tools after drying when you need a crisp wave, bend, or glass-straight finish.
- Choose a salon blowout when arm angle, back sections, or hair density make tension difficult at home.
Heat, Tension and Keeping Hair Intact
Use the lowest heat that dries the section in one controlled pass, with enough tension to smooth the strand but not stretch it.
Hair is most vulnerable when wet, so remove excess water first, then use heat, airflow and brush control in measured stages.
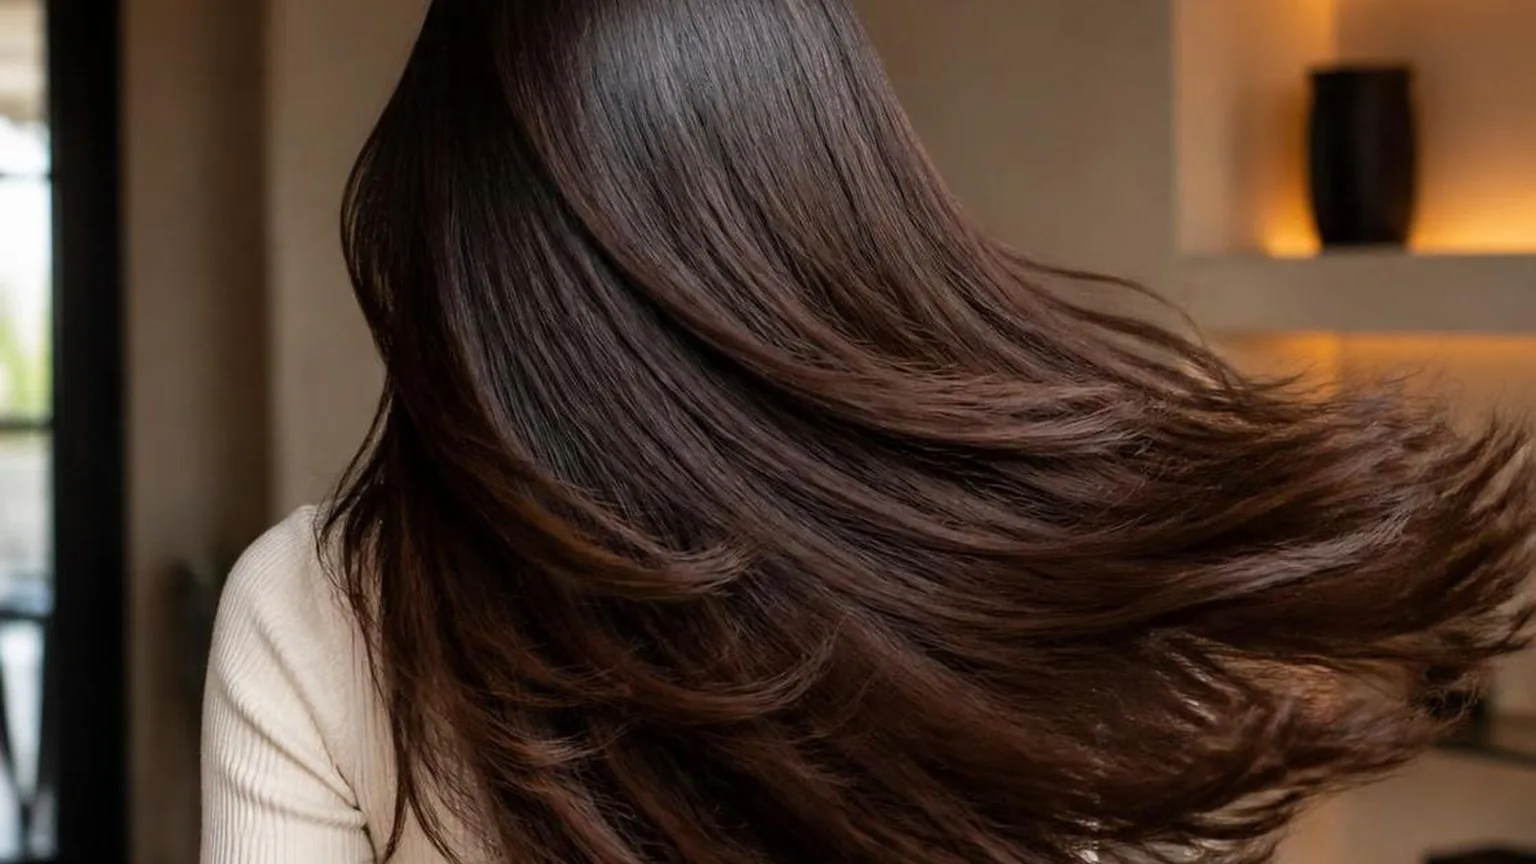
In salon practice, the finish comes from water removal, alignment and cooling, not simply high heat. The cuticle lies flatter when the section is held taut, dried from root to end, and allowed to cool before being disturbed.
| Stage | Hair feel | Heat choice | Technique |
| Towel blot | Damp, dripping stopped | No heat | Press with a microfiber towel; do not rub. |
| Rough dry | Mostly damp | Medium heat, high airflow | Use fingers and keep the nozzle moving. |
| Brush dry | Slightly damp | Medium heat, medium airflow | Work in clean sections with steady tension. |
| Set | Dry to touch | Cool shot | Hold the shape still while cooling. |
Do not start round-brushing soaking-wet hair. It increases drying time, brush drag and repeated heat exposure. Aim to pre-dry until the hair is no longer dripping and the roots feel damp rather than wet.
| Control point | Practical target | Why it matters |
| Nozzle distance | About 6 inches from the hair | Reduces concentrated heat on one spot. |
| Section width | No wider than the brush barrel | Keeps tension even from edge to edge. |
| Section thickness | About 1 inch or less | Allows air to pass through the section. |
| Air direction | Root to ends | Helps the surface lie smoother. |
| Cool setting | 5 to 10 seconds per section | Sets shape before release. |
Heat damage is linked to temperature and time. Peer-reviewed hair-fiber research shows that repeated high-temperature drying can roughen the cuticle and reduce internal moisture.
That is why professional blowouts rely on controlled passes rather than lingering heat.
Keep the dryer in motion. If a section is not drying, reduce its size before increasing heat. A smaller section with medium heat usually gives a cleaner result than a thick section blasted on the hottest setting.
- Use firm, even brush tension, not pulling force.
- Keep the nozzle angled down the hair shaft.
- Release the brush only after the section feels fully dry.
- Let the section cool before touching, flipping or pinning.
- Stop if hair feels too hot to comfortably hold.
For fine hair, use lighter tension and shorter passes. For dense or coarse hair, use smaller sections and slower airflow before raising heat. The aim is complete drying with the fewest passes possible.
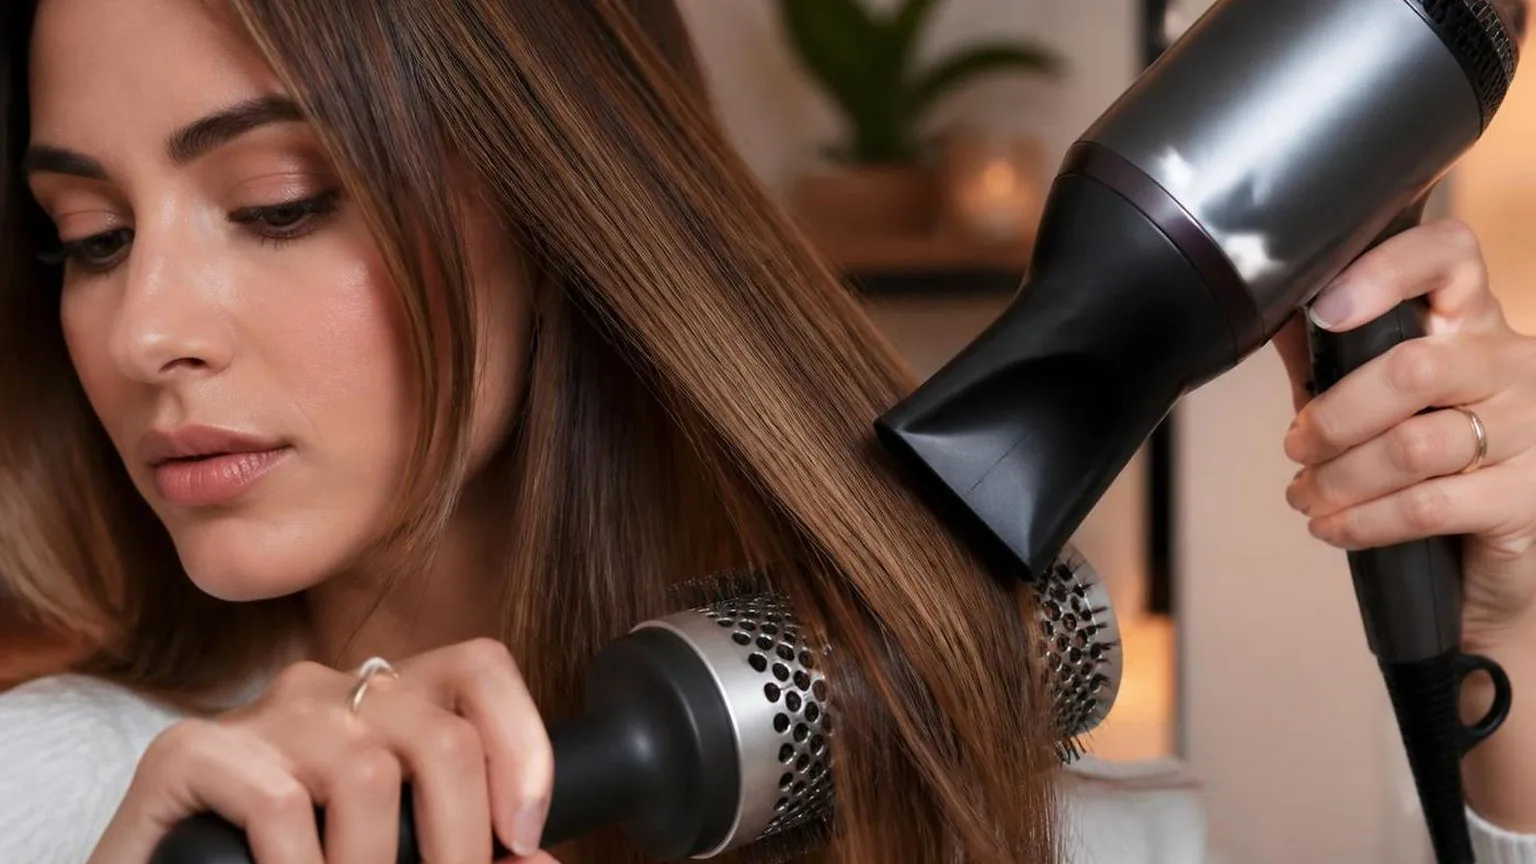
Why the Technique Works
The smoothest at-home blowout comes from treating drying as section work, not general heat blasting.
On fine, medium, coarse, straight, wavy, and curly hair, control improves when the nozzle stays close, the section stays narrow, and the brush moves before the dryer lingers.
The routine starts on freshly washed hair, after towel blotting and wide-tooth detangling.
Standard blow-dry practice uses concentrator nozzles, round ceramic brushes, paddle brushes, and medium airflow first, then higher heat only where the hair feels resistant.
| Variable | Working range | Why it changes the result |
| Working section width | 1.5 to 2 inches | Supports best tension and fastest smoothing |
| Working section depth | 0.5 to 1 inch | Allows even drying from root to end |
| Nozzle distance | 1 to 3 inches from the hair | Directs airflow for a smooth cuticle finish without scorching the section |
| Passes per section | 3 to 6 controlled passes | Dries and polishes lengths without overworking the ends |
| Root lift hold | 5 to 8 seconds before releasing | Sets noticeable lift at the crown |
The biggest technical mistake is starting with sections that are too wide. When the section width is doubled, the surface can look dry while the underside stays damp, especially at the nape and behind the ears.
For fine hair, lower heat, medium airflow, and a vented or smaller round brush help prevent collapse at the root.
For dense or coarse hair, higher airflow helps move moisture out, but the concentrator still needs to point down the hair shaft and the section must stay thin.
| Hair feel | Brush choice | Reason |
| Fine and limp | 1.25 to 1.75 inch round brush | Added bend without flattening the root |
| Medium density | 1.75 to 2.25 inch round brush | Balanced tension and movement |
| Dense or coarse | Paddle brush first, then round brush | Reduced bulk before polishing |
| Wavy or curly | Round brush with firm tension | Stretched texture more evenly |
Airflow direction matters because the cuticle lies like shingles along the hair shaft. Pointing the nozzle downward from roots to ends helps the surface sit smoother. Blowing upward lifts the cuticle and can create frizz around the face frame.
- Rough-dry only until hair feels damp, not dripping, before sectioning.
- Clip clean horizontal sections from nape to crown.
- Dry roots first, then mid-lengths, then ends.
- Finish each polished section with a short cool shot before dropping it.
The most reliable home method is simple: small sections, steady tension, a concentrator nozzle, and no rushing the root. The finish looks most professional when the hair is fully dry before the brush is removed.
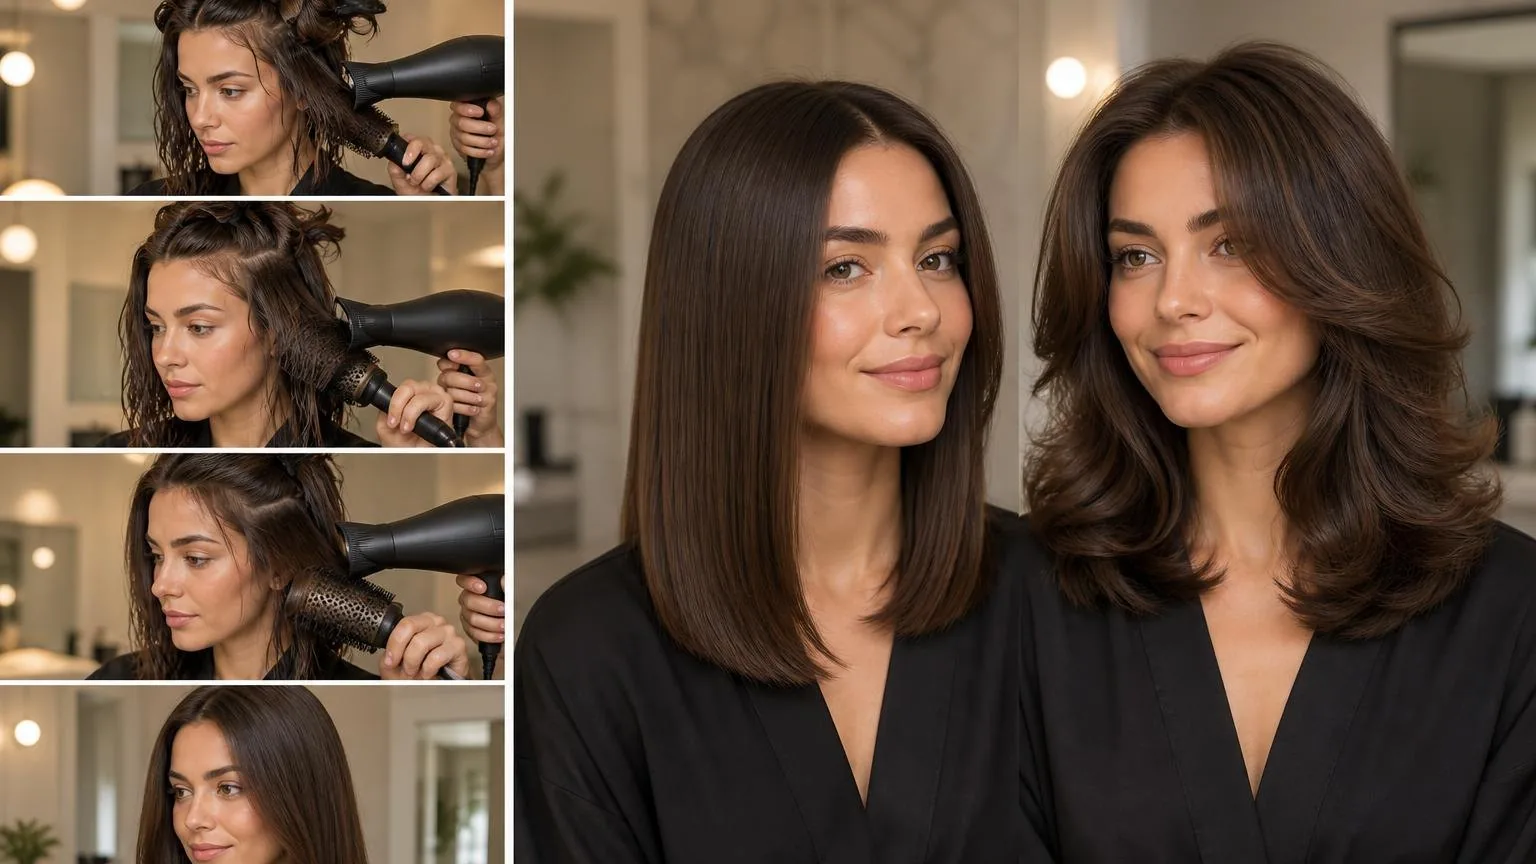
Myths That Keep Going Round
Most at-home blow-dry failures come from starting too wet, using too much heat too close to the hair, or trying to smooth before the roots are dry.
The biggest myth is that more heat equals a faster, shinier finish; in practice, airflow control and section size matter more.
Mistake: starting with dripping-wet hair
Hair should be towel-blotted and pre-dried before brush work. The American Academy of Dermatology advises drying hair with a towel first and using the lowest effective heat setting. For most blowouts, begin styling when hair is roughly damp, not wet.
| Stage | What it feels like | Best tool move |
| Wet | Water transfers to your hand | Towel-blot, then rough-dry |
| Damp | Cool to touch, no dripping | Start brush sections |
| Almost dry | Warm, flexible, slight moisture at roots | Shape ends and set with cool air |
Mistake: using oversized sections
A round brush cannot tension hair evenly if the section is wider than the barrel or thicker than the airflow can penetrate. Keep sections about 1 to 2 inches wide, and no deeper than the brush barrel diameter.
| Hair area | Practical section size | Why it works |
| Hairline | 1 inch | Controls direction and frizz |
| Crown | 1 to 1.5 inches | Builds root lift |
| Back | 1.5 to 2 inches | Balances speed and polish |
Myth: the hottest setting gives the best result
High heat can speed drying, but it also gives you less control. The U.S.
Consumer Product Safety Commission requires hair dryers to include protection against dangerous overheating, but that does not mean every heat setting is suitable for every pass.
For fine or fragile-feeling hair, use low to medium heat with high airflow. For dense hair, use medium to high heat for rough-drying, then reduce heat once the brush starts shaping the section.
Mistake: holding the nozzle too close
Keep the concentrator nozzle about 2 to 3 inches from the hair, angled down the hair shaft. Pressing the nozzle directly onto the brush can scorch moisture out too quickly and flatten the shape you are trying to build.
Myth: a cool shot is optional
Cooling is what helps the set last. After heating a section around the brush, hold it in place and use cool air for about 5 to 10 seconds before releasing. This is especially useful at the crown, fringe, and face frame.
- Do not chase frizz with repeated hot passes: re-dampen the section lightly, add tension, and dry once with the nozzle pointed downward.
- Do not skip the roots: if roots stay damp, the blowout collapses quickly, even if the ends look smooth.
- Do not use a brush too early: rough-dry first, then polish. Brush work on soaking hair wastes time and increases tangling.
Frequently Asked Questions
How wet should my hair be before I start blow drying?
Start when hair is about 70% dry, not dripping. Towel-blot with a microfiber towel, then rough-dry roots on medium heat until strands feel damp rather than wet.
What heat setting should I use for a home blowout?
Use medium heat, typically around 140–160°F, for fine or fragile hair. Use higher heat, around 180–200°F, only for thick or coarse hair, keeping the nozzle at least 6 inches from the hair.
What brush size gives the best blow-dry shape?
Use a 1.5–2 inch round brush for short layers, bangs, or root lift. Use a 2.5–3 inch brush for shoulder-length or longer hair when you want smoother bends and less curl.
How should I section my hair for a smoother blow dry?
Divide hair into 4 main sections: nape, two sides, and crown. Work in 1–2 inch subsections so the brush controls the full width of the hair and the airflow reaches evenly.
How do I make my blow dry last longer at home?
Finish each section with a 5–10 second cool shot while the hair is wrapped on the brush. Let the section cool before touching it, because shape sets as the hair temperature drops.
Should I use a heat protectant before blow drying at home?
Yes, apply a heat protectant before using the dryer. Work it through the mid-lengths and ends so the hair is coated evenly without making the roots greasy.
Which direction should I point the blow dryer?
Point the nozzle down the hair shaft, from roots toward ends. This helps smooth the cuticle, reduce frizz, and create a cleaner finish.
How can I add volume while blow drying my own hair?
Lift sections at the roots with a brush and direct airflow into the base of the hair. Let each section cool for a few seconds before releasing it to help the shape hold.
Related Reading
- Blow drying fine hair for volume that holds
- Blow drying curly hair straight without wrecking it
- How to make a blowout last past day two
- How to blow dry a finish that survives humidity
- How long a blow dry should actually take
- Root volume that survives the first hour
- Blow drying short hair without losing the shape
- Sectioning: the step most people skip
- What the cool shot button actually does
- The complete guide to blow drying technique
- OSHA Electrical Safety
- MedlinePlus Hair and Hair Problems
- PubMed Hair Shaft Heat Styling Search
- SBA Licenses and Permits
- American Academy of Dermatology Hair Care
- UL Solutions
- National Center for Biotechnology Information Bookshelf
- PubMed Central
- PubMed Central
- Occupational Safety and Health Administration