
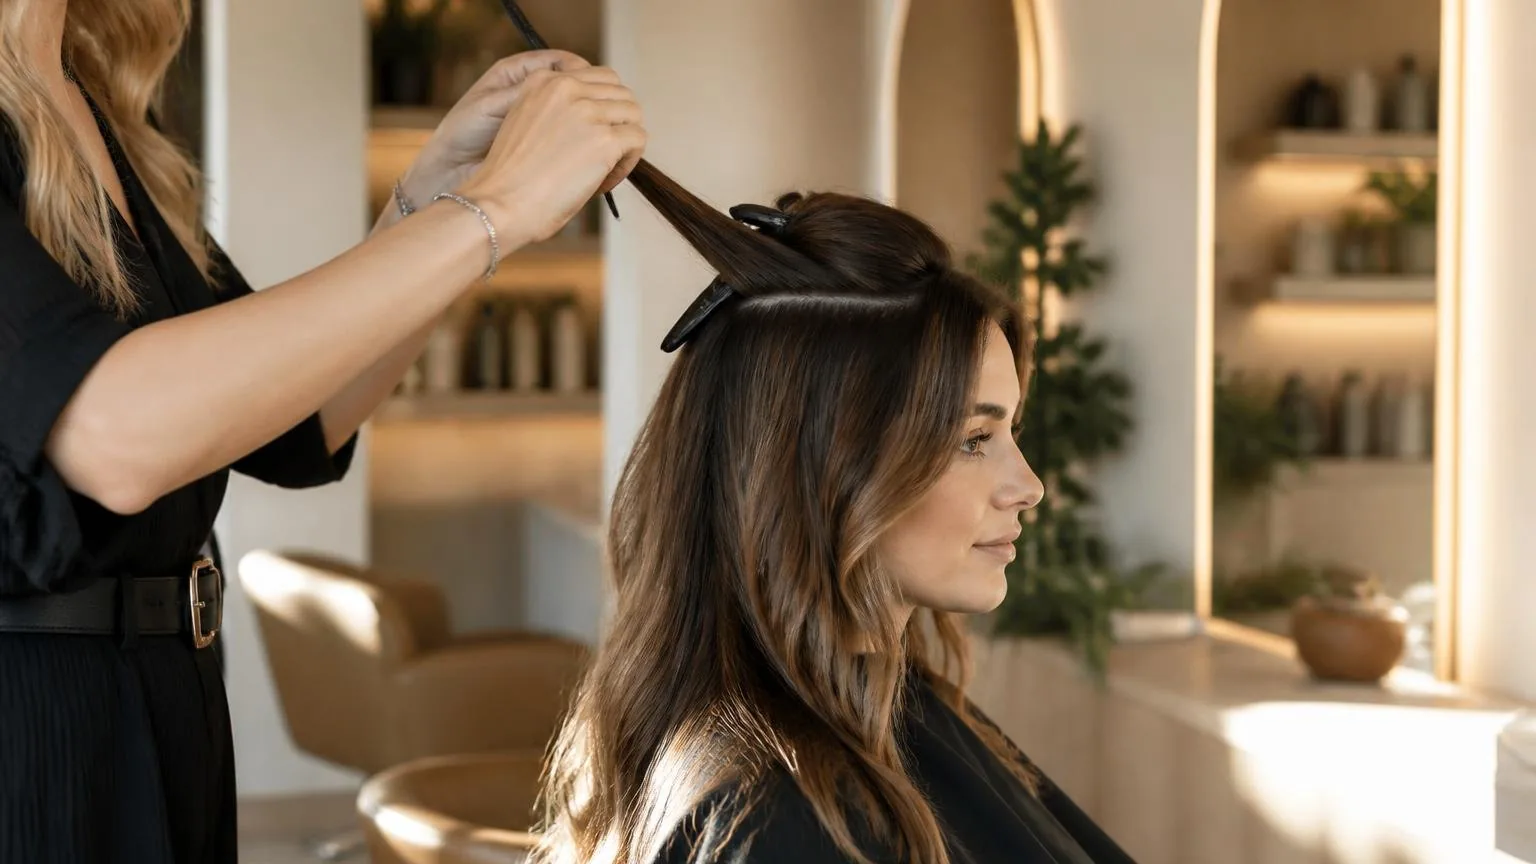
Sectioning means dividing hair into controlled panels, usually 4 to 6 zones, so airflow, tension, and brush angle stay consistent from roots to ends.
In blow-dry work, clean sections prevent damp interiors, overworked ends, and uneven bend. Use clips, 1-inch to 2-inch subsections, and a parting tail to match density, brush diameter, and finish.
Map Your Blowout Grid
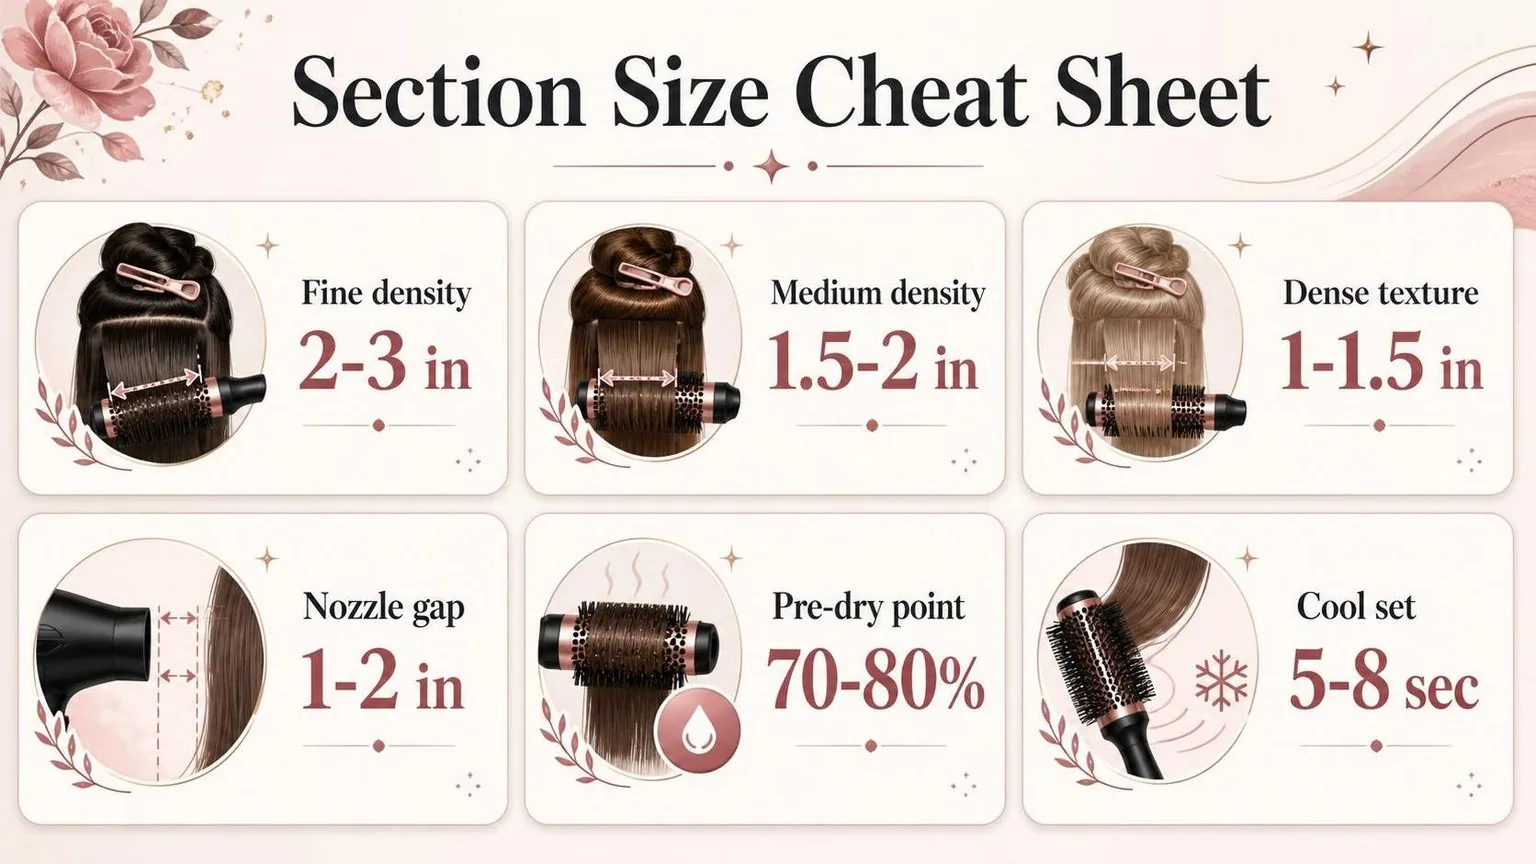
Before the dryer goes on, set your section plan for the head in your chair. Use hair density, brush size, and the finish request to choose your subsection width.
- Start with 4 quadrants. Part from front hairline to nape, then ear to ear. Clip each zone cleanly so no loose hair falls into the working area.
- Check density at the nape. If the hair feels fine or see-through, use 2-inch horizontal subsections. If it feels medium, use 1.5 inches. If it feels dense, coarse, or curly, use 1 inch.
- Match the brush barrel. No subsection should be wider than the barrel. A 1.5-inch brush needs sections no wider than 1.5 inches for steady tension.
- Time the first panel. Dry the first nape subsection from damp to finished. If it takes more than 90 seconds, split the next section smaller.
- Adjust for the finish. For sleek work, keep sections narrow and flat. For volume, keep clean horizontal panels but lift each subsection higher at the root.
Write the chosen size on the mirror note or service card: “1-inch nape, 1.5-inch sides,” for example. That keeps the blowout consistent when another stylist assists or finishes the service.
What the Data Shows
Sectioning is not just tidiness; it sets how much wet hair one brush can tension, heat, and polish at a time. The useful numbers are section thickness, brush coverage, airflow distance, and the point at which a section is dry enough to cool.
In salon work, the cleanest rule is to size the subsection to the tool, not to the head. Milady and Pivot Point training both teach controlled subsectioning because even tension and even drying depend on manageable hair density.
| Hair density or finish goal | Working subsection thickness | Practical use |
| Fine or low density | 2 in to 3 in | Enough hair to create grip without over-drying one small area. |
| Medium density | 1.5 in to 2 in | Standard blowout sections for smoothness and speed. |
| Dense, coarse, or high-frizz finish goal | 1 in to 1.5 in | Allows the brush to reach the interior, not just polish the surface. |
| Hairline, nape, fringe | 0.5 in to 1 in | Best control where growth patterns change direction. |
The brush should physically cover the section. If the section is wider than the working bristle area, the outer hair receives tension while the middle stays damp or puffy.
| Brush measurement | Sectioning rule | Why it matters |
| Barrel diameter: 1.5 in | Use sections about 1 in to 1.5 in thick | Better for fringe, short layers, and root lift. |
| Barrel diameter: 2 in | Use sections about 1.5 in to 2 in thick | Common smoothing size for shoulder-length hair. |
| Barrel diameter: 2.5 in to 3 in | Use sections about 2 in to 3 in thick | Best for long hair, soft bend, and volume. |
| Bristled length: 4 in | Keep section width at 4 in or less | Prevents unsupported edges from slipping. |
Heat and timing only work when the section is thin enough for airflow to pass through. A concentrated nozzle gives more directional control than an open dryer mouth, but it also demands movement.
| Control point | Number to use | Salon reasoning |
| Nozzle distance | 1 in to 2 in from the hair | Close enough for control, far enough to keep air moving across the section. |
| Nozzle angle | About 45 degrees downward | Helps lay the cuticle-facing surface smoother from roots to ends. |
| Moisture before brush work | About 70 percent to 80 percent dry | Removes bulk water before detailed tension work. |
| Final polish pass | 5 seconds to 10 seconds per subsection | Enough time to refine shape without repeatedly reheating dry hair. |
| Cool shot set | 5 seconds to 8 seconds | Lets the shaped section firm up before release. |
A practical blowdry map is simple: divide into quadrants, then take horizontal subsections from the nape upward. Add extra panels only when the hair is dense enough that the clip cannot hold a clean, flat section.
| Head map | Typical section count | Best use |
| Basic quadrant pattern | 4 main sections | Efficient for most salon blowouts. |
| Dense or very long hair | 6 main sections | Reduces crowding and clip slippage. |
| Detailed face frame | 2 front panels | Improves symmetry around the hairline. |
What Changes the Result
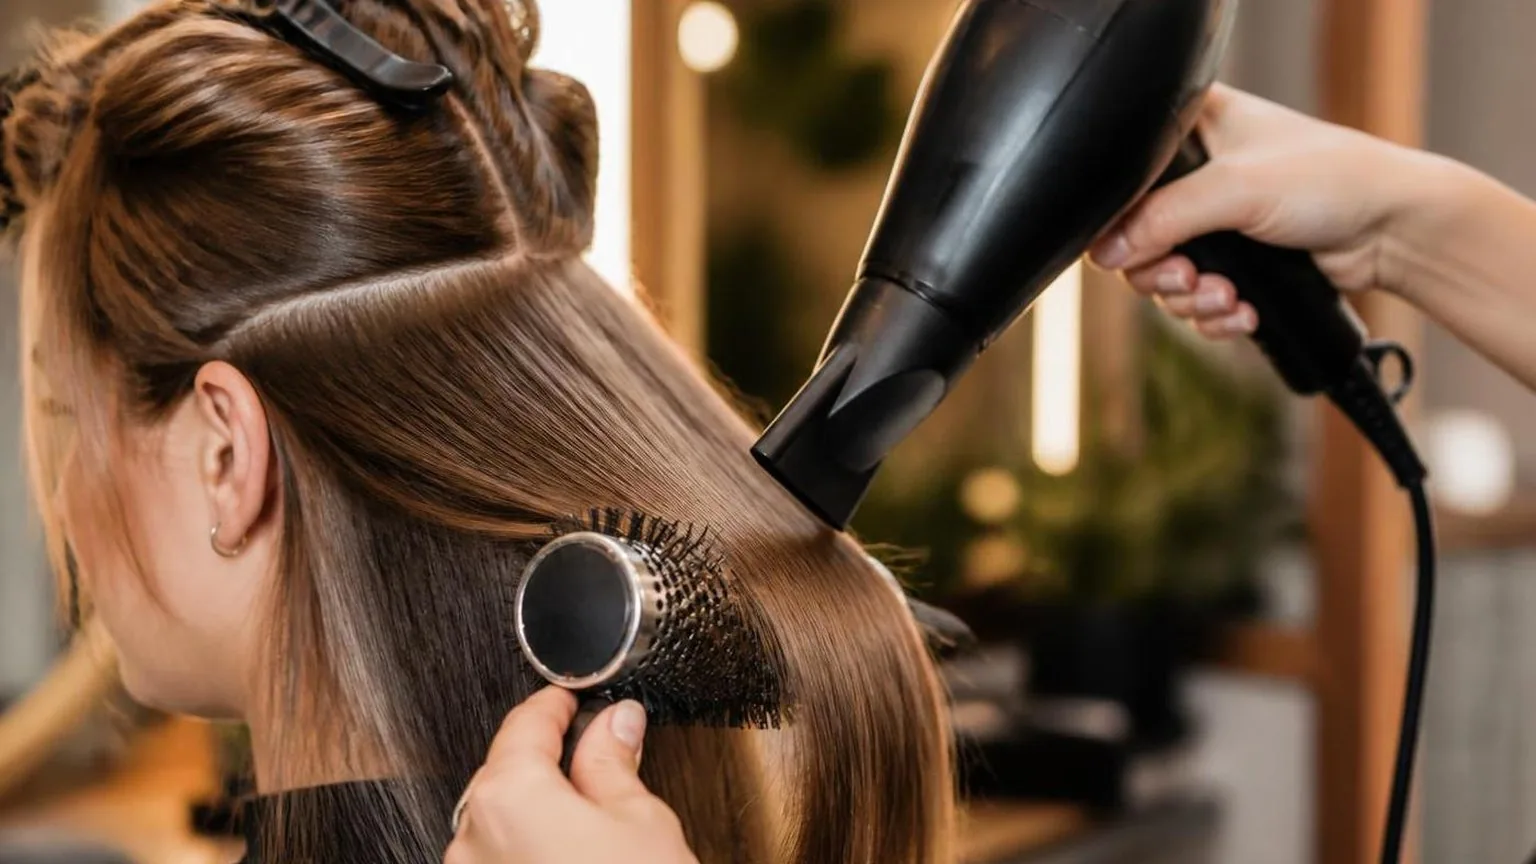
Sectioning changes the result by controlling tension, airflow, heat exposure, and brush contact. Clean, even panels dry faster, polish better, and make the finished shape more predictable from roots to ends.
The biggest shift comes from matching section size to brush size and hair density. If the panel is wider than the brush barrel, the edges miss heat and tension, which leaves fuzzy borders or collapsed roots.
Section width versus brush barrel
| Brush barrel diameter | Best section width | Best use |
| 25 mm | 25 to 38 mm | Short layers, fringe, root lift |
| 33 mm | 38 to 50 mm | Medium layers, bevelled ends |
| 43 mm | 50 to 65 mm | Long layers, soft volume |
| 53 mm | 65 to 75 mm | Long hair, smoother bend |
Depth matters as much as width. A thick slice traps damp hair inside the panel, so the surface may look finished while the centre stays cool and slightly swollen.
Panel depth and drying control
| Hair density | Section depth | Practical cue |
| Fine | 10 to 15 mm | Scalp is faintly visible through the panel |
| Medium | 15 to 20 mm | Panel wraps once cleanly around the brush |
| Dense | 10 to 15 mm | Use smaller rows to keep airflow moving |
Professional dryers often run with outlet air well above comfortable skin temperature, so distance and movement are part of sectioning technique.
The British Skin Foundation advises caution with high heat exposure; in salon practice, keep the nozzle moving and avoid pressing it into the hair.
Heat, distance, and timing
| Control point | Working range | Why it changes finish |
| Nozzle distance | 5 to 8 cm | Concentrates airflow without scorching the section |
| Root drying time | 5 to 8 seconds per lift | Sets direction before mid-lengths are stretched |
| Cool shot | 5 to 10 seconds | Helps lock the bend before releasing tension |
| Nozzle angle | About 45 degrees | Directs cuticle-laying airflow from roots to ends |
- Clean partings: Use the tail of a comb, not fingers, for high-tension smoothing. Uneven zigzags create different drying speeds across one panel.
- Clip placement: Clip hair above the working row, away from the airflow path. Metal clips should not sit in the heat stream.
- Starting point: Begin at the nape for smooth finishes. Start at the crown when maximum lift is the priority.
- Tension: Keep steady pull from root to end. Re-gripping mid-panel usually leaves a visible change in polish.
For home blow-dries, the most reliable rule is simple: reduce the section before raising the heat. Smaller, cleaner panels give more control than hotter airflow, especially around the hairline, crown, and dense occipital area.
Checking It at the Chair
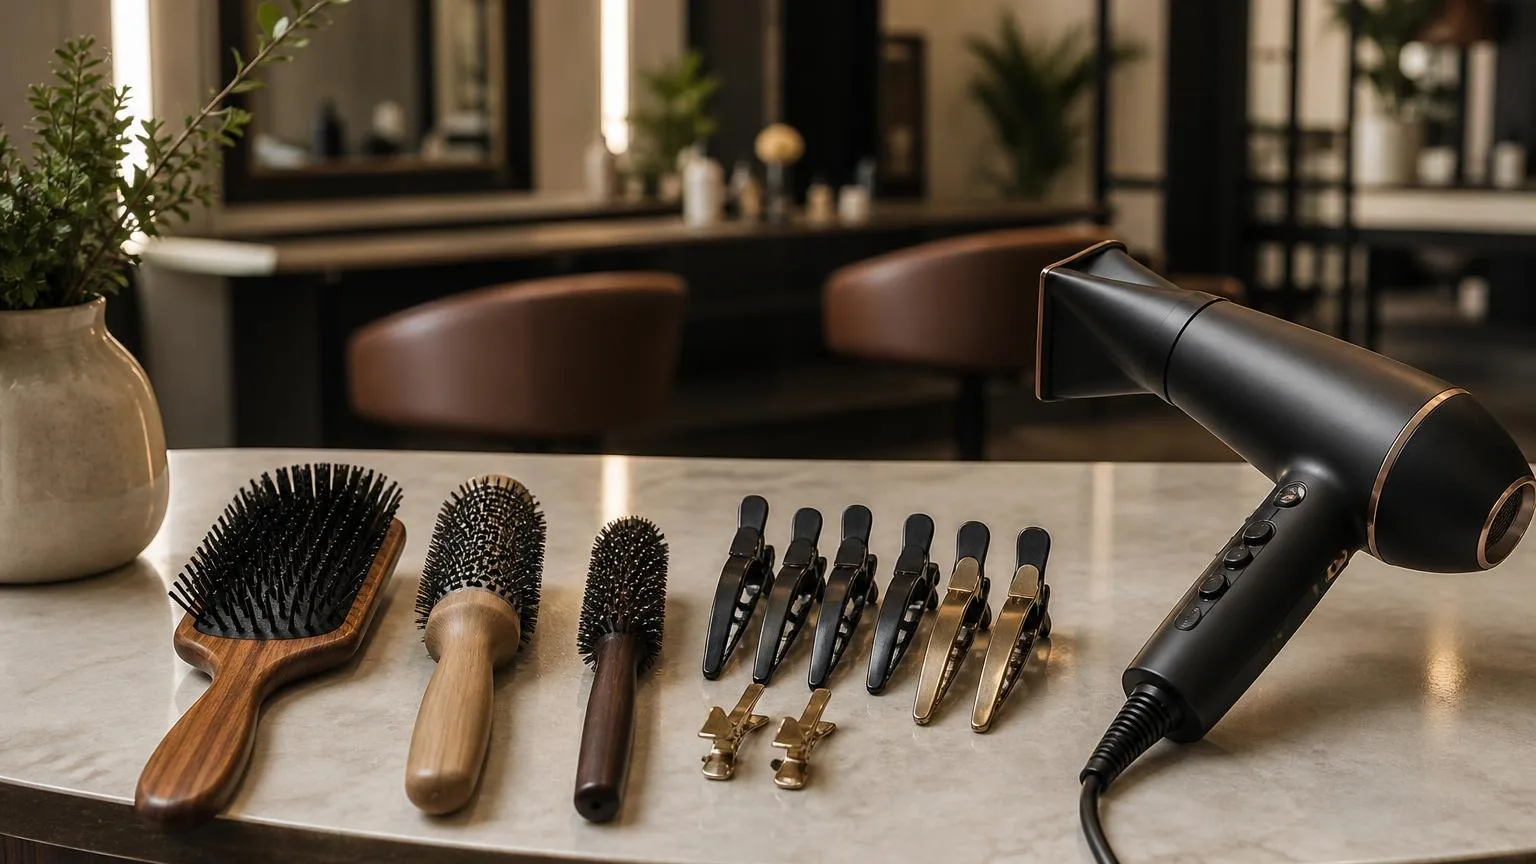
Good sectioning is judged by control, not by how neat the grid looks. On real hair, the right section lets air reach the roots, keeps the brush loaded without drag, and dries evenly from base to ends.
In salon work, I check section size against density, brush diameter, and the finish requested. The section should sit flat on the brush barrel with no bunching at the edges.
Use the brush as your measuring tool
A practical rule is to make each subsection no wider than the working width of the brush. If hair spills past the bristles, the middle will stay damp while the edges over-dry.
| Tool or hair factor | Section width to test first | What it tells you |
| Small round brush | About the brush barrel width | Best for fringes, short layers, and root lift |
| Medium round brush | Slightly narrower than the barrel width | Gives tension without folding hair over itself |
| Paddle brush | About the brush pad width | Works for smooth, flatter finishes on longer lengths |
| High-density hair | Half the section you would use on fine hair | Allows heat and airflow to reach the interior |
Read moisture, not just thickness
The same head may need different sectioning at the crown, nape, and hairline. Hair at the nape often holds more water, while finer face-framing pieces can dry before the brush is positioned.
| Hair feel before styling | Best sectioning response | Reason |
| Dripping or rope-like | Rough dry before precision sectioning | Sections collapse and lose tension when overloaded with water |
| Cool and damp to touch | Use smaller, cleaner subsections | Airflow can pass through the panel evenly |
| Almost dry but still flexible | Use normal working sections | Shape sets more predictably with brush tension |
| Dry and flyaway | Take finer panels and reduce passes | Prevents repeated heat on the same outer layer |
Check tension at the root
A well-judged section lifts as one sheet from the scalp. If the brush grabs only the surface, the panel is too deep. If the root buckles or forms ridges, the section is too wide for the angle.
- At the hairline: take shallow panels so short pieces do not escape the brush.
- At the crown: use narrower panels and direct them upward for controlled lift.
- At the nape: clip cleanly above the working area so loose hair does not re-wet finished sections.
- On layered hair: section by length change, not only by horizontal rows.
The final test is consistency. A correctly judged section dries at the root, mid-length, and ends in the same pass pattern, without needing repeated rescue work on the centre of the panel.
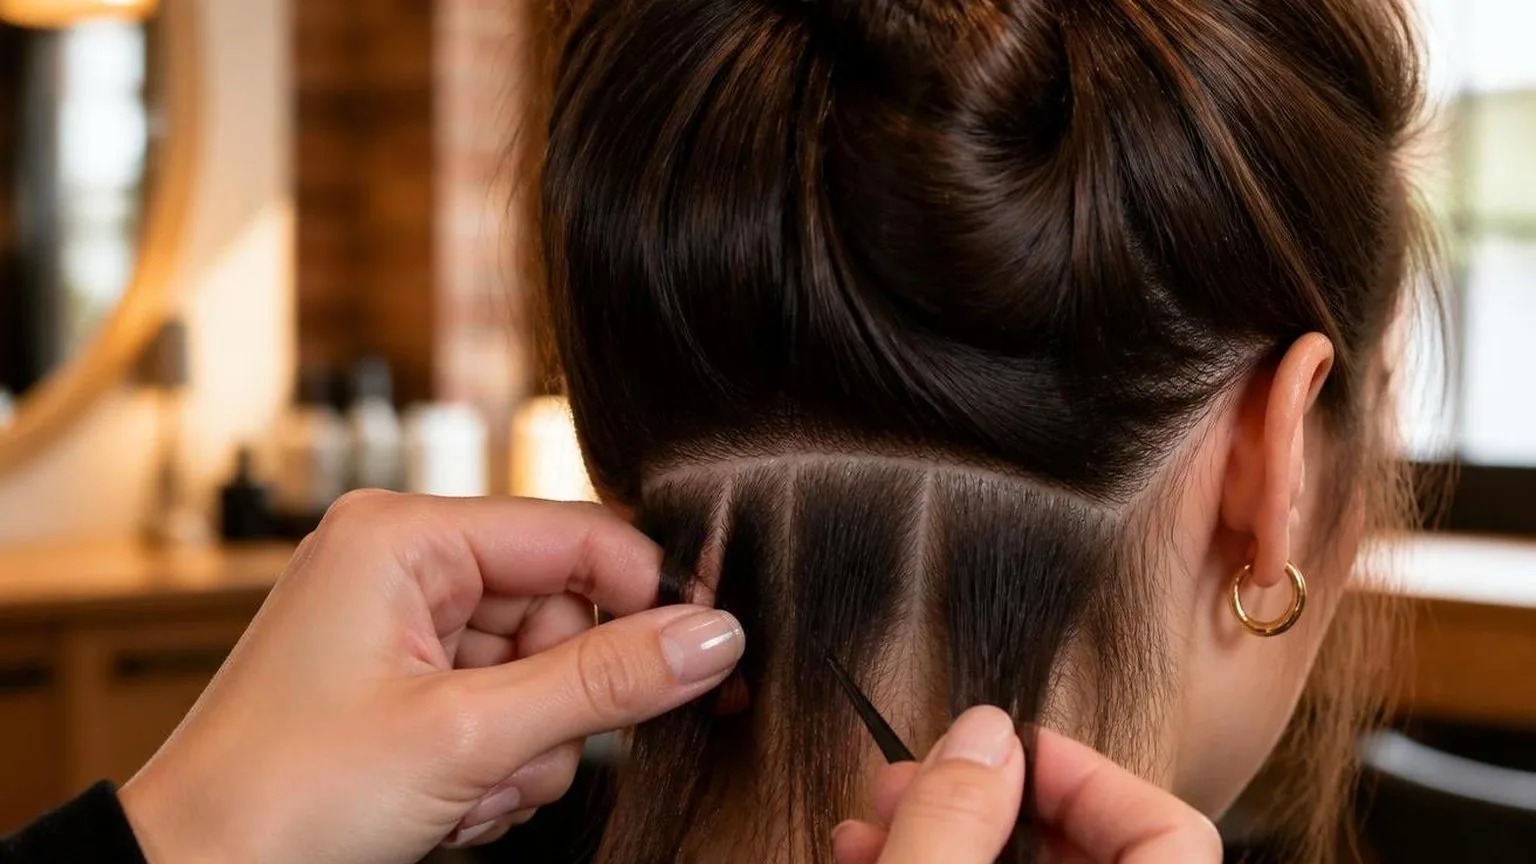
How It Compares to the Alternatives
Sectioning is slower at the start, but it beats freehand drying for control, root lift, and consistency.
Compared with rough drying or grabbing random pieces, clean sections keep the brush inside a workable panel: usually no wider than the brush barrel and no thicker than 1 inch.
For salon blowouts, sectioning is the difference between “mostly dry” and polished.
It lets stylists manage airflow direction, tension, and heat exposure one panel at a time, which is why it remains standard practice in cosmetology training texts such as Milady and Pivot Point.
| Method | Typical panel size | Best use | Main trade-off |
| Clean sectioning with clips | 1 inch thick; width matched to brush barrel | Professional finish, volume, smoothing | Adds 2 to 5 minutes at setup |
| Rough drying without sections | Random pieces, often 2 to 4 inches wide | Removing moisture quickly before styling | Uneven tension and missed damp areas |
| Loose quadrant parting | 4 large areas: front, back, left, right | Home styling on medium-density hair | Less precise around crown and hairline |
| Clip-free hand control | Depends on hand span, often inconsistent | Short hair or quick refresh styling | Hair falls into finished areas |
Against rough drying
Rough drying has one advantage: speed. If hair is very wet, drying with fingers until it feels about 70 to 80 percent dry can shorten brush work. But once shaping starts, unsectioned hair makes it harder to keep the nozzle aimed down the hair shaft.
With sectioning, each subsection gets repeatable tension from roots to ends. A concentrator nozzle held about 1 to 3 inches from the brush can follow the same path without blasting neighbouring hair out of place.
Against simple quadrant parting
Four quadrants are useful, especially for home users. They create order without overcomplicating the blowout. The limitation is size: a full quadrant often contains too much hair to dry evenly in one pass.
A better approach is quadrant first, then smaller horizontal subsections. Around the nape, ½-inch to 1-inch panels are easier to control. At the crown, smaller lifted sections help create volume because the brush can sit closer to the root.
Against clip-free styling
Clip-free styling works on short hair and fast touch-ups, but it is unreliable on dense or long hair. Finished strands fall back into damp areas, forcing repeated passes and increasing frizz from unnecessary handling.
Use duckbill clips for fine hair and stronger sectioning clips for dense hair. A practical salon setup is 4 to 6 clips: two for the back, two for the sides, and extras for fringe or crown detail.
- Choose sectioning for smooth blowouts, bouncy round-brush work, curtain bangs, and polished ends.
- Choose rough drying only before styling, not as the finishing method.
- Choose quadrants when teaching clients a simple home routine.
- Choose clip-free control for pixie lengths, fringe tweaks, or very quick refresh work.
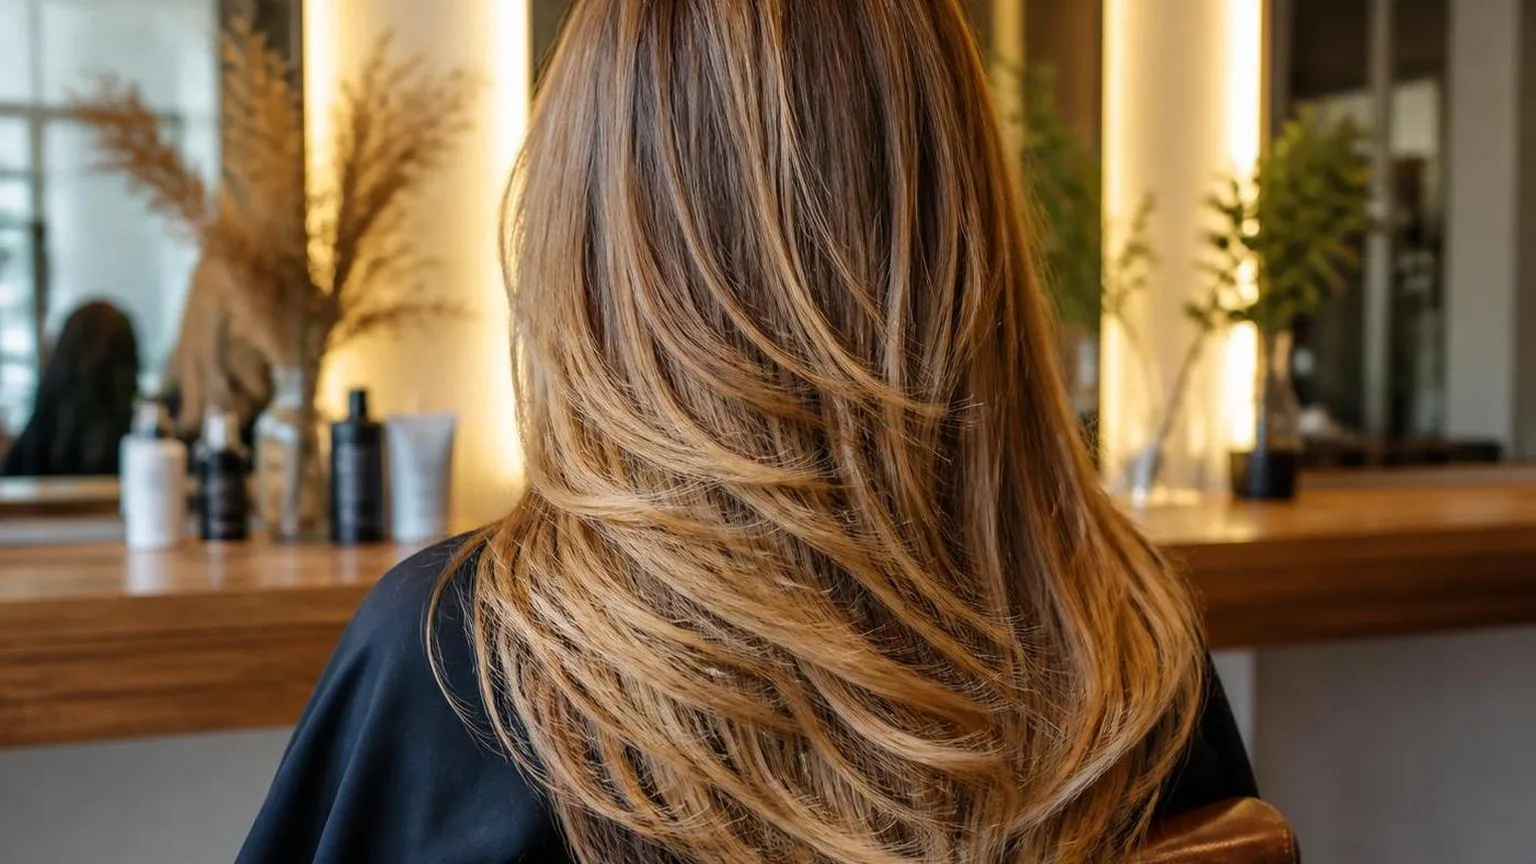
Protecting the Hair While You Work
Sectioning protects hair because each pass can be controlled: the subsection is small enough to dry evenly, the brush can hold it without yanking, and heat is not parked on one spot.
The goal is steady airflow, moderate tension, and fewer repeat passes.
Robbins’ cosmetic science text notes that wet hair fibres have lower tensile strength than dry fibres, so the highest-risk moment is the first stretch on damp hair.
Detangle before clipping, then build sections that match the brush, not the impatience of the stylist.
Working section sizes
| Hair density | Subsection width | Subsection depth | Best brush barrel |
| Fine or low density | 25-40 mm | 10-15 mm | 25-35 mm |
| Medium density | 40-55 mm | 15-20 mm | 35-45 mm |
| High density or coarse texture | 30-45 mm | 10-15 mm | 45-55 mm |
If the brush cannot touch the full underside of the subsection, the section is too deep. That creates a dry surface with a damp core, which usually leads to extra heat passes and rougher brushing.
Heat settings that leave room for control
| Tool stage | Safer working target | Practical cue |
| Rough-dry before round brushing | About 70-80% dry | Hair feels cool but no longer drips or clumps |
| Dryer nozzle distance | 50-75 mm from hair | Air moves the section without flattening it against the brush |
| Flat iron on dry hair | 150-185°C | Use the lowest setting that smooths in one controlled pass |
| Hot brush or tong contact | 5-8 seconds per area | Release before the section feels hot to the fingers |
The ghd temperature guidance commonly references 185°C as a styling ceiling for straighteners. That does not mean every head needs that setting. Fine, porous-feeling hair often responds below it when sections are narrow and fully dry.
Tension without overstretching
- Anchor the section: Hold hair close to the roots before placing the brush, especially around the hairline and nape.
- Use moving tension: Keep the brush gliding. Do not hold a taut, wet section stationary under hot airflow.
- Angle the nozzle: Direct air from roots to ends so the cuticle lies flatter and the brush does less dragging.
- Cool before unclipping: Let each finished section rest until warm, not hot, before stacking another section over it.
For salon consistency, check your dryer routine with an infrared thermometer during training. Measure the hair surface after a normal pass, not the air at the nozzle.
That gives a more realistic read on how your section size, speed, and tension interact.
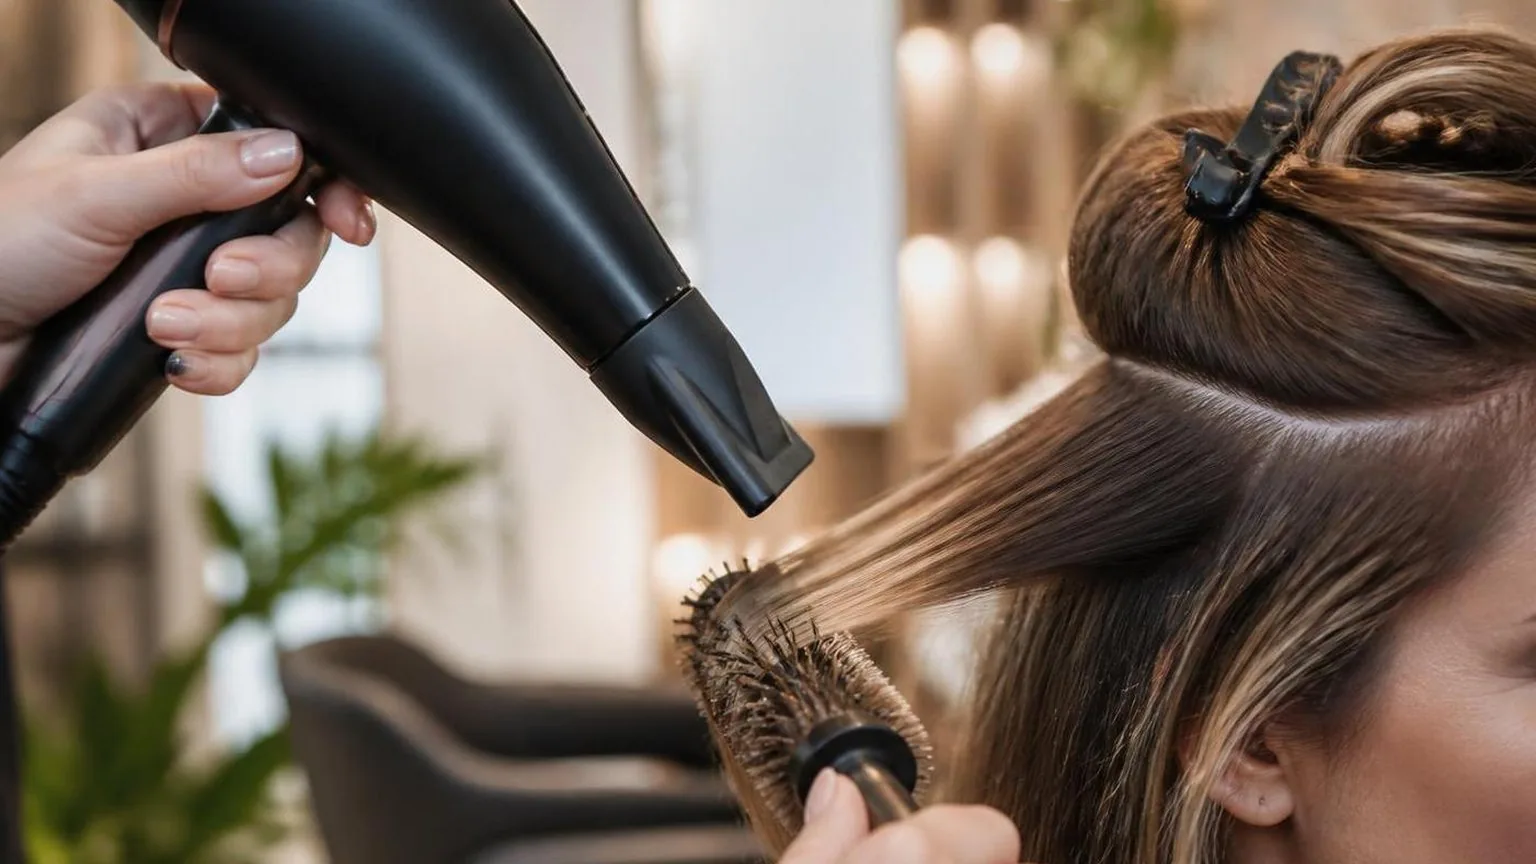
What Is Happening to the Hair
Sectioning changes the finish more than brush size or dryer speed because it controls airflow, tension, and moisture removal.
On fine, medium, and dense hair, smaller, cleaner sections let the root dry faster and reduce corrective passes through the ends.
The strongest control comes from sections no wider than the brush barrel and no deeper than the airflow can fully penetrate. When the brush is overloaded, the surface can look polished while the interior stays damp and collapses within minutes.
| Hair density | Section width | Section depth | Best brush barrel |
| Fine | 1.5 to 2 inches | 0.5 inch | 1.5 to 1.75 inches |
| Medium | 2 to 2.5 inches | 0.5 to 0.75 inch | 1.75 to 2 inches |
| Dense | 1 to 1.5 inches | 0.25 to 0.5 inch | 1.5 to 2 inches |
The pattern starts on freshly towel-blotted hair and carries through to the finished blowout. Standard nozzle work keeps the concentrator 2 to 3 inches from the hair, angled down the shaft, never flat against the brush.
| Variable | Working range | Effect on finish |
| Wide sections | 3 to 4 inches wide | Faster setup, more frizz at the underneath layers |
| Matched sections | Same width as barrel | Best tension, most even shine |
| Over-deep sections | More than 1 inch deep | Roots felt cool and damp after the first pass |
Each section works best with 3 working passes: root lift, mid-length smoothing, then end bevel. On dense hair, a fourth pass is useful only when the section still feels cool to the touch after airflow stops.
- Horizontal sections give the smoothest commercial blow-dry finish at the nape and crown.
- Diagonal-back sections around the face create a softer fall than straight vertical slices.
- Clipping away finished hair prevents moisture transfer from undried sections.
- Clean partings reduce snagging and keep brush tension consistent from root to end.
Heat matters less than saturation and section size. With salon dryers set to medium heat and high air, controlled sections dry evenly without repeated high-heat passes. Fine hair is best handled by reducing heat before the final bevel.
| Checkpoint | Pass standard | Fail sign |
| Root | Warm, dry, lifted | Cool feeling after release |
| Mid-length | Smooth with brush tension | Puffy inner layer |
| Ends | Beveled in 1 to 2 passes | Repeated flicking needed |
Sectioning is a drying system, not just a tidy setup. The rule is simple: if the dryer cannot reach the full depth of the slice, the section is too big.
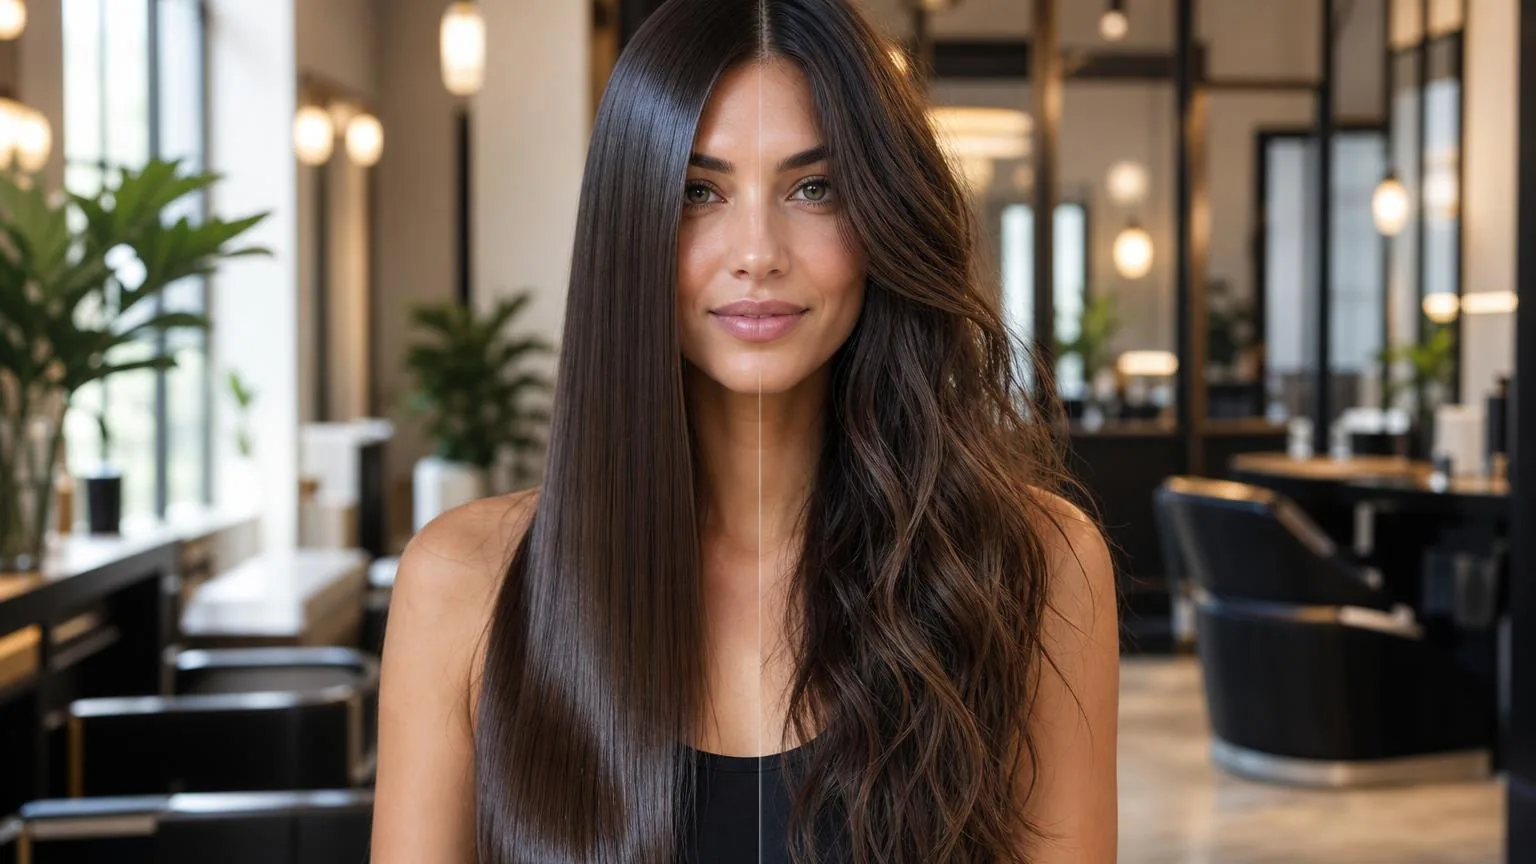
Myths That Keep Going Round
Most sectioning mistakes come from taking panels that are wider than the brush, clipping hair without clean tension, or treating every head shape the same.
Good sectioning is not about making more work; it controls airflow, root lift, drying speed, and finish consistency.
In salon training, we see the same myth repeatedly: “fewer sections mean a faster blowout.” In practice, oversized sections hold moisture in the centre, so stylists re-dry the same hair multiple times and lose polish at the ends.
Mistake: sections wider than the brush barrel
A working subsection should be no wider than the tool doing the shaping. If the hair extends past the barrel, the outer edges miss heat, airflow, and tension. That usually creates puffy mids and flattened roots.
| Brush barrel | Best subsection width | Use |
| 25 mm | 20 to 25 mm | Fringe, short layers, tighter bend |
| 35 mm | 30 to 35 mm | Bobs, face frame, medium lift |
| 45 mm | 40 to 45 mm | Long layers, smooth volume |
| 55 mm | 45 to 55 mm | Long, dense hair, soft finish |
Mistake: making sections too thick
Thickness matters as much as width. A dense subsection blocks airflow from reaching the underside. For most blow-dry work, aim for panels about 10 to 20 mm thick, adjusting down for coarse or high-density hair.
| Hair density | Suggested thickness | Why it works |
| Fine or low density | 20 mm | Enough hair to hold shape without over-drying |
| Medium density | 15 mm | Balanced airflow and control |
| High density | 10 mm | Prevents damp centres and bulky roots |
Myth: clean partings are only for formal styling
Clean partings are practical, not decorative. A jagged section drops loose hairs into the airflow, creating tangles and uneven tension. Use the tail of a comb, then clip the remaining hair flat against the head.
- Work from nape to crown when smoothing, because lower sections need the most control and are hardest to revisit.
- Use 4 main zones: nape, left side, right side, and crown. Split each zone smaller as needed.
- Clip above the parting, not on the working hair, so the brush can rotate without catching.
- Keep nozzle distance consistent, around 5 to 8 cm from the hair, following the brush direction.
Myth: more heat fixes poor sectioning
Higher heat does not correct a section that is too large. It dries the surface first while inner strands remain damp.
The Hairdressing and Barbering teaching standard used in UK vocational training emphasises controlled section size, tension, and airflow direction before heat choice.
For a professional finish at home or in a blow dry bar, the best test is simple: after one pass, the full subsection should feel evenly dry from root to end. If the centre feels cool or damp, the section is too big.
Frequently Asked Questions
How many sections should I use for a salon-style blowout?
Use 4 quadrants for medium-density hair: center part from forehead to nape, then ear-to-ear across the crown.
For thick hair, split each quadrant into 2 subsections, keeping working panels about 1 inch wide for better brush tension and airflow control.
What size section should match my round brush?
Keep each section no wider than the barrel and no thicker than 1 inch. A 1.5-inch brush suits shorter layers and lift; a 2-inch brush smooths medium lengths; a 2.5-inch brush works best for long, loose bends.
Should I section wet hair before rough drying?
Rough dry first to about 70% dry, lifting roots with fingers while keeping airflow downward. Then section cleanly, because soaking wet panels take longer, collapse brush tension, and make it harder to polish the cuticle.
Where should I start sectioning for the fastest blowout?
Start at the nape, clipping the top and sides away with duckbill or sectioning clips. Work upward in horizontal panels around 1 inch deep, so finished hair drops neatly without disturbing the next section.
How do I section bangs or face-framing layers?
Create a triangular fringe section from the recession points to about 2 inches back from the hairline. Dry this area first using low to medium heat, directing airflow side-to-side before setting the final shape to avoid hard splits.
How do I keep sections out of the way while blow drying?
Use clips to hold the upper and side sections securely away from the area you are drying. Keep each clipped section neat and flat so it does not tangle or fall into the working section.
Related Reading
- Round brush diameter, by hair length
- Blow dry or air dry: what each does to hair
- What the cool shot button actually does
- Blow drying fine hair for volume that holds
- How to make a blowout last past day two
- Blow drying curly hair straight without wrecking it
- Root volume that survives the first hour
- Blow drying short hair without losing the shape
- How to blow dry a finish that survives humidity
- The complete guide to blow drying technique