
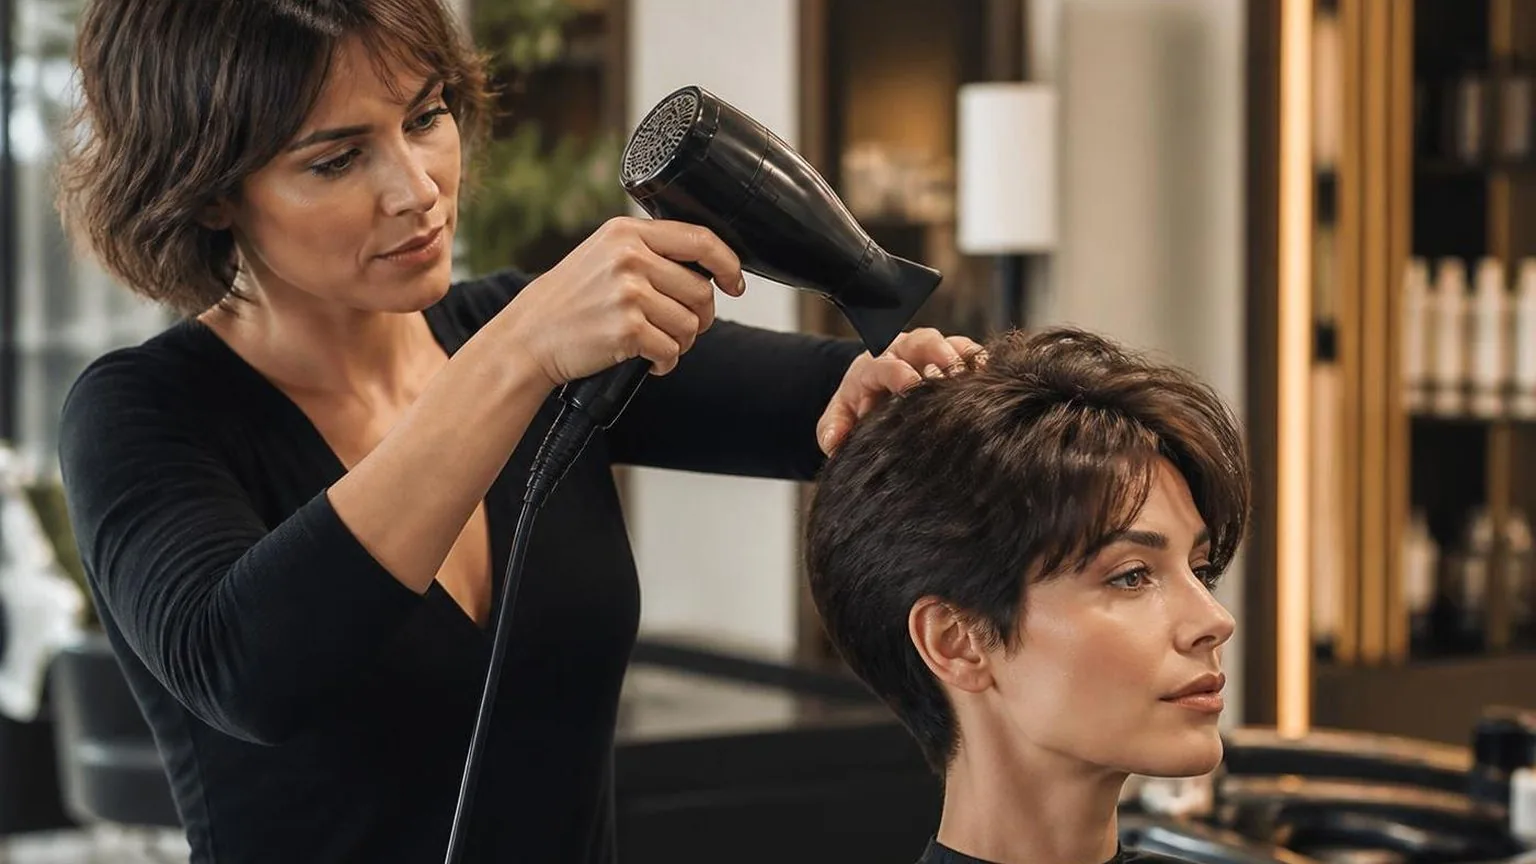
Blow drying short hair without losing the shape means controlling airflow direction from the first 30 seconds: use a nozzle, medium heat, and a 20–25mm brush to set roots before the outline collapses.
Short cuts show every misplaced bend, so work in 2–3cm sections, keep the dryer 10–15cm from the hair, and follow the cut’s natural fall. Direct roots first, then bevel ends only where the shape needs polish.
This guide focuses on salon-tested handling: heat control, brush angle, tension, and cooling time so bobs, crops, pixies, and fringes keep their intended structure after drying.
Map Your Shape
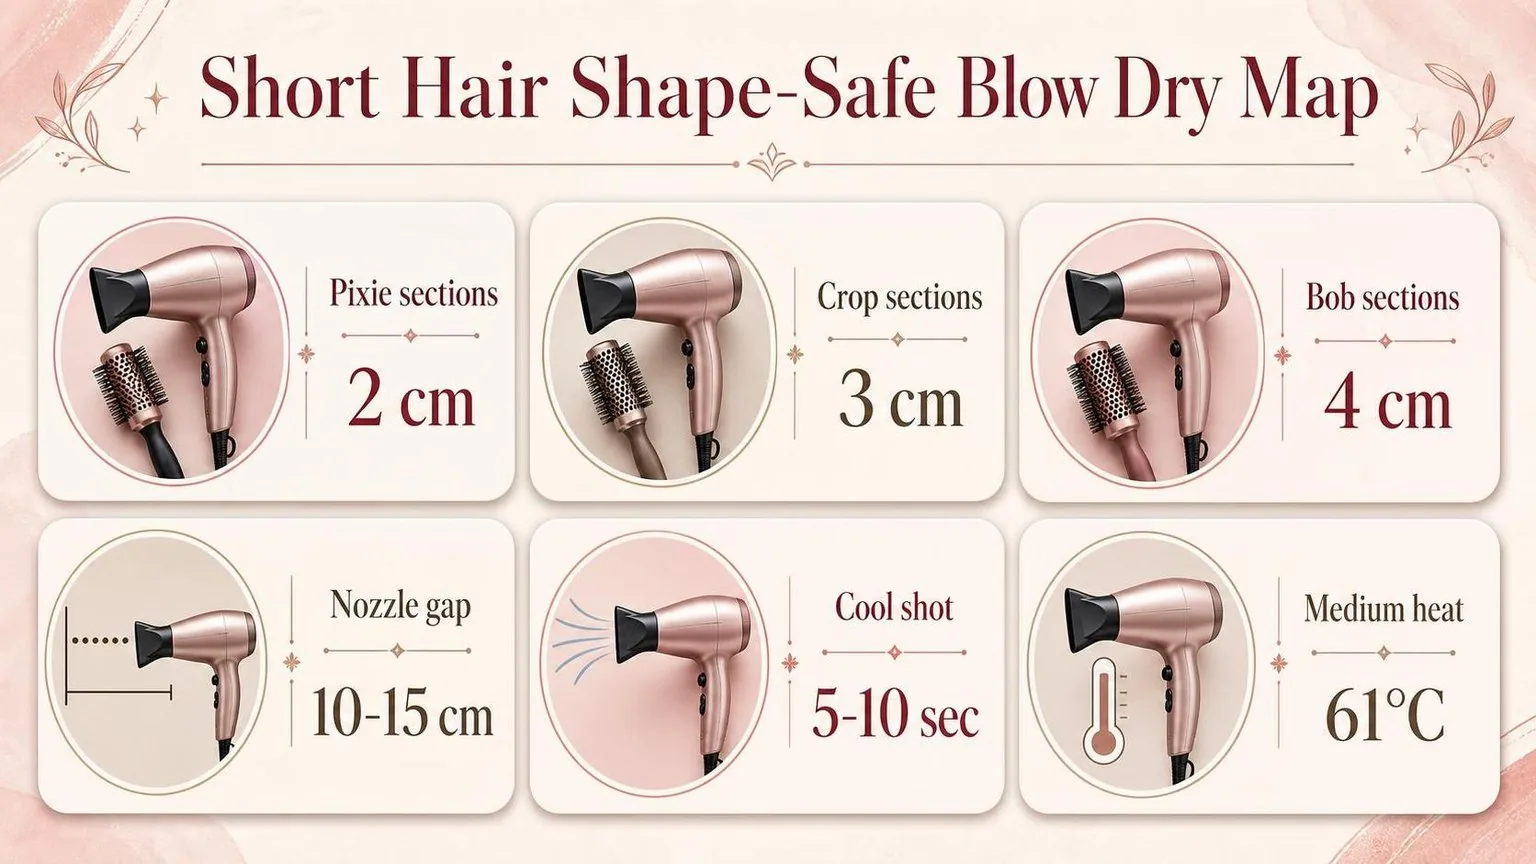
Before you switch on the dryer, decide where the haircut must expand, flatten, or stay crisp. Short hair loses shape when airflow pushes every section the same way. Use this quick map at the chair or mirror.
| Your short shape | Dry this zone first | Use this tool size | Airflow direction |
| Pixie with crown lift | Crown and top, in 2 cm sections | 20-25 mm vent brush or fingers | Up at the root for 5-7 seconds, then forward |
| Crop with flat sides | Sides before the top | Nozzle plus palm or 15-20 mm brush | Down and back, nozzle 3-5 cm from hair |
| Short bob | Nape, then side panels | 25-35 mm round brush | Down the cuticle, root to ends |
| French bob or bevelled ends | Ends last, when hair is about 80% dry | 30-40 mm ceramic or boar-style brush | Roll under for 4-6 seconds per section |
Set the dryer to medium heat first, around 60-80°C at the outlet if your tool lists heat settings. Use high airflow only to remove moisture, then reduce speed for the final 20% so the outline stays controlled.
Keep sections narrow: 2 cm for pixies, 3 cm for crops, 4 cm for short bobs. If a section is wider than the brush barrel, it will balloon instead of following the cut line.
Finish each shaped section with cool air for 3-5 seconds. Dyson and ghd both advise controlled airflow and nozzle direction for smoothing; the same principle protects short silhouettes from puffing out at the perimeter.
Reading the Numbers Properly
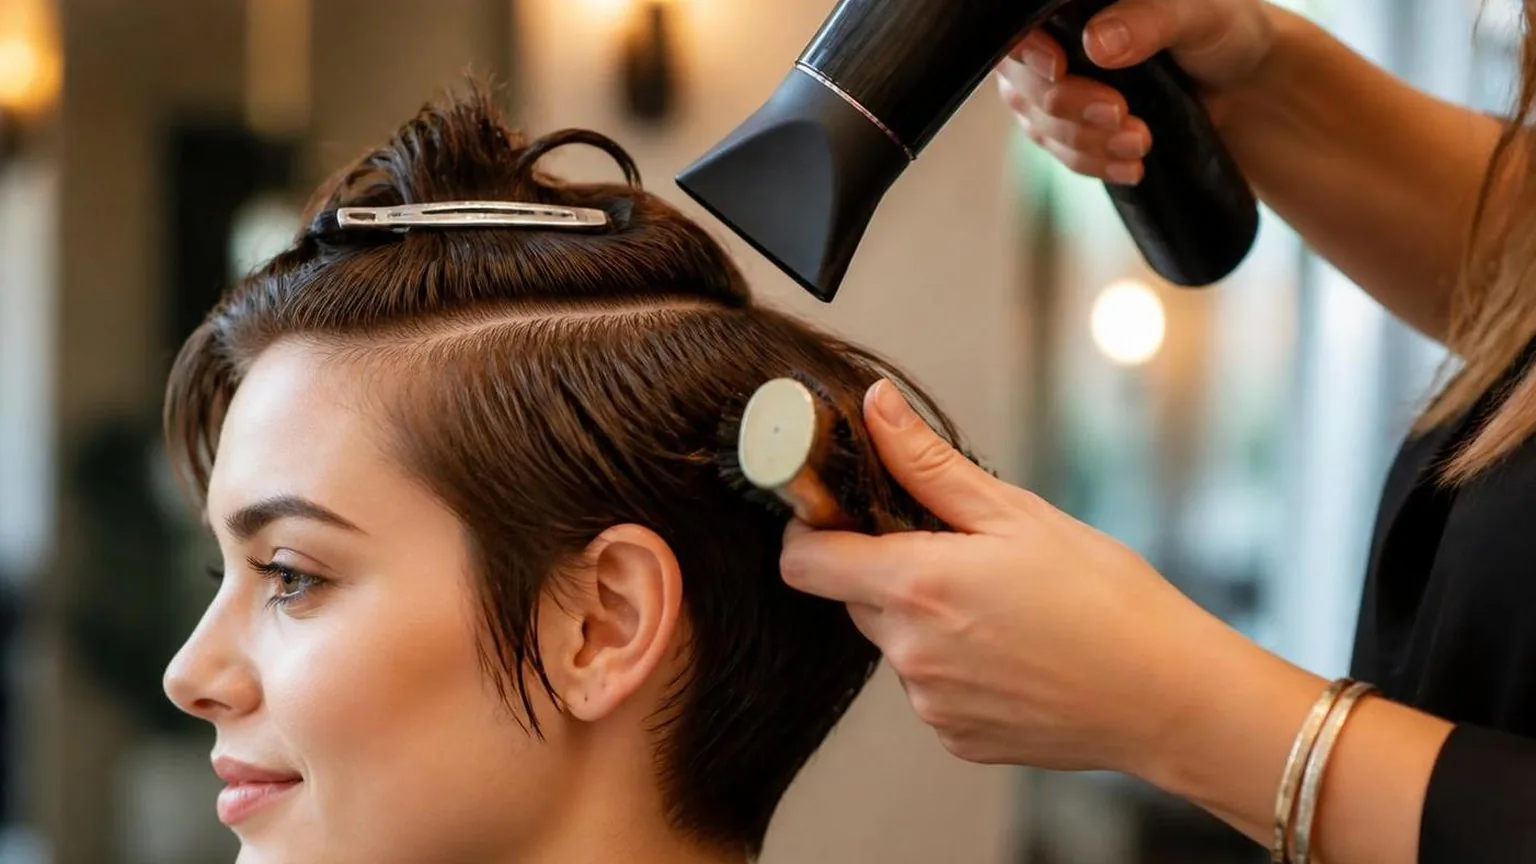
Short hair loses shape fastest when heat, airflow direction, and brush size are mismatched. The numbers point to one rule: use enough heat to set the bend, but keep the dryer moving and the airflow narrow.
In salon practice, short cuts usually need smaller sections than long hair because there is less length to “forgive” a wrong angle. A crop, bob, or short layered cut shows over-direction immediately at the crown, fringe, and neckline.
| Variable | Working number | Why it matters for short hair |
| Section width | 2 to 4 cm | Keeps roots controlled without flattening the finished outline |
| Nozzle gap from hair | 10 to 15 cm | Reduces hot spots while still directing the cuticle and bend |
| Airflow angle | About 45 degrees downward | Smooths the surface without blasting volume out of the shape |
| Cool-shot hold | 5 to 10 seconds | Helps the bend set before the brush is removed |
The often-cited hair-drying laboratory work in the Annals of Dermatology tested hair dryer use at a fixed distance of 15 cm.
Its key practical takeaway was not “avoid dryers,” but avoid excessive heat concentration and repeated high-temperature exposure.
| Test condition | Air temperature | Distance | Practical reading |
| Low heat dryer | 47°C | 15 cm | Lower surface stress, slower shaping |
| Medium heat dryer | 61°C | 15 cm | Useful balance for controlled short-hair drying |
| High heat dryer | 95°C | 15 cm | Higher risk of roughness when repeated or held still |
For shape retention, brush diameter matters as much as temperature. A brush that is too large polishes the hair but removes bend. A brush that is too small can over-round the ends and make a short cut look puffy.
| Hair length | Brush diameter | Best use |
| Pixie and cropped layers | 13 to 25 mm | Root lift, fringe control, neckline direction |
| Short bob or grown-out crop | 25 to 35 mm | Soft bevel, crown lift, controlled sides |
| Jaw-length bob | 35 to 45 mm | Smoother finish with less curl at the ends |
The final number is dryness. Short hair should be rough-dried only until it is mostly dry, then shaped with the nozzle and brush. If it is fully dry before detailing, the cut’s outline is harder to redirect.
| Stage | Dryness target | Action |
| Rough dry | 70 to 80 percent dry | Lift roots with fingers, follow natural fall |
| Shape dry | 80 to 95 percent dry | Use nozzle, brush, and section control |
| Set finish | 100 percent dry | Cool shot before disturbing the shape |
Where the Difference Comes From
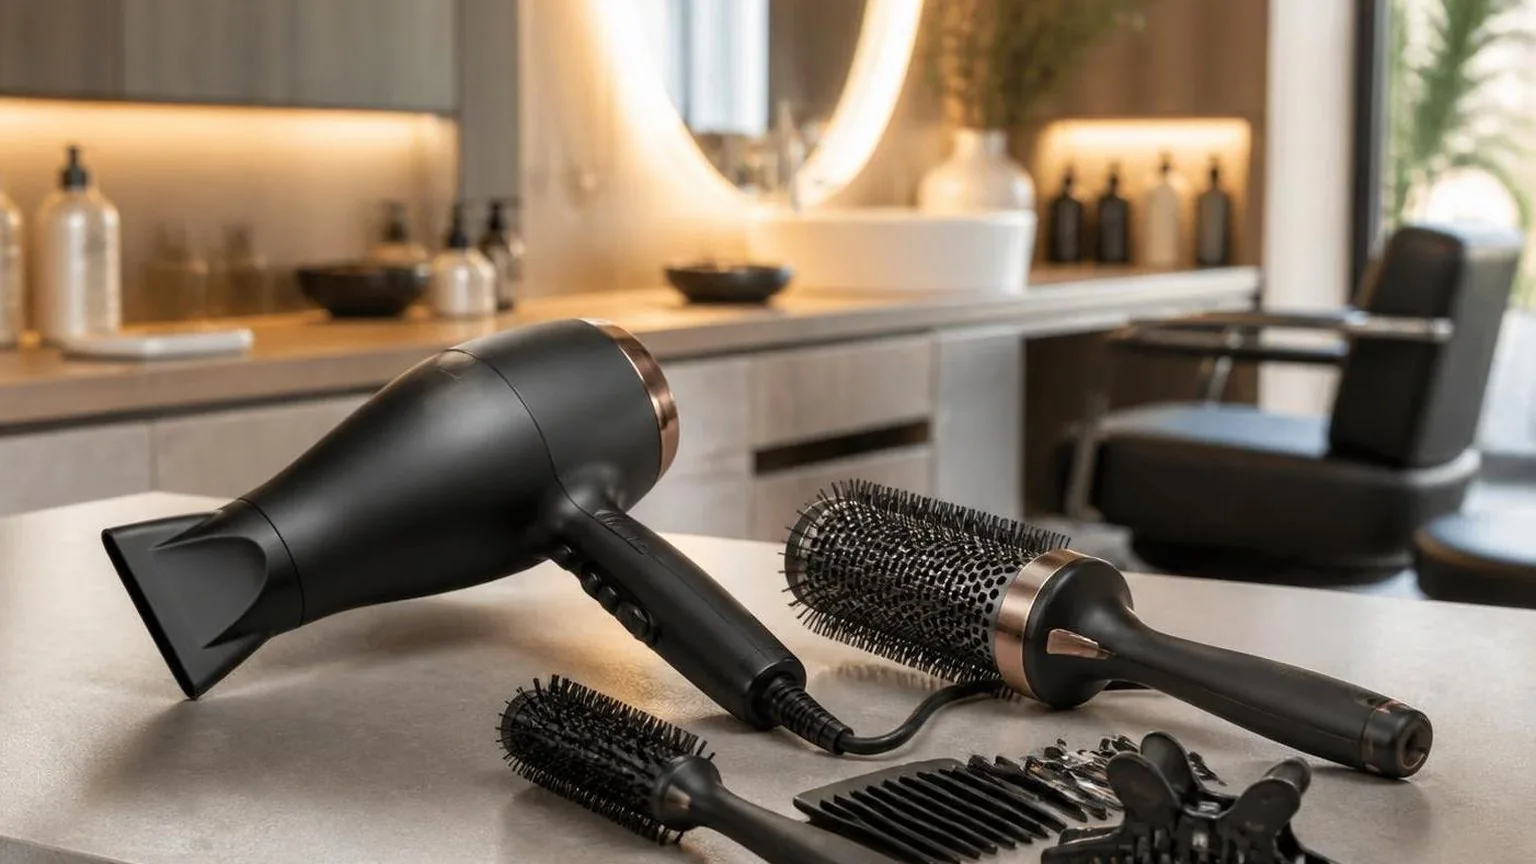
The shape holds or collapses based on moisture control, airflow direction, brush size, and how much the hair is stretched while it cools. On short hair, small changes show fast because there is less length to absorb mistakes.
Cosmetic science texts describe wet hair as more stretchable because water weakens temporary hydrogen bonds. Blow drying sets the finish by removing that water while directing the fibre into the shape you want.
Moisture level before the brush goes in
Start shaping too wet and short hair swells, flips, or separates. Start too dry and the brush only polishes the surface, so cowlicks and flat crowns stay where they are.
| Hair state | Best use | Result on short hair |
| Towel-blotted, dripping removed | Pre-dry only | Reduces excess water without locking shape |
| About 70% dry | Begin brush control | Enough moisture remains to redirect roots and ends |
| About 90% dry | Polish and bevel | Good for refining fringe, nape, and face frame |
| Fully dry | Cool shot and detail work | Sets finish but gives limited reshaping |
Air direction and nozzle placement
The nozzle should follow the cuticle direction, from root toward ends. Blowing upward roughens the finish and can make short layers balloon away from the head shape.
| Control point | Working range | Why it matters |
| Nozzle distance | About 10 to 15 cm from hair | Close enough to control, far enough to avoid scorching the section |
| Nozzle angle | Roughly 30 to 45 degrees downward | Flattens cuticle and keeps cropped layers compact |
| Section width | No wider than the brush barrel | Prevents damp edges and uneven bend |
| Cooling time | About 5 to 10 seconds per section | Helps the bend firm before the brush releases |
Brush size, tension, and heat
Short hair loses shape when the brush is too large for the section. The hair wraps without tension, then springs into random bends instead of following the haircut.
| Area | Useful brush size | Finish produced |
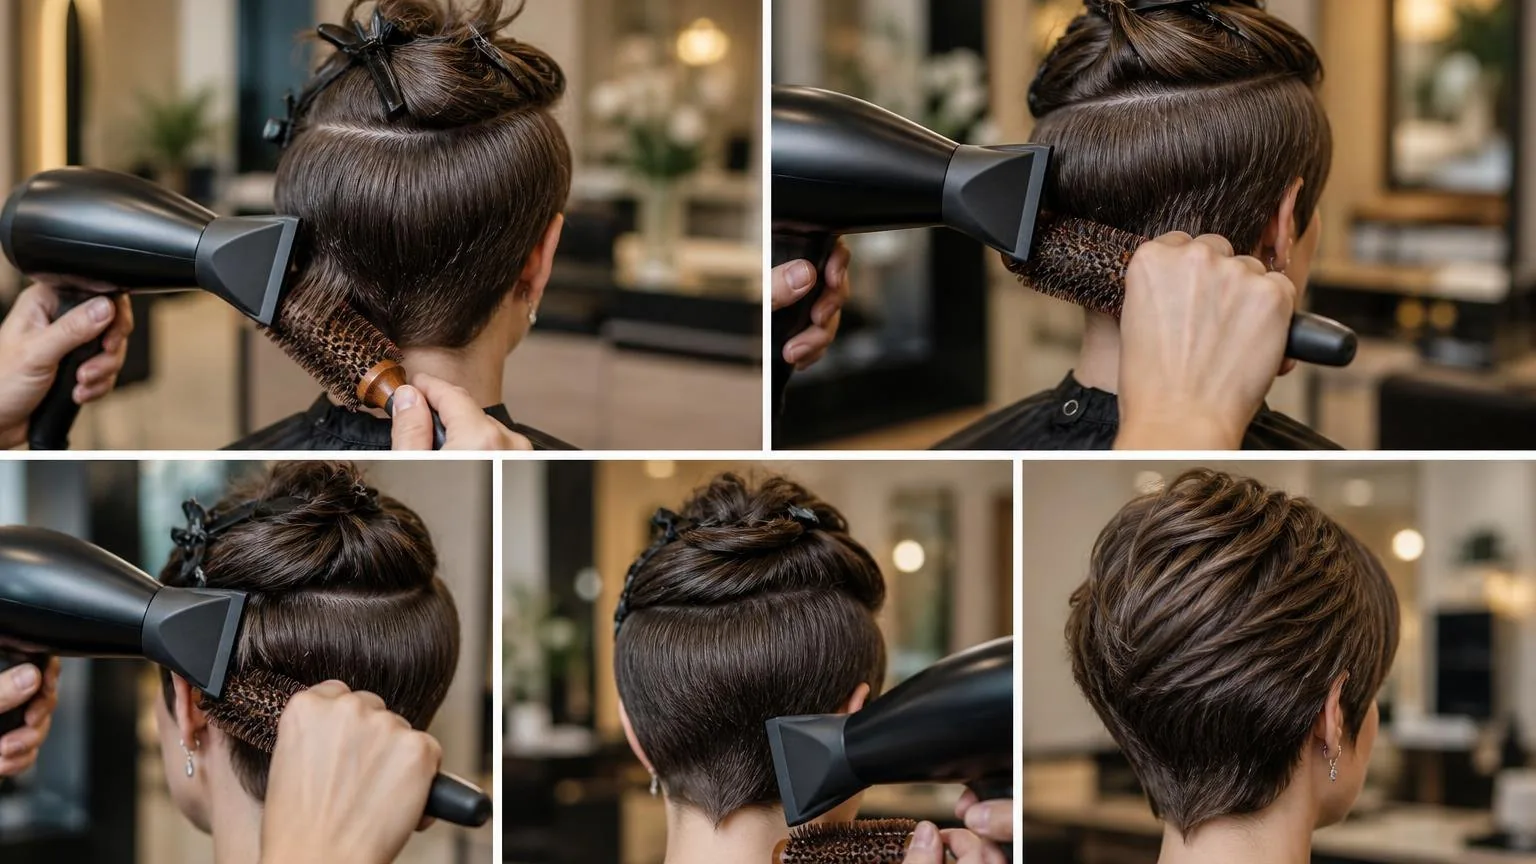
| Pixie fringe or nape | 13 to 20 mm barrel | Close control, bend, and direction |
| Short bob perimeter | 25 to 35 mm barrel | Soft bevel without over-rounding |
| Crown lift | 35 to 45 mm barrel | Root lift with less curl |
- Use medium heat first: Short hair heats quickly because the section is shallow; high heat can over-expand the shape before it is controlled.
- Keep tension steady: Pulling hard at the ends can flatten texture, while no tension leaves roots puffy and bends uneven.
- Set with cool air: The cool shot matters most at fringe, crown, and nape, where shape changes are most visible.
Judging It in Practice
Judge short hair by the outline first, not by shine. If the nape, temple, crown and fringe still sit where the cut intended after drying and cooling, you have kept the shape.
On real clients, shape loss usually shows as over-lifted sides, a flattened crown, kicked-out nape pieces, or a fringe that has been stretched past its natural fall.
Cosmetic science texts describe blow drying as a temporary hydrogen-bond reset, so the final check must happen after cooling.
| Check point | What to look for | Salon target |
| Nape | No flips, hooks, or separated short pieces | Cool for 10 seconds before releasing the brush |
| Temple area | Sits close without swelling wider than the cut line | Nozzle kept 2 to 4 inches from hair |
| Crown | Lift follows the haircut, not a round bubble | Root lift held for 5 to 8 seconds, then cooled |
| Fringe | Falls forward or sideways as cut, without a hard bend | Use low tension for the last 1 inch |
| Perimeter | Line still reads clean when viewed from profile | Dry ends at 80 to 90 percent airflow control, not maximum blast |
Use the mirror from three angles: front, side, and back. Short hair can look polished from the front while the nape has already expanded. Step back before adding product, because product can disguise a shape error without correcting the set.
Run your fingers through the finished hair in the direction the client will wear it. If the outline collapses immediately, the roots were not fully dried or cooled. If the ends spring outward, the brush angle or nozzle direction fought the cut.
| Hair feel | Likely issue | Correction |
| Warm at the root | Set is not locked | Cool airflow for 10 to 15 seconds |
| Puffy at the sides | Air pushed upward or outward | Redirect airflow downward with nozzle parallel to the shaft |
| Flat at the crown | Root was dried in its natural fall too early | Lift root 45 to 90 degrees, then cool |
| Ends look stringy | Too much tension on short lengths | Reduce brush pull and polish only the surface |
For pixie and cropped cuts, judge by direction more than volume. A narrow nozzle, controlled airflow, and small sections matter because short hair has less weight to pull itself back into place after a mistake.
For bobs and short layers, check the underneath first. If the underlayer is smooth but not over-stretched, the top will sit cleaner. If the underneath is bulky, the finished shape will widen even when the surface looks sleek.
| Tool choice | Best use on short hair | Watch-out |
| 1 to 1.5 inch round brush | Nape, fringe, tight layers | Can create unwanted curl if over-rotated |
| 1.75 to 2 inch round brush | Short bob surface smoothing | Can flatten roots on very short layers |
| Vent brush | Root direction and quick drying | Less polish on coarse ends |
| Paddle brush | Blunt short bobs | Too large for cropped areas |
The final test is movement. Ask the client to shake the head gently, then let the hair settle without touching it. If the haircut’s silhouette returns on its own, the blow-dry has supported the shape rather than replacing it.
Weighed Against What Else Is Used
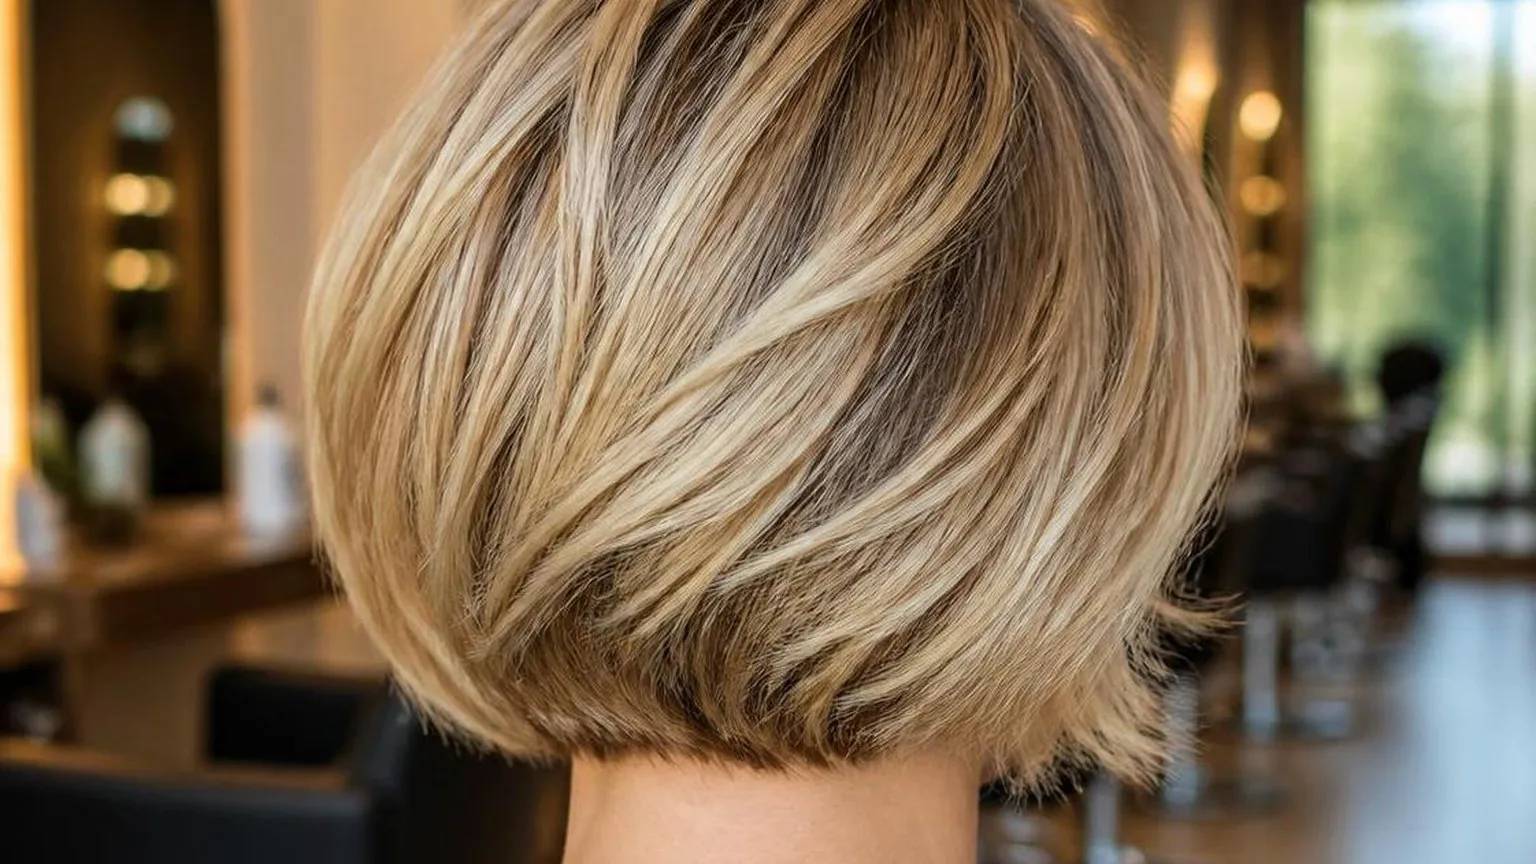
Blow drying is the most controllable option for short hair because the shape is set while the hair cools in its finished position. Airflow, brush size, nozzle angle, and section size can be adjusted faster than with irons, rollers, or air drying.
On a pixie, crop, bob, or short layered cut, the main risk is over-stretching the perimeter or puffing out the crown.
A concentrator nozzle and small sections keep the original cut line visible instead of turning the style into a round, generic blowout.
| Method | Best section width | Typical heat contact | Shape control |
| Blow dryer with nozzle | 1 to 2 inches | Moving air, no direct plate contact | High: root lift, bend, fringe direction, neckline control |
| Flat iron | 0.5 to 1 inch | Direct hot plates for 1 to 3 seconds per pass | High smoothing, lower root control on very short layers |
| Round brush dryer | 1 to 2 inches | Heated barrel plus airflow | Moderate: easy bevel, less precision at ears and nape |
| Air drying | No set section | No tool heat | Low to moderate: depends on natural fall and product placement |
| Velcro rollers | 1.5 to 3 inches | Cool set after warm drying | Good crown lift, weak on short perimeter detail |
Robbins’ hair science text explains why this matters: temporary styling relies on water changing hydrogen bonds, then the hair setting as it dries.
For short hair, that setting window is brief, so the last direction of tension usually becomes the visible shape.
A flat iron gives a crisp edge, but it often compresses short layers too much. Use it only after drying, and only where the haircut needs refinement, such as a fringe tip or a flick at the cheekbone.
| Tool choice | Useful size range | Short-hair effect |
| Small round brush | 0.75 to 1.25 inches | Creates bend without ballooning the silhouette |
| Medium round brush | 1.5 to 2 inches | Good for bobs, too large for tight napes |
| Paddle brush | 2.5 to 3.5 inches wide | Smooths quickly, but can flatten crown layers |
| Fingers only | No tool diameter | Best for texture, weakest for polished bevels |
- Compared with air drying: blow drying gives stronger root direction, especially around cowlicks, crowns, and short fringes.
- Compared with hot tools: it shapes more of the strand at once, from root to end, rather than just the surface.
- Compared with rollers: it is better for detailed perimeters, ears, sideburns, and nape work.
- Compared with brush dryers: a separate dryer and brush give tighter control because the nozzle can follow the cut line at a narrow angle.
For preserving shape, the practical benchmark is simple: dry the roots first, keep the nozzle close but not touching, then let each section cool before disturbing it. That cooling step is where short hair keeps its architecture.
Heat, Tension and Keeping Hair Intact
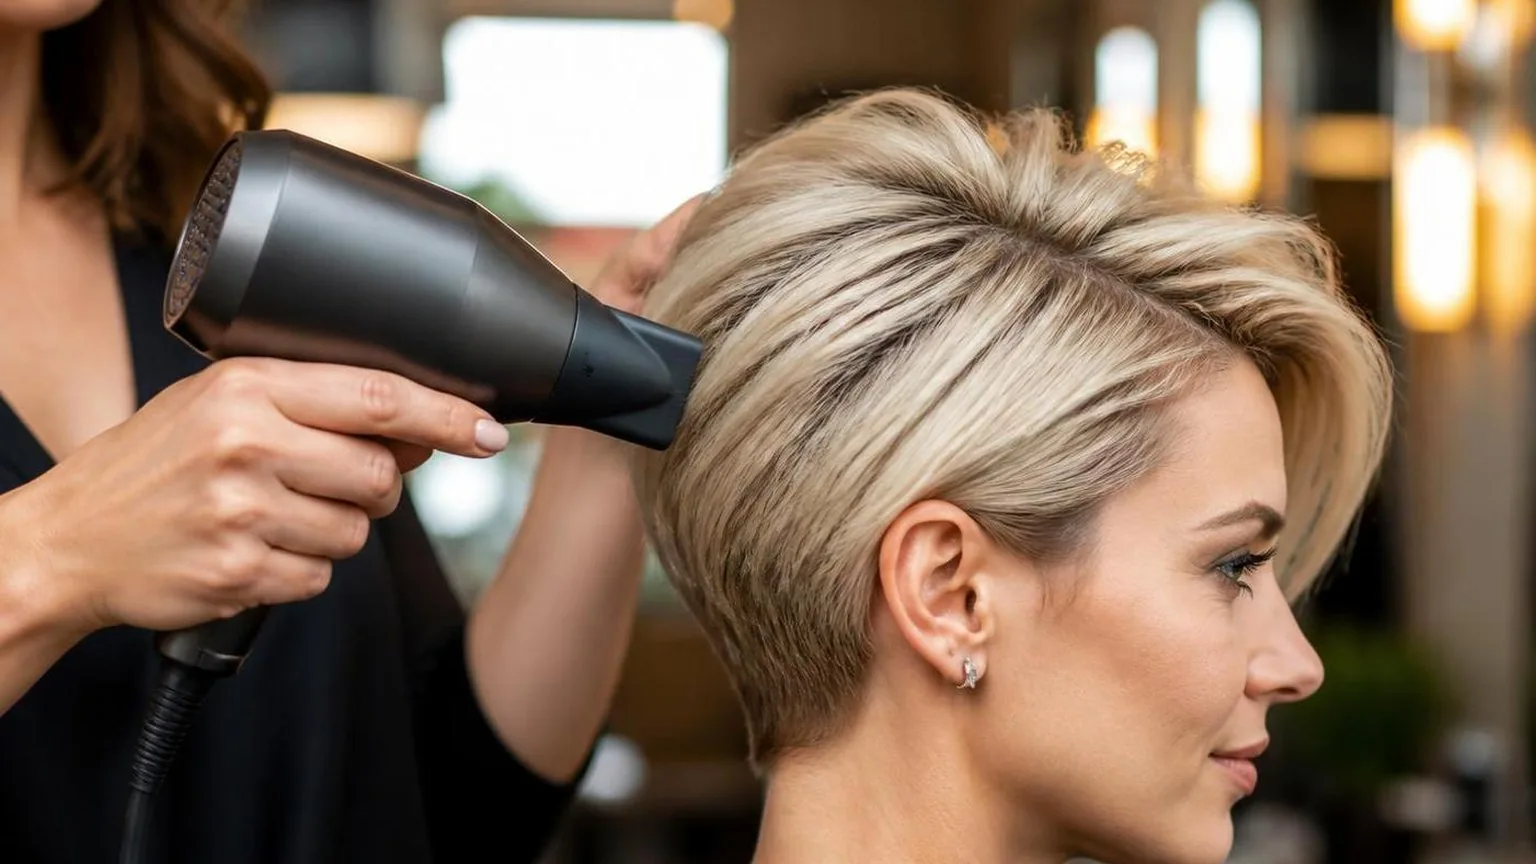
Short hair keeps its shape when heat sets the bend without stretching the fibre or flattening the cut line. Use moderate heat, controlled airflow and just enough brush tension to lift the root and polish the ends.
The biggest mistake is chasing speed with high heat at close range.
A laboratory hair-dryer study published in Annals of Dermatology found more surface damage as temperature rose and nozzle distance shortened, while moving airflow from farther away was gentler.
| Dryer position | Use on short hair |
| Keep nozzle about 15 cm from the hair | Safer distance for shaping without scorching the surface |
| Hold airflow at a shallow angle, about 45 degrees | Smooths the cuticle and preserves the haircut outline |
| Move the dryer every 2 to 3 seconds | Prevents one patch from overheating or collapsing flat |
| Use the concentrator opening around 6 to 9 mm wide | Gives directional airflow for fringes, napes and crown work |
Work from damp, not dripping. Water makes hair more vulnerable to stretching, so blot first, then rough-dry with fingers until the hair has lost most surface moisture before brushing into its final shape.
| Stage | Best setting |
| Freshly blotted hair | Medium airflow, medium heat |
| About 70 percent dry | Lower airflow, directed nozzle |
| Final 10 percent | Low heat or cool shot |
| Fringe, hairline, nape | Low airflow for control |
Tension should guide the hair, not pull it longer. If the brush leaves dents, the section is too wet, too thick, or under too much pull. Short styles need placement more than force.
| Area | Tool and tension |
| Pixie top layers | Vented brush, light lift at the root |
| Short bob perimeter | Paddle or half-round brush, steady downward control |
| Fringe | Small round brush, 20 to 30 mm barrel |
| Crown lift | Round brush, 25 to 35 mm barrel |
- Dry roots first: the root direction decides whether a short cut sits close, lifts, or kicks out.
- Keep sections narrow: match each section to the brush width so heat reaches both sides evenly.
- Set before releasing: hold the section on the brush until it feels warm, then cool it before letting go.
- Finish with airflow, not heat: use the cool shot to lock the outline without puffing the ends.
Professional blow-dry discipline is simple: distance protects, airflow directs, tension shapes. On short hair, that balance keeps the cut recognizable instead of turning it round, flat, or frayed at the edges.
What the Method Actually Changes
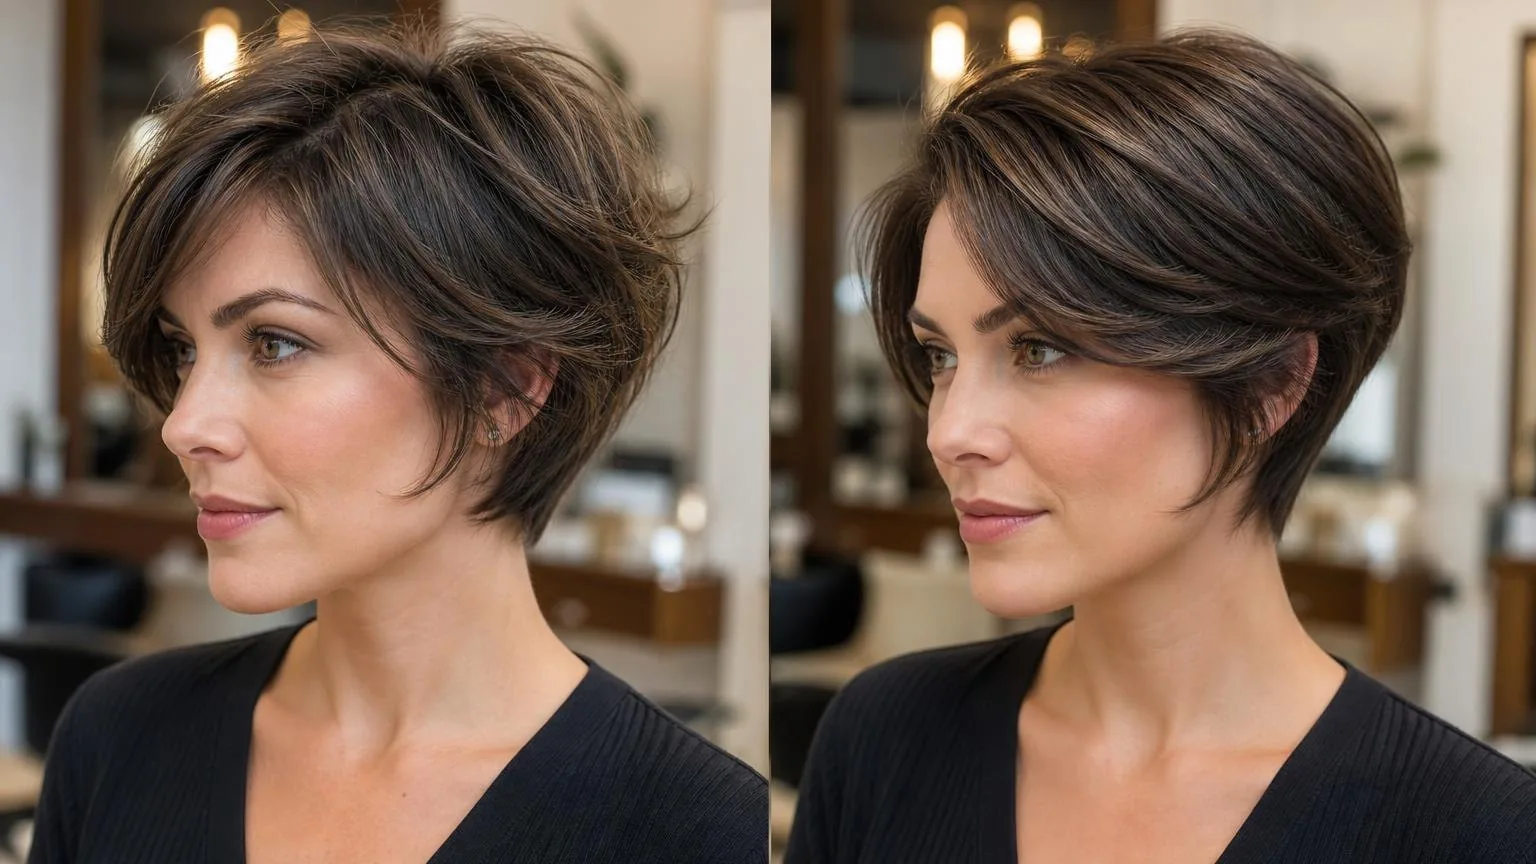
The method changes where the hair dries first: root, mid-length, or edge. On short hair, that order decides whether the finished shape keeps its outline or collapses into rounded, fluffy, or separated pieces.
Short hair has less length to pull itself into position, so airflow direction and drying sequence matter more than brush size alone.
Water must leave the root area before the surface is polished, otherwise the outside sets while the base remains movable.
| Variable | Working number | Why it changes the result |
| Nozzle distance | About 10 cm from the hair for controlled drying; about 5 cm only for brief edge setting | Holding the nozzle 5 cm closer raises surface temperature, which can set the cuticle direction before the root is dry. |
| Section width | 2 cm to 4 cm panels on short layers | Narrow panels let air reach the base. Wider panels dry the outer layer first and leave the root damp, causing the shape to spring or flatten later. |
| Air direction | From root toward ends, following the fall of the cuticle | Downward airflow smooths overlapping cuticle scales. Cross-flow lifts short ends and makes the perimeter look wider. |
| Heat phase | Medium heat for drying, cool air for 5 to 10 seconds to finish each section | Heat helps water leave the fibre; cool air firms the temporary hydrogen-bond set once the strand is positioned. |
| Brush diameter | 13 mm to 25 mm for crops and short bobs; 32 mm only for longer top sections | A brush that is too large straightens the bend out of short hair instead of controlling bevel and root lift. |
The root area should be dried first because it controls direction. If the mid-length is smoothed before the base is dry, the section can look polished for minutes, then lose lift as remaining moisture evaporates.
The nozzle changes force as much as heat. A concentrator narrows the airflow, so short layers are pushed in one direction instead of being scattered. Without it, air hits the ends from multiple angles and breaks the intended outline.
Tension changes edge discipline. Light tension keeps natural volume; firm tension compresses the section and produces a flatter finish. On a short fringe, excessive tension can remove the curve needed for the hair to sit against the forehead.
- For a tight nape: dry downward in 2 cm sections, keeping the nozzle above the brush so the ends tuck in.
- For crown lift: lift 3 cm sections upward, dry the root for 6 to 8 seconds, then cool before releasing.
- For a sharp outline: finish the last 1 cm of length with reduced airflow so the perimeter is not blown apart.
The final change is timing. Stopping when hair feels merely warm leaves internal moisture, while continuing after the section feels dry can over-expand the surface.
Shape holds best when each section is dried, cooled in position, then left undisturbed.
Mistakes Worth Avoiding
Short hair loses shape when airflow pushes the cuticle and root direction out of the intended design. The biggest errors are using too much heat, drying everything forward, and skipping tension at the last 20% of moisture.
Think of short hair as architecture: the first 60 seconds sets lift, the final cool-down locks the outline. A round brush is optional, but direction, nozzle control, and section size are not.
| Mistake or myth | What actually happens | Better salon practice |
| Using high heat from start to finish | Ends expand, fringes puff, and the perimeter looks wider than the cut line. | Start on medium heat, then finish on cool for 10 to 15 seconds per section. |
| Holding the dryer too close | Air blasts the surface before the root is controlled. | Keep the nozzle 6 to 8 inches from the hair, closer only for brief detailing. |
| Drying without a nozzle | Air disperses sideways, which roughens short layers and collapses precision. | Use a concentrator nozzle around 6 to 10 mm wide for fringes, napes, and pixie edges. |
| Using a large round brush on short layers | The hair over-wraps and creates bubble volume instead of shape. | Use a 15 to 25 mm brush for cropped layers; use fingers for very short tapers. |
Myth: “Short hair should be blasted dry first”
Fast rough-drying works on longer hair because the ends have weight. Short hair has less gravity, so uncontrolled airflow can flip a fringe, lift a crown, or widen the sides in under 30 seconds.
At the chair, dry the root direction first. Use your fingers like a comb, pushing the hair into the finished shape while the hair is still damp, roughly 70% to 80% dry.
Myth: “More volume means a better blowout”
On short bobs, crops, and lobs, the goal is controlled lift, not maximum height. Too much crown elevation can make the outline look triangular, especially around the ears and occipital bone.
- For a flat crown, lift sections 45 degrees off the head while drying the root.
- For a sleek bob, aim airflow downward from root to ends.
- For a pixie, dry against the growth pattern for 5 to 8 seconds, then place it back into shape.
Myth: “A cool shot is optional”
The cool shot is not just comfort; it helps set the bend you created with heat and tension. Use it while the brush or fingers are still holding the shape, not after you let go.
For short fringes and face-framing pieces, use 3 to 5 small sections. Hold each section in place, cool for 10 seconds, then release without brushing through immediately.
Mistake: Treating every section the same
The hairline, crown, sides, and nape need different airflow. The nape usually needs smoothing downward; the crown often needs lift; the sides usually need compression so the silhouette stays clean.
- Dry the fringe first if it has a strong growth pattern.
- Dry the crown before it becomes fully dry and stubborn.
- Finish the sides last with light tension to keep the cut compact.
Frequently Asked Questions
How do I keep a pixie cut from puffing up while blow drying?
Use the nozzle 1–2 inches from the hair and dry with the growth pattern first. Keep airflow medium and heat around 140–160°F, then press sections flat with a vent brush for 3–5 seconds before cooling.
What brush size works best for short bobs?
Use a round brush with a 1–1.5 inch barrel for chin-length or shorter bobs. Larger barrels can over-lift the roots and blur the cut line, while smaller barrels help bevel ends without turning them into curls.
Should short hair be blow dried wet or damp?
Start shaping when hair is about 70–80% dry. If it is dripping wet, the cut collapses under water weight; if it is nearly dry, cowlicks and part lines are harder to redirect.
How do I stop the fringe from separating?
Dry the fringe first, before the rest of the hair sets. Move a flat brush left to right for 10–15 seconds, then right to left, keeping the nozzle parallel to the hair to avoid grooves.
How do I preserve the neckline shape on short hair?
Dry the nape downward with a narrow concentrator nozzle and a small paddle or grooming brush. Use low speed near the hairline, then finish with a 5-second cool shot to set the direction without expanding the shape.
What dryer attachment is best for blow drying short hair?
A narrow concentrator nozzle gives the most control on short hair because it directs airflow at the roots and ends. Keep the nozzle moving and point the air downward to help smooth the cuticle.
How can I add volume when blow drying short hair?
Lift small sections at the roots with your fingers or a small brush while aiming airflow underneath. Let each section cool in the lifted position before moving on to help the shape hold.
Related Reading
- Blow drying fine hair for volume that holds
- How to blow dry your hair at home, step by step
- What the cool shot button actually does
- How long a blow dry should actually take
- Round brush diameter, by hair length
- The complete guide to blow drying technique
- OSHA
- PubMed
- NCBI Bookshelf
- U.S. Small Business Administration Business Guide
- California Board of Barbering and Cosmetology
- American Academy of Dermatology Hair Care
- PubMed – Hair Shaft Damage from Heat and Drying Time of Hair Dryer
- Texas Department of Licensing and Regulation – Barbering and Cosmetology
- IRS — Small Business and Self-Employed
- National Institute of Standards and Technology