
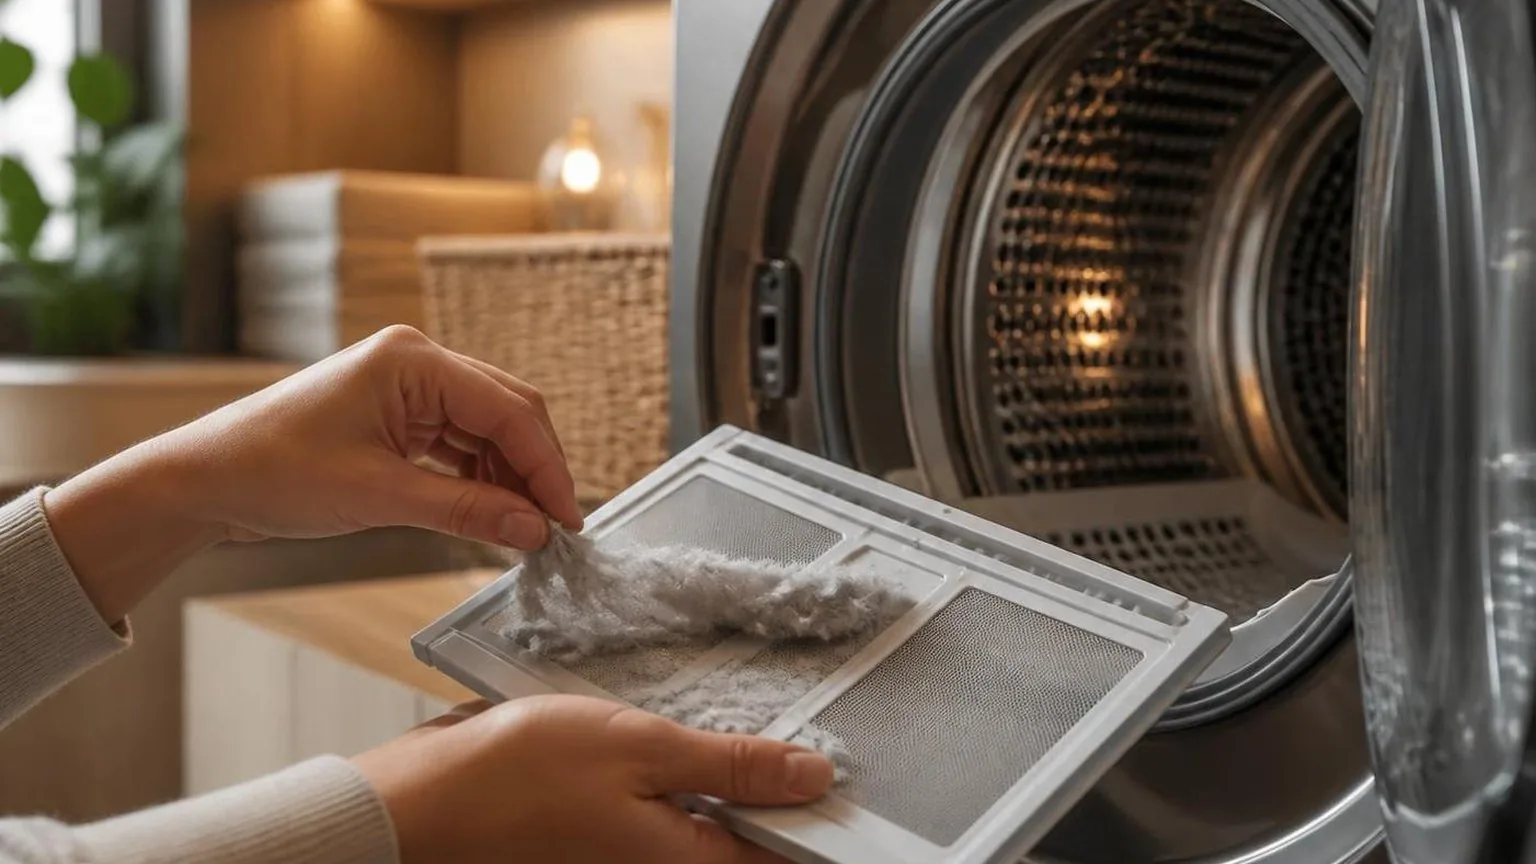
Cleaning a dryer filter, and how often it needs it: clear visible lint after every busy shift, then wash the removable rear filter weekly if you blow-dry daily.
A blocked filter restricts airflow, pushing motor heat up and making a 1,800-watt dryer feel weaker at the nozzle. In salon use, check the intake every 6–8 clients; at home, inspect it after 3–5 blow-dries.
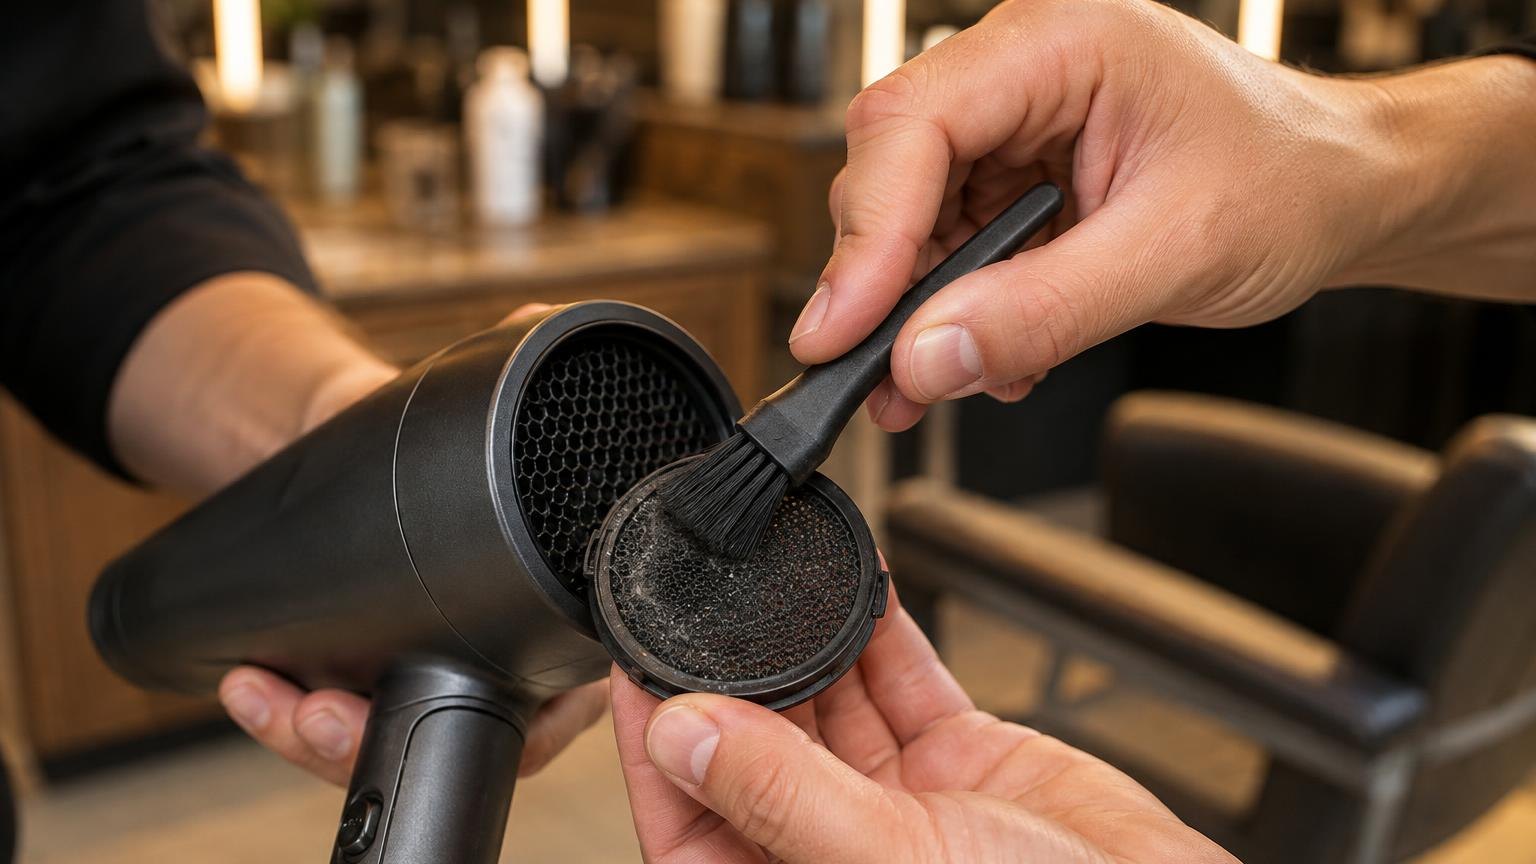
Use a dry nylon brush for dust, rinse mesh only if the maker allows it, and let it air-dry fully before refitting. Never run a dryer with the rear cap off.
Set Your Filter Interval
Do this beside the dryer with the nozzle removed and the filter cap cool. You need a timer, a clean white tissue, and the dryer’s highest airflow setting.
| Your check | What to do now | Next clean |
| 1–3 blowouts per day, filter mesh looks silver or black with fewer than 10 visible lint spots | Wipe the rear grille with a dry tissue for 10 seconds | Every 5 working days |
| 4–8 blowouts per day, tissue shows grey dust after one wipe, or airflow feels weaker at arm’s length | Remove the rear cap and brush the mesh for 30 seconds with a dry toothbrush | Every 2 working days |
| 9+ blowouts per day, heavy round-brush styling, finishing spray nearby, or lint covers more than one quarter of the mesh | Clean before service starts and again after the last client | Daily |
| Home dryer used twice weekly, stored in a drawer, no visible lint on the intake | Check the intake and wipe the cap | Every 3 weeks |
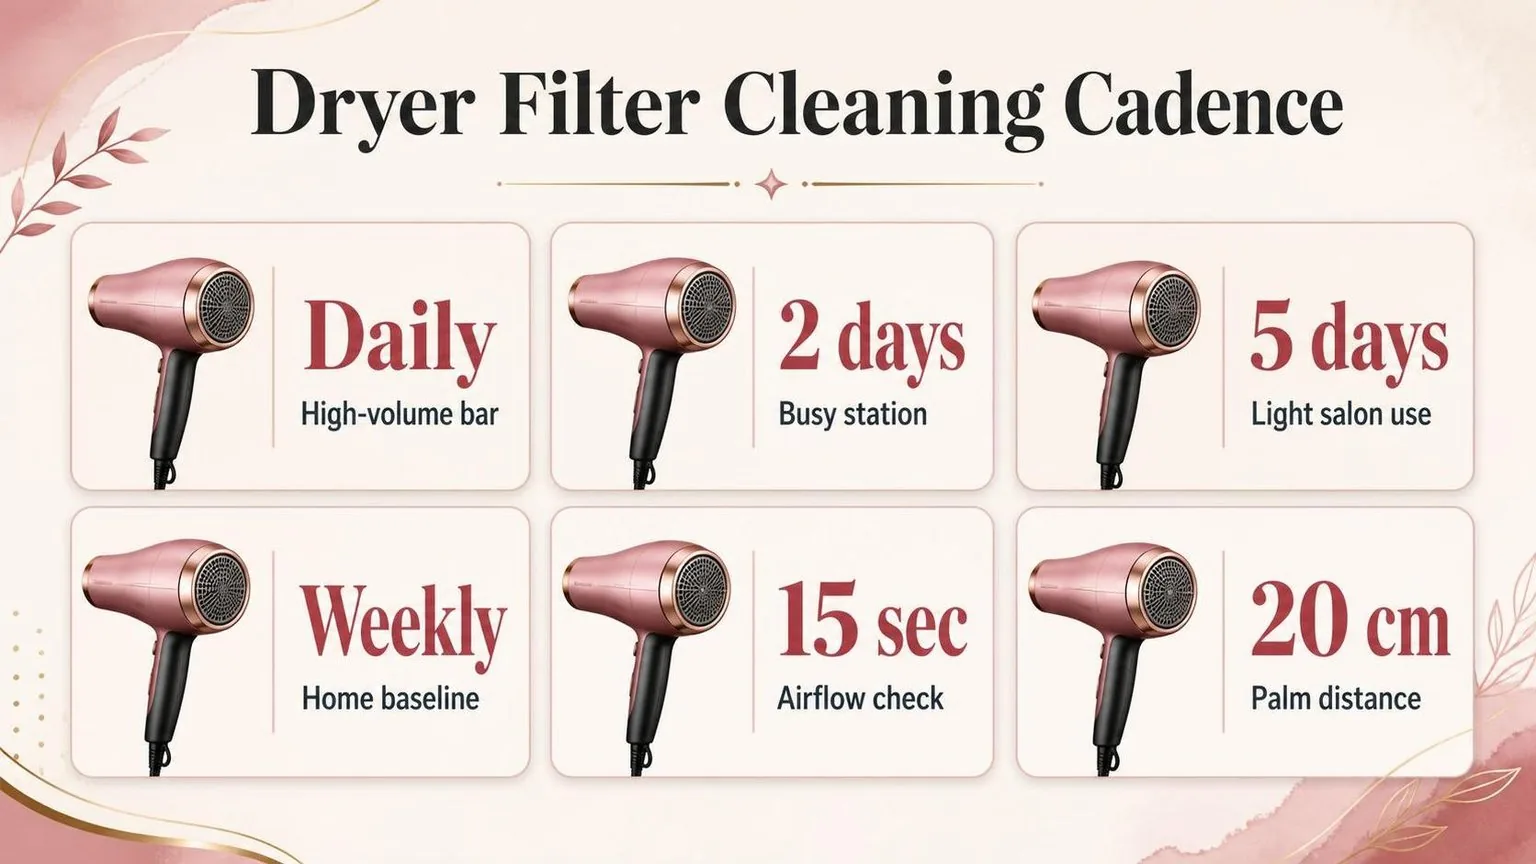
Use the 15-second airflow check to confirm your interval. Run the dryer on high heat and high speed, then hold your palm 20 cm behind the intake. If suction feels patchy, clean it before the next blow-dry.
For salon stations, write the interval on a 2 cm piece of tape around the plug: “daily,” “2-day,” or “weekly.” It is faster than guessing during a busy column.
The Figures Behind It
For a blow dry bar, the rear dryer filter should be checked before service starts and cleared during the day if lint is visible.
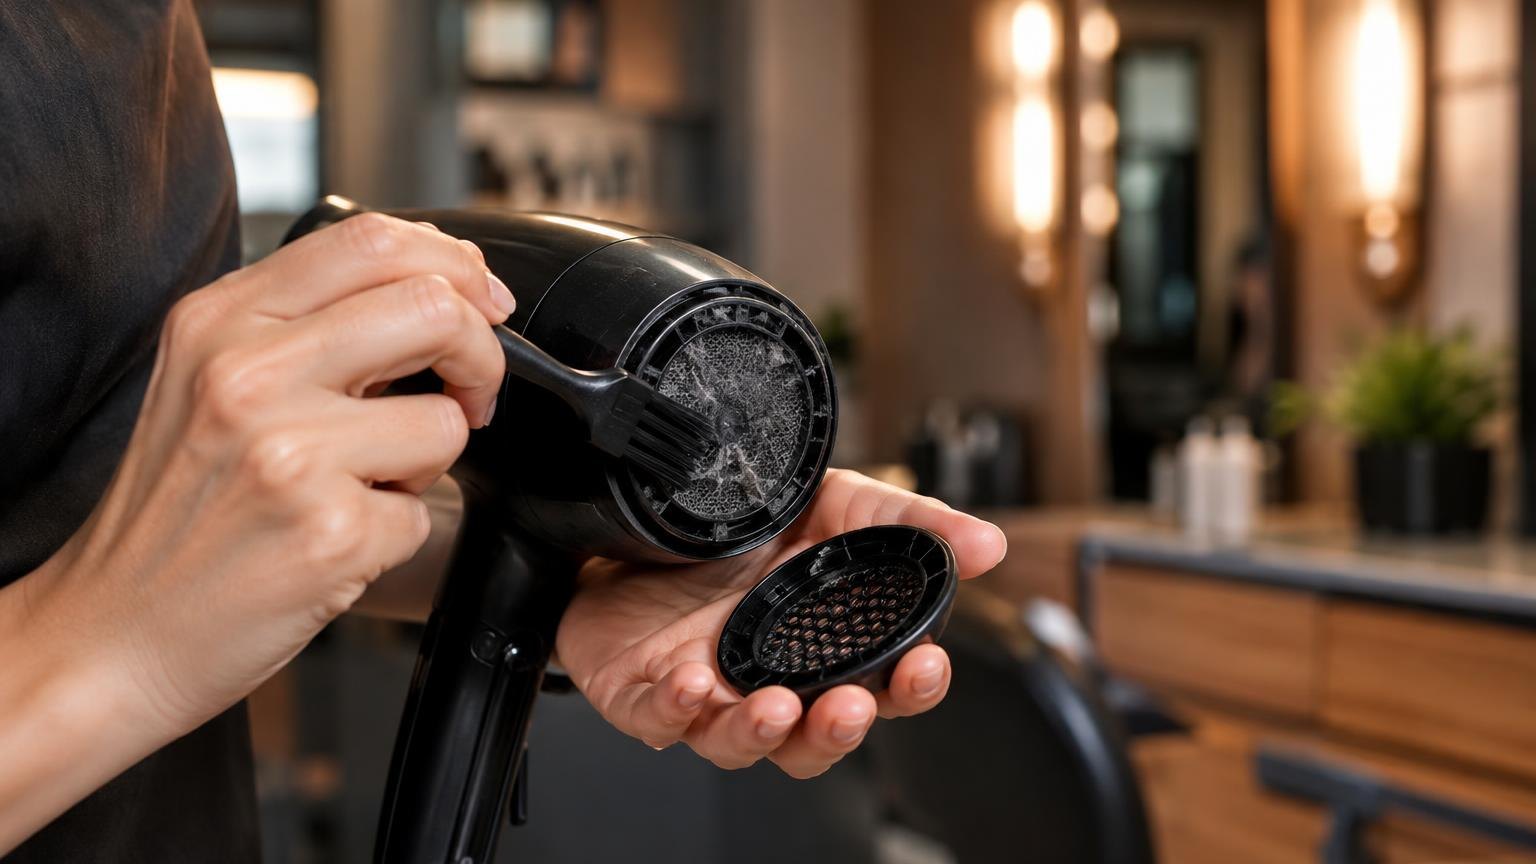
At home, the practical baseline is a weekly check, then clean sooner if the motor pitch rises, heat drops, or airflow feels weaker.
The filter is not cosmetic. It protects the motor and heater by keeping hair, towel lint, product dust, and airborne debris out of the intake.
Most professional dryer manuals, including Dyson, ghd, BaBylissPRO, and Parlux guidance, tell users to unplug the tool and keep the rear intake clear.
| Use setting | Check frequency | Clean trigger |
| High-volume blow dry bar | Before opening, then between busy blocks | Visible grey lint, reduced airflow, or hotter casing near the rear grille |
| Single stylist station | Start of each working day | Filter mesh no longer looks open under light |
| Home use | Once each week | Any lint ring, dust mat, or change in sound |
| Occasional travel dryer | Before packing and before use | Dust from bags, towels, or hotel drawers |
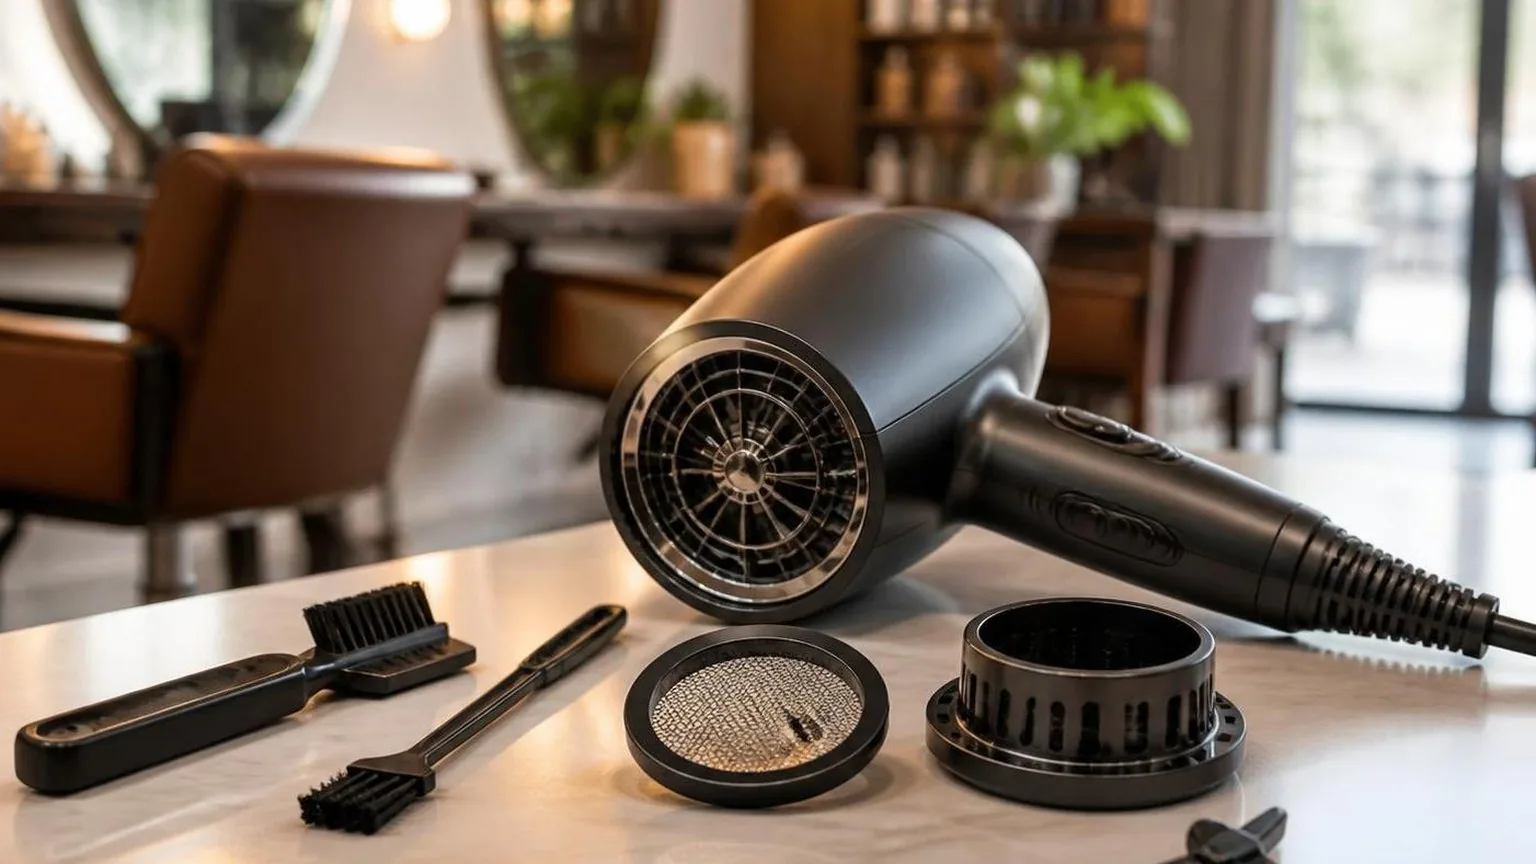
In practical bench work, a clean removable rear cap usually takes under a minute to service. A clogged cap takes longer because lint packs into the mesh edge, especially where hairs wrap around the circular seam.
| Cleaning action | Typical time | Tool detail |
| Remove rear cap and flick out loose lint | 15 to 30 seconds | Use fingers only if the dryer is unplugged and cool |
| Brush mesh dry | 30 to 60 seconds | Use a soft brush about 20 to 30 mm wide |
| Clear hair from cap seam | 30 to 90 seconds | Use a dry toothbrush or detailing brush |
| Air-dry a washed removable filter | At least several hours | Refit only when fully dry |
Do not wash a filter unless the maker’s manual allows it. Many salon dryers use metal mesh or removable caps that are intended to be brushed dry, not soaked. Water near a motor intake is a tool-failure risk, not a cleaning shortcut.
| Number to watch | Why it matters |
| 6 to 8 inches | Common working distance from nozzle to hair for controlled smoothing without pressing the dryer into the section |
| 1 inch | Minimum practical clearance behind the rear intake during use, so air is not starved by the hand, gown, towel, or station surface |
| 0 visible lint | The target after cleaning; the mesh should look open when held to light |
The fastest rule for salons is visual: if you cannot see open mesh across the intake, the dryer is not ready for the chair. For home users, a weekly filter check prevents the slow decline that makes a good dryer feel weak before it actually fails.
The Variables That Matter
How often you clean a dryer filter depends on airflow demand, product residue, hair volume, and where the dryer is used. In a busy blow dry bar, a weekly filter check is usually too slow; at home, monthly may be enough if airflow stays strong.
The filter’s job is simple: keep lint, hair, and dust away from the motor intake. Once that mesh starts to load up, air volume drops, heat becomes less stable, and drying time creeps up.
Use frequency changes the cleaning interval
| Use pattern | Practical filter check | Full clean |
| Salon station, back-to-back blowouts | Every shift | Every 1 to 3 days |
| Salon station, moderate bookings | Every 2 to 3 shifts | Weekly |
| Home use, 3 to 5 blow-dries per week | Weekly | Every 2 to 4 weeks |
| Home use, 1 to 2 blow-dries per week | Every 2 weeks | Every 4 to 6 weeks |
These intervals assume a removable rear filter cap, which most professional hand dryers use. If the filter is not removable, follow the maker’s instructions and use only a soft, dry brush at the intake.
Product load matters
Hairspray, root lift, mousse, dry texture spray, and shine mist make airborne residue tackier. In salon work, filters behind styling stations often collect more than hair and lint; they collect product film.
If you regularly blow-dry after applying aerosol or pump styling products, shorten the cleaning interval by about half. A home dryer used with mousse and hairspray may need cleaning every 2 weeks instead of every 4 weeks.
Hair type and service style affect buildup
- Long or dense hair: more loose fibre is pulled toward the intake during sectioning and round-brush work.
- High-tension brush drying: longer dryer run time increases intake exposure.
- Fringe, face-frame, and root work: the dryer is often held closer to loose flyaways and clipped sections.
- Shared salon tools: different stylists may hold the dryer at different angles, changing how much hair reaches the rear grille.
Airflow and heat are the warning signs
| What you notice | Likely filter issue | Action |
| Drying takes 2 to 5 minutes longer than usual | Partial lint or dust loading | Brush and wipe the filter |
| Rear grille feels hotter than normal | Restricted intake airflow | Stop, cool fully, then clean |
| Dryer pitch sounds higher or strained | Motor working against reduced airflow | Inspect filter and intake vents |
| Heat cycles on and off repeatedly | Air path may be blocked | Clean before further use |
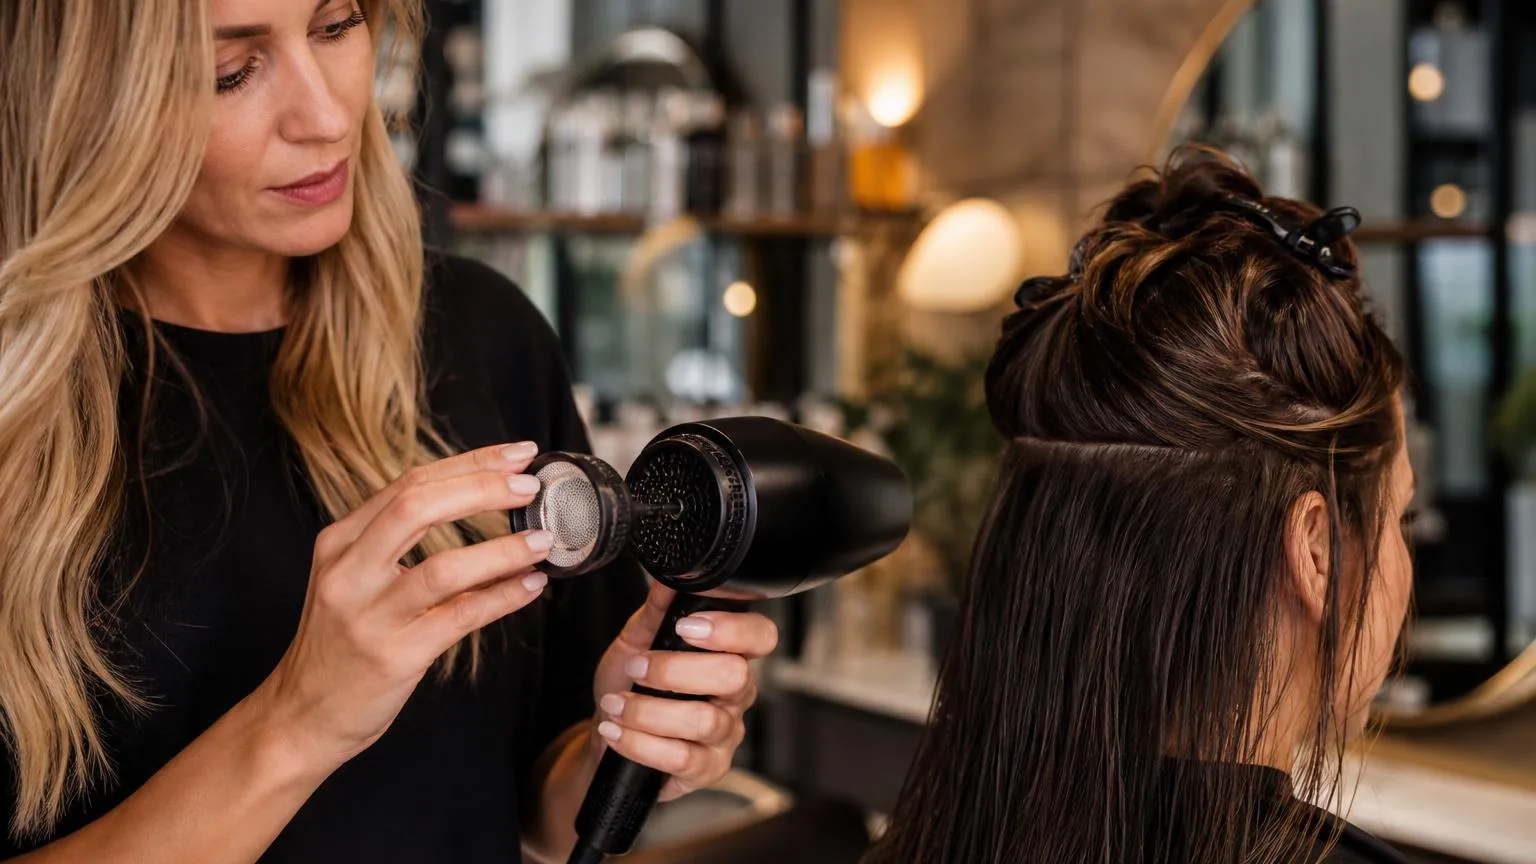
Let the dryer cool for at least 10 minutes before cleaning. Remove the rear cap, lift debris with a dry toothbrush or small nylon detailing brush, then wipe the mesh with a dry lint-free cloth.
Do not run water through the dryer body. If the removable filter cage is washed separately, it must be completely dry before refitting, with no moisture trapped in the mesh or cap.
Checking It at the Chair
Judge a dryer filter by what the hair does under airflow: slower drying, hotter casing, weaker root lift, and rougher finish usually mean the intake is restricted.
If a section that normally polishes in one pass now needs two or three, check the filter before changing your brushwork.
On a clean filter, air should push water out of the hair before heat has to do the work. On a clogged filter, the motor pulls less air, the barrel feels hotter, and the cuticle can look puffier because the section stays damp for longer.
| Real-hair sign | What to check | Likely filter clue |
| Roots collapse before the mid-lengths are dry | Hold the dryer 6 inches from the root with the nozzle on | Weak airflow at the intake or visible lint on the mesh |
| Round-brush section takes extra passes | Time one 2-inch wide section from damp to polished | Filter may be restricting air volume |
| Dryer body feels unusually hot | Pause after 5 minutes of continuous use | Blocked intake can reduce cooling air through the motor |
| Finish looks fluffy rather than smooth | Use the same tension, nozzle, and brush angle | Longer wet exposure can make control harder |
Use a repeatable salon test. Take a clean, towel-blotted section from the nape, about 2 inches wide and 0.5 inch thick. Use the same brush, nozzle, heat setting, and dryer distance each time, then compare timing.
| Section result | Practical reading |
| Dries and smooths in 45 to 75 seconds | Airflow is likely acceptable for a professional concentrator setup |
| Needs 90 to 120 seconds with the same technique | Inspect and clean the rear filter before increasing heat |
| Still damp after 2 minutes | Stop and check the filter, nozzle blockage, and intake vents |
For blow dry bars, the best trigger is not a calendar alone. Clean when performance drops, and inspect visually between clients if the dryer handles styling products, long hair, or high-volume back-to-back services.
- Look for grey lint, product dust, or fine hair wrapped around the rear grille.
- Listen for a higher-pitched motor note than usual during the same speed setting.
- Feel for reduced push against the palm at 6 inches from the nozzle.
- Check whether cool-shot airflow feels weaker than the heat setting airflow.
Most professional dryer manuals advise regular filter cleaning because blocked intakes can reduce performance and cause overheating protection to engage.
The craft rule is simple: if airflow changes, clean the filter before blaming the dryer, the brush, or the client’s hair texture.
Set Against the Other Options
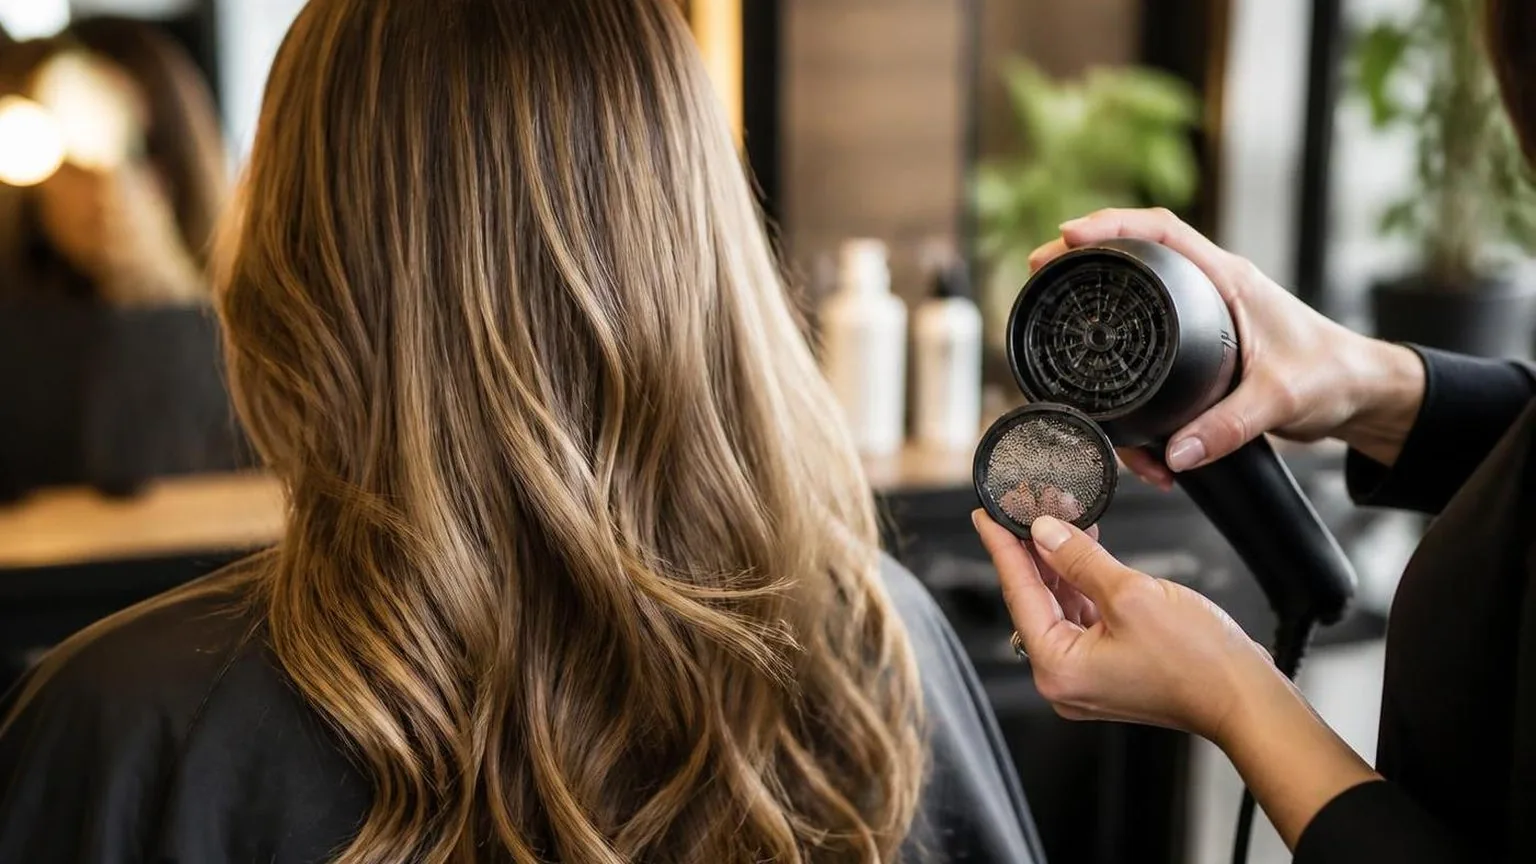
Cleaning a blow dryer filter is the lowest-risk maintenance step compared with replacing parts, running the dryer dirty, or blasting it with compressed air.
For salon use, a quick filter clean between busy service blocks protects airflow better than waiting for heat, noise, or shut-off symptoms.
A dryer’s rear intake pulls in air, lint, hairspray dust, and fine towel fibres.
When that mesh loads up, the motor works harder and airflow drops at the nozzle, which is where finish quality suffers first: slower root lift, weaker smoothing, and hotter-feeling air at the same switch setting.
| Option | Typical time | Best use | Main limitation |
| Manual filter clean with brush | 2 to 5 minutes | Routine salon maintenance | Requires the filter cover to be removable |
| Vacuuming the intake screen | 1 to 2 minutes | Surface lint between clients | May not clear compacted dust inside mesh |
| Compressed air | Under 1 minute | Loose debris on external grille | Can drive lint deeper if used too close |
| Replacing the filter cover | 5 to 10 minutes | Cracked, warped, or missing mesh | Only useful if the part is genuinely worn |
| Ignoring the filter | No time | Never recommended | Reduced airflow, longer drying, more heat stress on tool |
For most professional dryers, the practical standard is to remove the rear cap, lift away visible lint with a dry nylon brush, then wipe the cover only if the manufacturer allows it.
Let any washed part dry fully before refitting; trapped moisture near an electrical intake is poor workshop practice.
Compared with vacuuming alone, brushing gives better contact with the mesh. A detailing brush around 10 to 15 mm wide reaches curved rear grilles without bending them.
Avoid metal picks, which can distort the screen and create gaps large enough to pull in more debris.
Compressed air is faster, but it is less controlled. If used, keep the nozzle at least 150 mm from the intake and use short pulses, not a continuous blast. The goal is to lift dust off the screen, not force it into the motor housing.
- Busy blow dry bar: check the intake daily and clean visible lint before the next service block.
- Individual stylist kit: clean after roughly 5 to 10 full blowouts, sooner if using heavy finishing spray.
- Home use: inspect weekly if used often, or whenever airflow feels weaker at the same heat setting.
- Replace, do not clean: if the filter is cracked, loose, melted, or will not lock securely.
Against the alternatives, routine cleaning wins because it preserves the dryer’s designed airflow without changing parts or risking internal debris movement.
It is also the only option that fits naturally into a salon sanitation and tool-check rhythm.
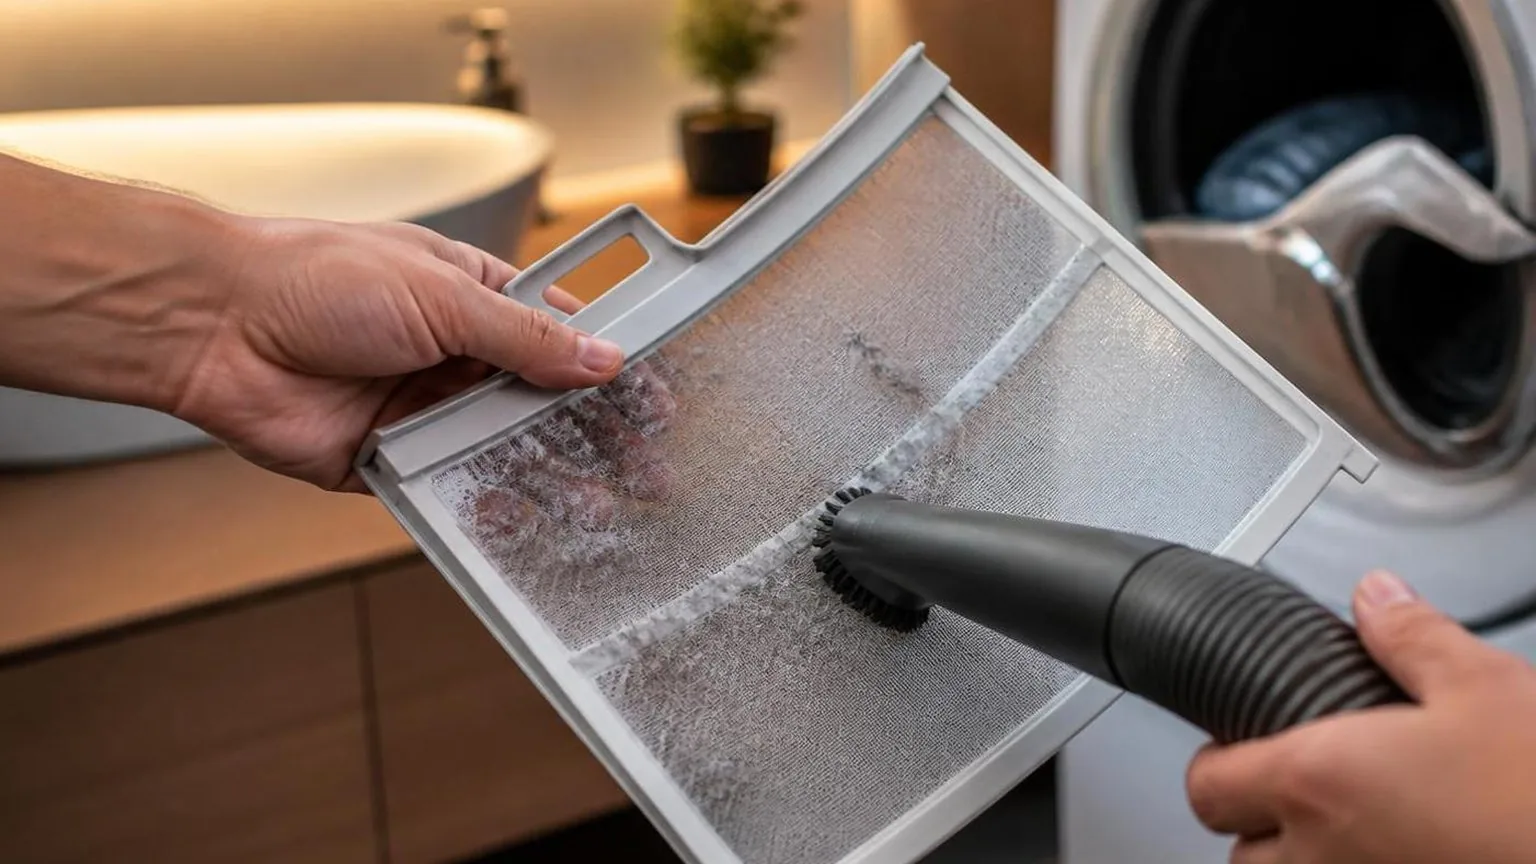
Heat and Tension Without the Damage
A blocked dryer filter makes the motor work harder, reduces airflow, and pushes the stylist to use more heat and more brush tension to get the same finish.
Clean airflow lets you dry faster at a lower setting, which is kinder to the hair fibre and the blowout.
In chair-side work, the filter should be checked before service starts. If lint, powder, hairspray dust, or product mist is visible on the rear grille, clean it before the next client rather than waiting for a performance drop.
| Use pattern | Filter check | Deeper clean |
| Busy blow dry bar | Before every service block | At least once per day |
| Single-stylist salon use | Start of shift and mid-shift | End of working day |
| Home use | Every few blow dries | When dust is visible or airflow drops |
| Heavy styling product environment | Before each client | After the final client |
Airflow is the safety margin. Most professional dryers pull air through a rear intake; when that intake is restricted, the heater can run hotter while the nozzle delivers weaker air.
The result is slower water removal and more repeated passes over the same section.
| Filter condition | What the stylist feels | Hair-handling risk |
| Clear mesh | Strong, even airflow | Fewer passes and lighter brush tension |
| Light dusting | Slightly softer airflow | More time on dense sections |
| Visible lint layer | Hotter shell, weaker push | Extra tension, repeated heat exposure |
| Product build-up | Uneven airflow and smell of hot dust | Patchy drying and overworking ends |
Hair is most vulnerable when wet because water temporarily weakens internal hydrogen bonding. The practical answer is not colder styling; it is controlled heat, consistent airflow, and tension that shapes without dragging.
| Blow-dry stage | Air and brush approach | Heat control |
| Very wet hair | Rough dry with fingers, no hard stretch | Medium heat, high airflow |
| Damp lengths | Use brush for direction and lift | Medium to high heat, moving continuously |
| Nearly dry ends | Reduce pull and polish briefly | Lower heat or cool shot |
| Finished section | Release tension before cooling fully | Cool shot to set shape |
- Unplug the dryer before removing the rear cap or filter screen.
- Lift lint with a dry nylon brush or clean mascara-style spoolie.
- Do not push debris into the motor housing.
- If the filter is washable, let it dry fully before refitting.
- Keep hairspray application away from the intake side of the dryer.
The test is simple: a clean dryer should sound steady, push air evenly, and feel hot at the nozzle rather than overheating at the rear. If airflow improves after cleaning, the filter was already affecting your heat and tension choices.
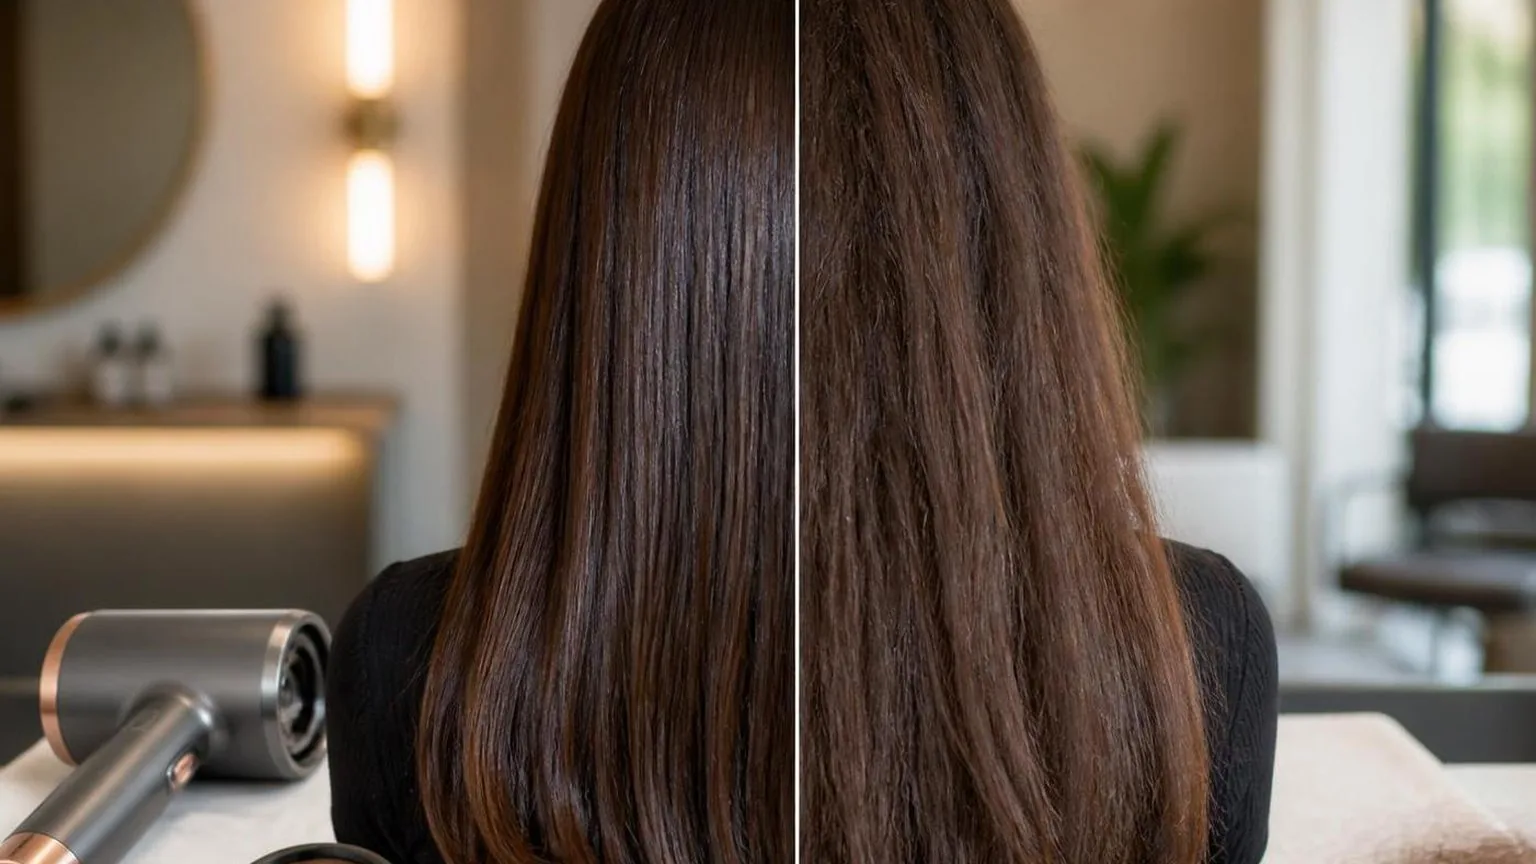
What Is Happening to the Hair
Cleaning the dryer filter changes airflow, heat stability, motor load, and the finish on the hair. A blocked rear screen makes the dryer run hotter with less air, so water leaves more slowly while the surface of the hair heats sooner.
The method matters because lint, dust, hairspray residue, and loose hair sit exactly where the motor needs intake air.
Removing that layer restores the balance between air volume and heat, which is what gives a blow-dry lift, smoothness, and predictable drying time.
Airflow changes first
A clean intake lets the fan pull air evenly through the dryer body. When the mesh is coated, the motor still spins, but the volume of moving air drops. Less air means each section needs longer before the roots and mid-lengths feel dry.
On a salon station, the filter should be checked before the first client and brushed clean whenever visible lint covers the mesh. At home, a weekly check is practical; heavy use, styling sprays, and long hair can make twice-weekly cleaning necessary.
| Filter condition | What changes in use | Likely blow-dry effect |
| Clear mesh | Air enters evenly across the rear intake | Roots dry before the surface is overworked |
| Light lint film | Air volume starts to fall while heat feels sharper | Sections need slower passes |
| Visible lint mat | Motor works against restricted intake | Finish becomes flatter, hotter, and less controlled |
| Hair wrapped in grille | Air path is uneven and unstable | Nozzle heat fluctuates during one section |
Heat becomes less predictable
Restricted intake raises internal heat because less cool air moves through the element and motor housing.
Holding the nozzle 5 cm closer already raises surface temperature; adding a clogged filter compounds that heat while the root area may still hold moisture.
That matters on a 3 cm round-brush section. The outside layer can feel hot and polished before the inner hair has released enough water. The result is a style that drops faster because shape was set at the surface, not through the section.
Cleaning changes control, not just hygiene
Good filter practice is mechanical maintenance. Unplug the dryer, let it cool for 5 minutes, remove the rear cap if the design allows, and lift lint away with a dry nylon brush or soft toothbrush. Avoid pushing debris into the housing.
If the filter is washable according to the manufacturer’s instructions, rinse only the removable screen, dry it completely, then refit it. A damp filter can pull dust into a paste, narrowing the mesh and reducing intake again within a few uses.
| Use pattern | Filter check | Deeper clean |
| Home use, 2 to 3 blow-dries weekly | Once weekly | Every 2 to 4 weeks |
| Daily home styling | Twice weekly | Weekly |
| Blow-dry bar station | Before service begins | Daily, or sooner if lint is visible |
The clearest sign is performance drift: a dryer that sounds strained, feels hotter at the shell, or takes longer on the same 4 cm sections needs the intake checked before changing brush size, heat setting, or sectioning pattern.
Common Mistakes and Myths
The biggest mistake is treating the dryer filter as an occasional housekeeping task instead of an airflow and heat-control part.
A blocked rear intake makes the motor work harder, raises casing heat, slows drying, and can pull lint back into freshly finished hair.
For a busy blow dry bar, the filter should be checked during station reset and cleaned before lint becomes visible across the mesh. At home, clean it after several uses, not only when the dryer starts to smell hot.
Mistake: Waiting until the dryer cuts out
Many professional dryers have thermal protection, but that is a last resort, not a maintenance plan. If the dryer shuts off mid-service, the filter, rear grille, and surrounding intake area need inspection once the tool is unplugged and cool.
| Use setting | Filter check | Practical trigger |
| High-volume salon station | Every working shift | Lint visible on rear mesh or airflow feels weaker |
| Shared backstage or bridal kit | Before each call time | Dust from towels, sprays, and product bags on intake |
| Home use | After several blow-dries | Drying takes longer or dryer body feels hotter than usual |
Myth: A quick blow of air is enough
Blowing across the grille can push debris deeper into the intake. The better method is to remove the rear cap if the model allows it, lift lint away with a dry soft brush, then wipe the outer grille with a dry lint-free cloth.
- Unplug the dryer before touching the rear filter.
- Let the casing cool before removing the rear cap.
- Use a clean, dry toothbrush-style brush for mesh and vents.
- Avoid water unless the manufacturer specifically says the removable filter can be rinsed.
- Do not run the dryer with the rear filter or cap removed.
Mistake: Using sharp tools on the mesh
Metal tail combs, tweezers, and scissors can distort fine intake mesh. Once the mesh bows inward, it catches lint faster and may rub against internal parts. Use soft bristles and light pressure instead.
Myth: Product buildup is only on the nozzle
Spray mist, dry shampoo dust, cotton towel lint, and loose cut hair all travel toward the rear intake. In a styling station, keep aerosol finishing products away from the dryer’s intake path whenever possible.
| Debris source | Where it collects | Why it matters |
| Towel lint | Rear mesh | Reduces intake airflow |
| Loose hair | Filter edge and cap seam | Can wrap around the grille |
| Spray residue | Outer grille surface | Makes dust cling faster |
Mistake: Ignoring airflow feel
Stylists can often spot a dirty filter before it looks packed. If a round-brush section takes longer to dry at the same heat and speed setting, check the filter before increasing temperature or staying longer on the section.
The clean-filter test is simple: airflow should feel steady, not pulsing, and the dryer should not sound strained.
If cleaning the filter does not restore normal airflow, remove the tool from service and follow the manufacturer’s maintenance guidance.
Frequently Asked Questions
How often should a salon clean a hair dryer filter?
For daily station use, clean the rear filter at least once per week, or every 25 to 30 blowouts. High-hairspray services and back-to-back long-hair finishes may need a quick filter check every 2 to 3 days.
How do you clean a removable dryer filter?
Unplug the dryer and let it cool for 10 minutes. Twist or slide off the rear cap, lift out lint with a dry toothbrush, then rinse only the removable mesh if the manufacturer allows it and dry it fully before refitting.
Can a clogged filter affect the blow-dry finish?
Yes, restricted airflow makes the dryer run hotter while moving less air through the nozzle. That slows stretch work, weakens root lift, and can make a round-brush section take 30 to 60 seconds longer to smooth.
What tools are safest for cleaning the filter?
Use a dry soft toothbrush, a 1-inch detailing brush, or a low-suction vacuum nozzle held just off the grille. Avoid pins, tail combs, and wet cloths pushed into the motor intake because they can bend mesh or drive debris inward.
When should the filter be cleaned during a busy blow-dry day?
Check it before opening, after heavy product services, and whenever airflow feels reduced at the concentrator. A 60-second dry brush-out between clients is safer than waiting until the dryer smells hot or cycles off.
Can you wash a hair dryer filter with water?
Only wash the filter if the dryer manual says it is safe to do so. Make sure the filter is completely dry before putting it back on the dryer.
What are the signs that a hair dryer filter needs cleaning?
Common signs include weaker airflow, a hotter dryer body, longer drying time, or a burning dust smell. Stop using the dryer and check the filter before continuing.
Why is filter cleaning important for salon hair dryers?
A clean filter helps the dryer pull in air properly and work at a steady temperature. It also helps reduce strain on the motor during repeated salon use.
Related Reading
- Ionic or ceramic: what the labels actually mean
- What a diffuser does that a concentrator cannot
- Hair dryer wattage, and why more is not better
- Boar, nylon or mixed: choosing round brush bristles
- The licences a blow dry bar needs, and who issues them
- How blow dry stylists are paid: the three structures
- The complete guide to blow dry tools