
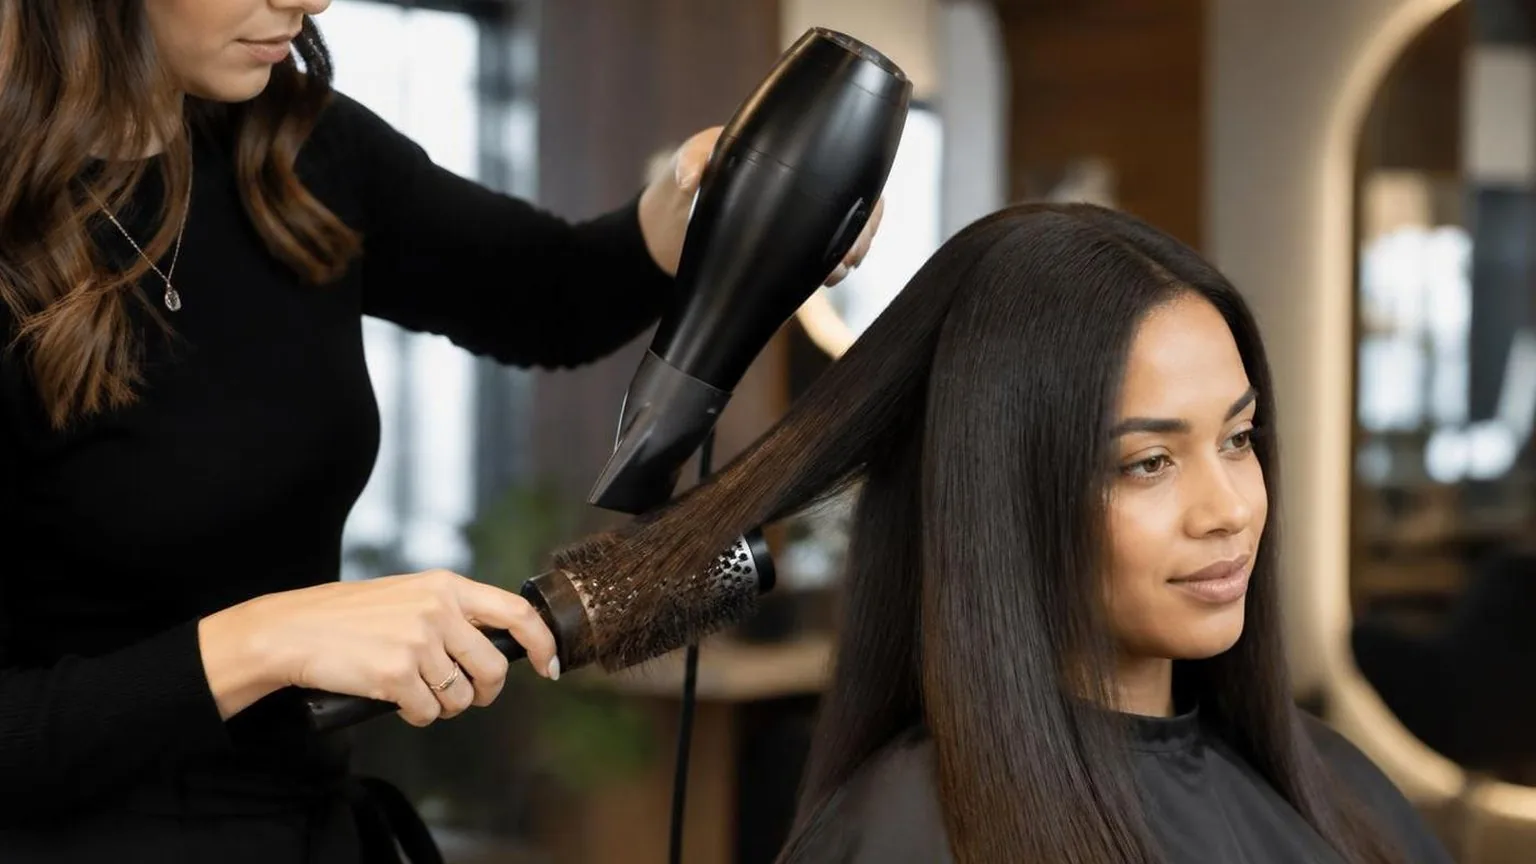
Blow drying curly hair straight without wrecking it starts with 70% air-drying, a concentrator nozzle, and controlled heat under 185°C to stretch curls before a brush ever adds tension.
Work in 2–3 cm sections, keep the dryer 15 cm from the hair, and move continuously from roots to ends. Use medium heat for fine curls, high airflow for dense curls, and a cool shot for 10 seconds per section.
This guide focuses on salon-tested technique: prep, sectioning, brush angle, tension, nozzle direction, and finishing steps that create a straight blowout while reducing roughness, snagging, and repeated passes.
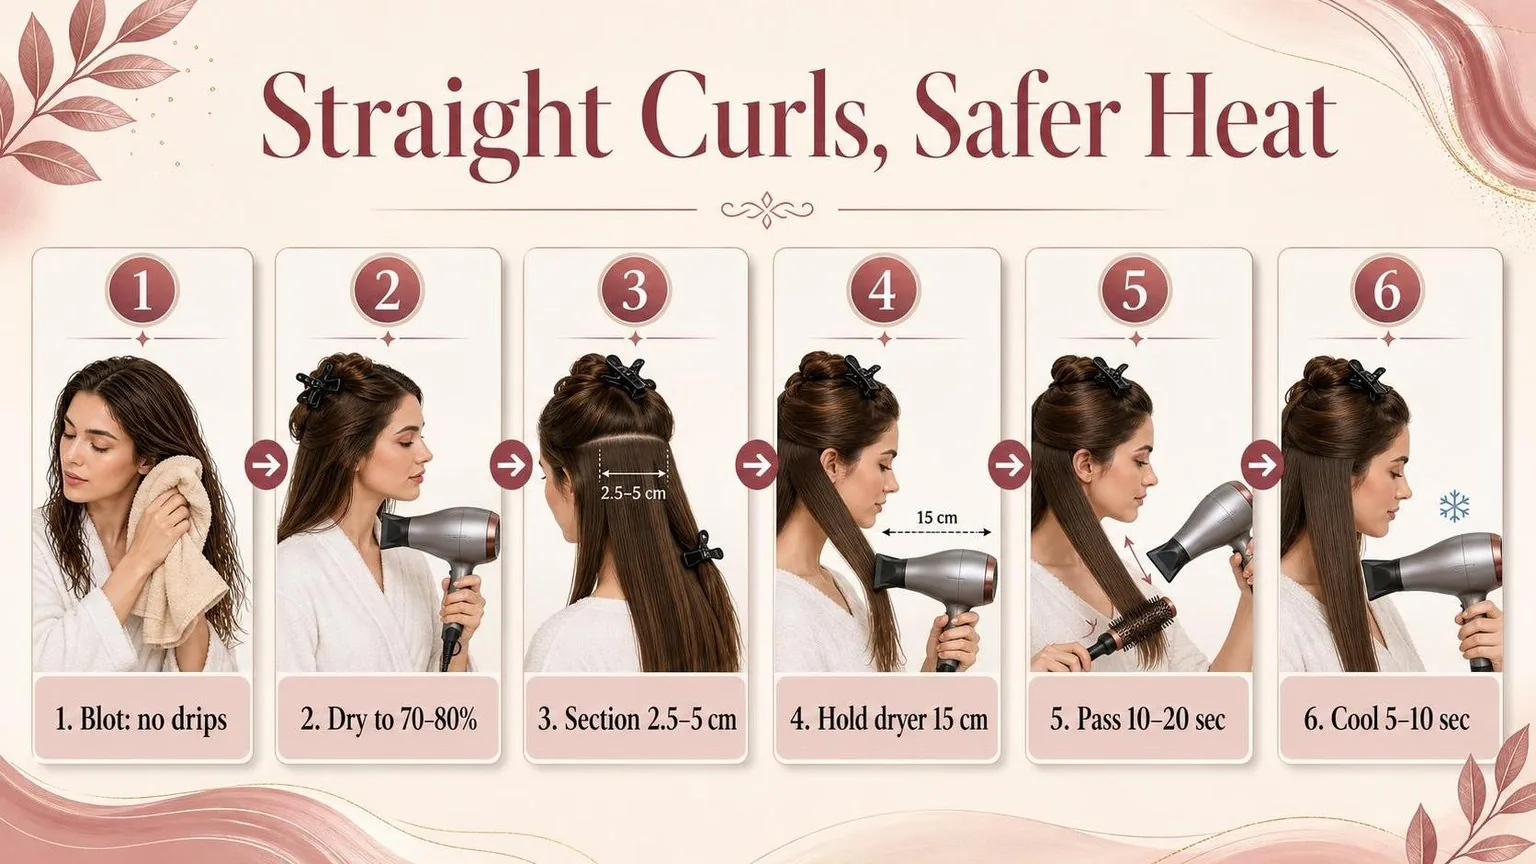
Map Your Curl Blowout
Before switching on the dryer, set one clear plan for the head in front of you. This cuts guesswork, avoids repeated passes, and helps assistants stay consistent across chairs.
- Check moisture level: Start when the hair is about 70% dry. If water still squeezes out of the ends, rough-dry with hands first. If the hair is already puffy-dry, mist lightly before sectioning.
- Choose section size: Use 2–3 cm sections for tight or dense curls. Use 4 cm sections only on looser, finer curls. If the brush cannot grip root to end, the section is too wide.
- Set heat and airflow: Keep airflow temperature around 150–180°C. Choose medium heat for fine curls, higher airflow for dense curls, and avoid holding the nozzle in one place.
- Pick the brush: Use a boar/nylon round brush for polish and bend. Use a paddle brush when the client wants a straighter, flatter finish with less lift at the root.
- Plan your pass count: Aim for one slow pass to stretch, one pass to smooth, then a 10-second cool shot. If a section needs more than three hot passes, reduce the section size.
Write this plan on the service card: moisture level, section width, heat setting, brush choice, and pass count. It gives every stylist a repeatable route to a smoother curly blowout.
The Figures Behind It
Blow drying curly hair straight is safest when you control three variables: heat, distance, and time under tension. The useful target is enough warm airflow to reshape the hydrogen bonds, not maximum heat held close to one section.
| Variable | Working number | Why it matters |
| Dryer distance from hair | 15 cm | In a controlled hair-dryer study published in Annals of Dermatology, continuous motion at this distance caused less visible cuticle damage than hotter, closer drying. |
| Tested dryer air temperatures | 47°C, 61°C, 95°C | The same study found higher air temperature increased surface damage, especially when the dryer was held close and still. |
| Hair section width for curly blowouts | 2.5–5 cm | Narrow sections let airflow reach the roots and mid-lengths without repeated passes over the same outer layer. |
| Brush barrel for smoothing | 35–55 mm | A larger barrel stretches curl with less bend. Very small barrels add curve and can increase repeated tension. |
Water is the hidden number. According to cosmetic science texts such as Chemical and Physical Behavior of Human Hair, hair is weaker when wet because water swells the fibre and changes its mechanical response.
| Moisture stage | Best action | Practical number |
| Dripping wet | Do not pull straight with a brush | Blot first until water no longer drips from the ends |
| Damp | Rough-dry with fingers or a wide-tooth comb | Bring hair to about 70–80% dry before high-tension brush work |
| Nearly dry | Use brush tension and nozzle direction | Finish each section when it feels dry and warm, then cool it before releasing |
The nozzle matters because it concentrates airflow. For straightening curls, a narrow concentrator lets you aim air down the strand, from roots to ends, which helps the cuticle lie flatter under tension.
| Tool detail | Useful range | Salon takeaway |
| Concentrator opening | 6–12 mm slot height | Narrow enough for control, not so narrow that one spot overheats. |
| Air direction | Roots to ends | Matches the cuticle direction and reduces roughness compared with blowing upward. |
| Pass time per section | 10–20 seconds | If a section needs more, reduce section size rather than raising heat. |
| Cool shot | 5–10 seconds | Sets the stretched shape before the brush is removed. |
Flat-ironing is not the same heat category. Many straighteners operate far above blow-dryer air temperatures, so a disciplined blowout can reduce the need for direct plate contact.
| Heat source | Typical working range | Risk-control move |
| Warm blow-dryer setting | Below 95°C air in published dryer testing | Keep moving and hold around 15 cm away. |
| Ceramic or titanium iron | 150–230°C plate settings are common | Use only after hair is fully dry, if needed, with minimal passes. |
| Professional blowout target | Straight before ironing | The brush should do most of the alignment, not the iron. |
What Changes the Result
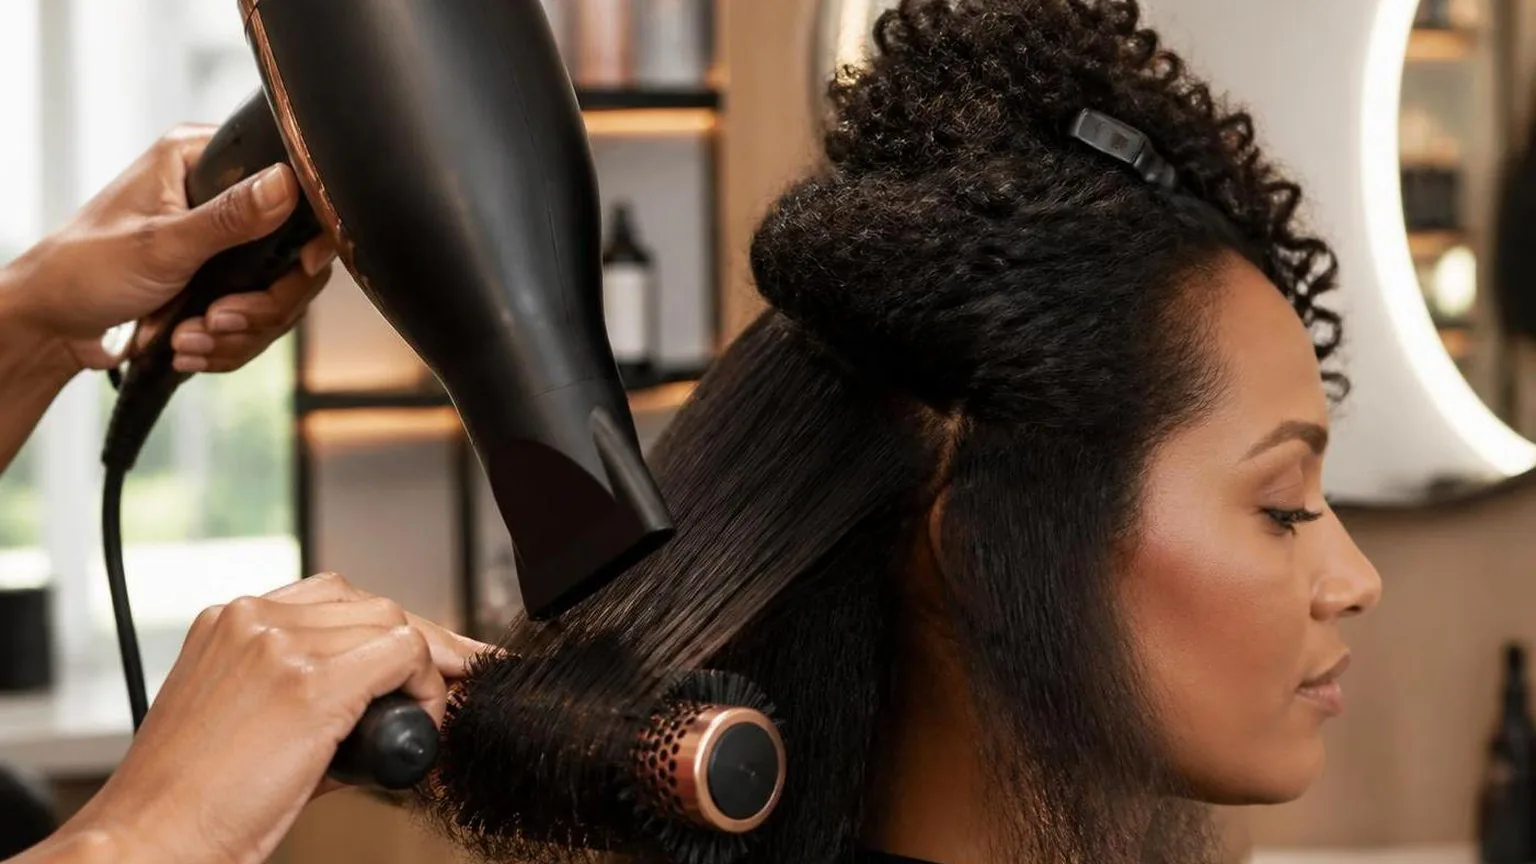
The finish changes most with water removal, section size, heat, tension, and the nozzle-to-brush relationship. Curly hair straightens more cleanly when it is stretched while damp, not blasted from wet to dry with uncontrolled airflow.
In salon work, the biggest mistake is starting brush tension too late. The roots set the silhouette first; if the root dries curly, the mid-lengths can look polished while the shape still expands.
Moisture level before the brush
Start with towel-blotted hair, then rough-dry gently before round-brush work. The goal is to remove excess water without disturbing the curl pattern into frizz.
| Stage | Target feel | Why it matters |
| Very wet | Water still dripping | Brush work takes too long, so heat exposure rises |
| Damp | Cool, flexible, no dripping | Best point for controlled stretching |
| Nearly dry | Warm, airy, expanding | Shape has already started to set |
Section size and density
Curly hair needs smaller, cleaner sections than straight hair because the brush must contact the whole subsection. If the section is too thick, the outer layer dries while the interior stays damp and reverts.
| Hair density | Practical section width | Practical section depth |
| Fine or low density | About 2 inches | About 0.5 inch |
| Medium density | About 1.5 inches | About 0.5 inch |
| High density or tight curls | About 1 inch | About 0.25 to 0.5 inch |
Heat, airflow, and distance
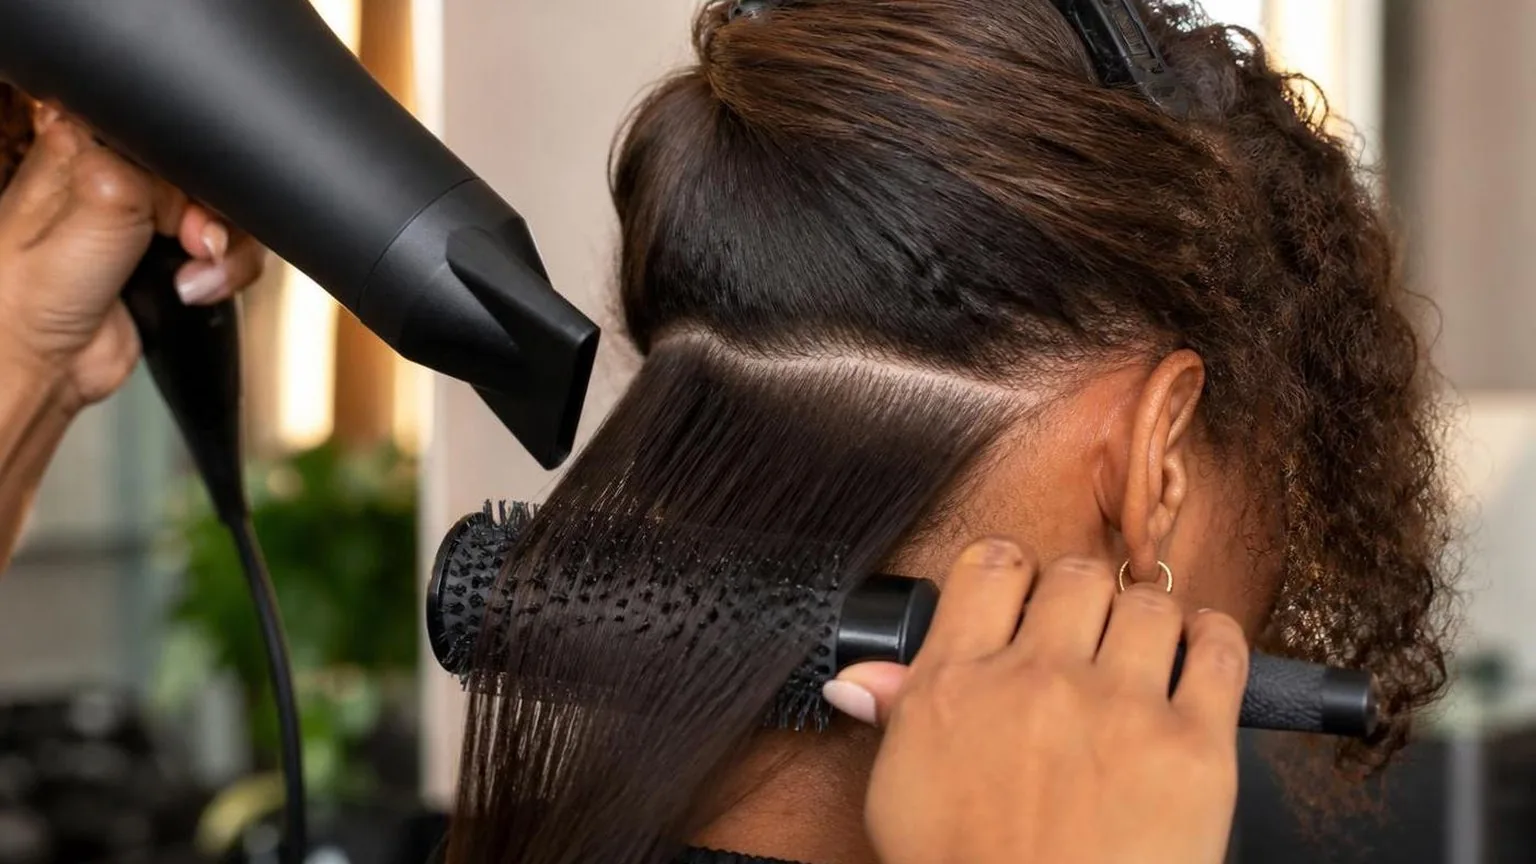
Heat softens the shape; tension and airflow place it. The nozzle should point down the hair shaft, following the brush from root to end, rather than blowing upward into the cuticle.
| Control point | Salon-safe working range | Use |
| Nozzle distance | About 1 to 3 inches from hair | Close enough to direct air, not press metal to hair |
| Air direction | Root to end | Helps reduce surface roughness |
| Pass speed | About 3 to 5 seconds per brush length | Slow enough to dry, fast enough to avoid repeated overheating |
| Cool shot | About 5 to 10 seconds per section | Sets the stretched shape before release |
Brush choice and tension
A mixed-bristle or ceramic round brush gives grip, but size changes the finish. Smaller barrels create more bend and lift; larger barrels smooth faster but need longer hair to wrap securely.
| Barrel size | Best use | Finish |
| 1 to 1.5 inches | Fringe, short layers, tight root control | More curve and lift |
| 1.75 to 2.25 inches | Shoulder-length curly hair | Smooth with soft movement |
| 2.5 inches and larger | Long hair and looser curls | Sleeker, flatter stretch |
- Work roots first: lift or pull the root in the direction you want it to sit.
- Keep tension even: do not yank; steady stretch is more effective than force.
- Let each section cool: releasing while hot allows curl memory and puffiness to return.
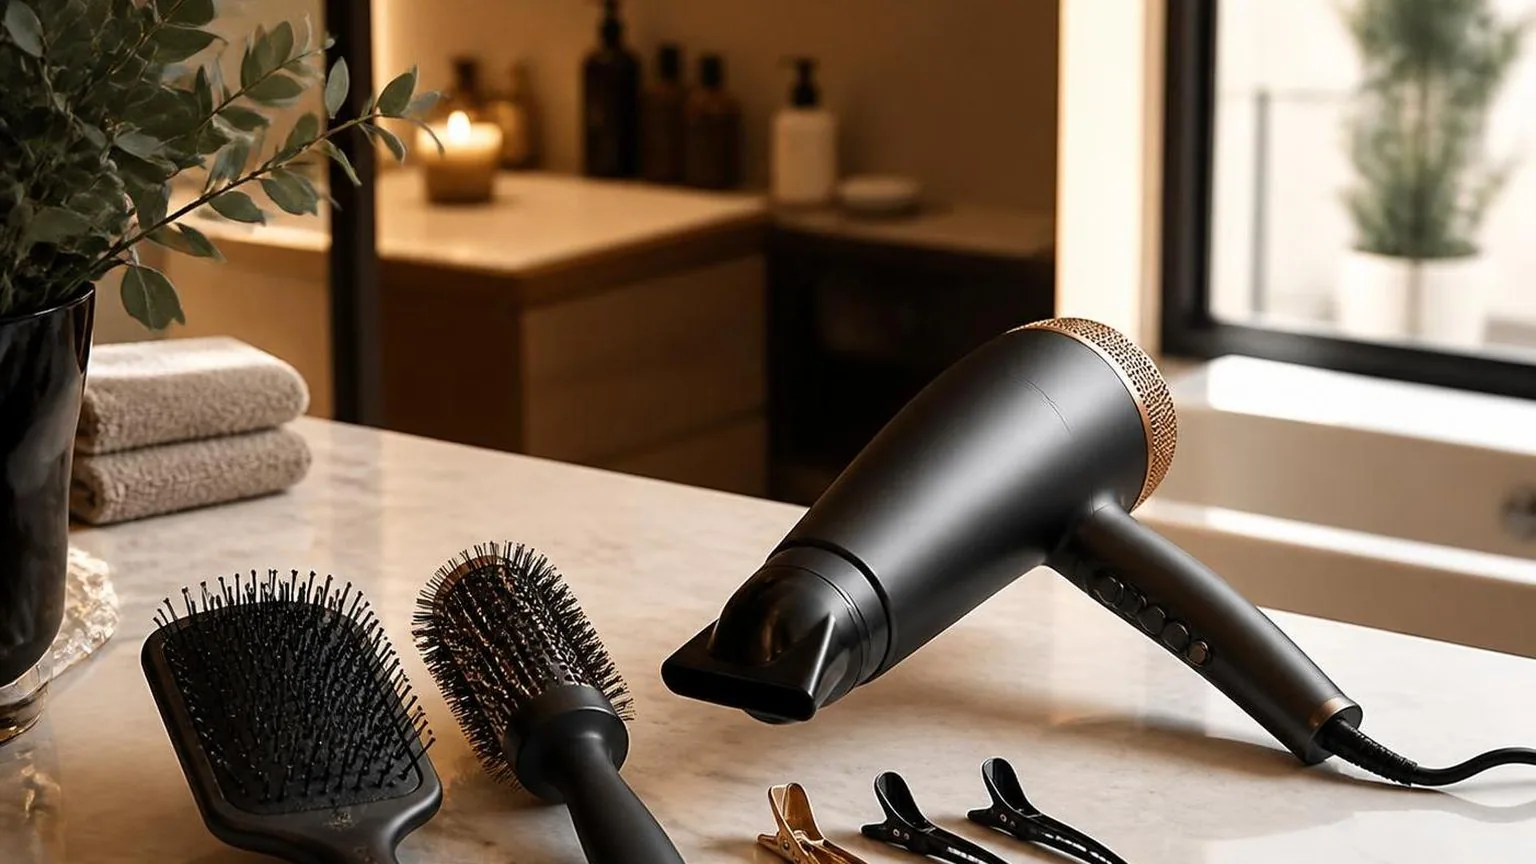
What a Good Result Looks Like
Judge a straight curly blow-dry by tension, surface finish, and elasticity, not by how flat it looks at first pass.
Hair should feel smooth and flexible, with the curl stretched evenly from root to end and no scorched smell, bubbling sound, or straw-like ends.
Work on a test section before committing to the whole head. Choose a back underneath section where the curl is strongest, then assess how much heat, airflow, brush tension, and drying time are actually needed.
| Check | What to look for | Good result |
| Moisture before brush work | Hair feels damp, not dripping | About 70% to 80% dry before strong tension |
| Section size | Hair fits cleanly through the brush | About 1 inch wide for tight curls, up to 2 inches for looser curls |
| Nozzle distance | Air follows the brush, not the scalp | About 1 inch to 3 inches from the hair |
| Passes per section | Cuticle looks smoother each pass | Usually 2 to 4 controlled passes |
The best on-head clue is rebound. After one section cools for at least ten seconds, bend the ends around your finger. If they snap back softly and still swing, the hair has been stretched without being over-dried.
Temperature judgment should be conservative. Many professional dryers produce high airflow with heat settings commonly ranging from warm to very hot, but the hair’s response matters more than the label on the switch.
| Hair response | What it means | Adjustment |
| Steam that disappears quickly | Normal water evaporation from damp hair | Keep moving the nozzle continuously |
| Sharp hot smell | Too much heat or too little movement | Drop heat, increase distance, reduce passes |
| Ends feel rough before fully dry | Brush tension or heat is too aggressive | Use smaller sections and lower airflow |
| Roots stay puffy, ends go flat | Uneven tension and poor root drying | Lift the root first, then stretch mid-lengths and ends |
Use your brush as a measuring tool. A round brush with a barrel around 1.5 inches gives more control on tight curls and shorter layers. A 2-inch to 2.5-inch barrel smooths longer lengths faster but gives less grip at the root.
- Roots: They should feel dry and lifted, not hot, damp, or compressed.
- Mid-lengths: They should reflect light in one direction, with no cloudy frizz halo after cooling.
- Ends: They should turn under or bevel cleanly, without splitting into fuzzy points.
- Overall finish: Hair should move as one sheet when shaken, not as stiff separated strands.
Cosmetic science texts describe hair as most vulnerable when wet because water weakens internal bonding temporarily.
In practical salon terms, that means rough stretching from soaking wet is the bigger mistake than taking an extra minute to pre-dry carefully.
The final test is humidity memory. If the section swells immediately while the rest of the hair is being dried, it was not fully dried at the root or it cooled before the cuticle was laid smoothly with the nozzle direction.
Set Against the Other Options
Blow drying curly hair straight is usually the most controllable route because tension, airflow, and heat can be adjusted section by section.
Compared with ironing, it uses lower contact heat, but it needs better prep, smaller sections, and disciplined nozzle direction.
For salon-level smoothing, the blow dryer sits between air drying and flat ironing: more polish than air drying, less thermal intensity than direct plates.
The American Academy of Dermatology advises using the lowest heat setting that works and limiting heat exposure, which fits a tension-drying approach.
| Method | Typical heat contact | Best working section | Finish |
| Blow dryer with concentrator and brush | Airflow around 80–110°C at the hair, depending on distance and dryer setting | 1–2 inch wide sections | Smooth, with volume and bend |
| Flat iron after drying | Direct plate contact, commonly 150–190°C for textured hair | 0.5–1 inch sections | Flatter, glassier, less root lift |
| Hot brush or wet-to-dry tool | Heated surface plus airflow; varies by tool | 1–1.5 inch sections | Softly stretched, less precise at roots |
| Air dry, then smooth | Low heat during drying, higher heat if finished with irons | Depends on curl density | More texture retention, longer total styling time |
Versus a flat iron
A flat iron is faster for compact, high-shine straightening, but the plates compress the same hair repeatedly. For curly hair, one slow pass at 175°C can be gentler than three rushed passes at 150°C, but only on fully dry hair.
Blow drying wins when the client wants swing, root lift, and a softer straight finish. Use a concentrator nozzle, keep it about 1–2 inches from the brush, and aim airflow from roots to ends to help the cuticle sit flatter.
Versus a hot brush
Hot brushes are convenient at home, especially for mid-lengths and ends, but they struggle on tight roots and dense nape sections. A separate dryer and brush give more tension, better angle control, and cleaner beveling around the hairline.
For curly hair, a 35–45 mm round brush works well for shoulder-length smoothing, while a paddle brush gives faster stretch on long, dense hair. Smaller brushes create more bend, not necessarily a straighter result.
Versus air drying first
Air drying reduces heat exposure, but it can set curls and bends that take more work to smooth later. If you air dry to about 70–80% dry, then blow dry in sections, you shorten heat time without fighting fully set texture.
- Best for speed: rough dry to 80%, then tension blow dry.
- Best for shine: blow dry smooth, then use a low-temperature iron only where needed.
- Best for volume: blow dry with a round brush and cool each section for 5–10 seconds before releasing.
Keeping Condition Through the Dry
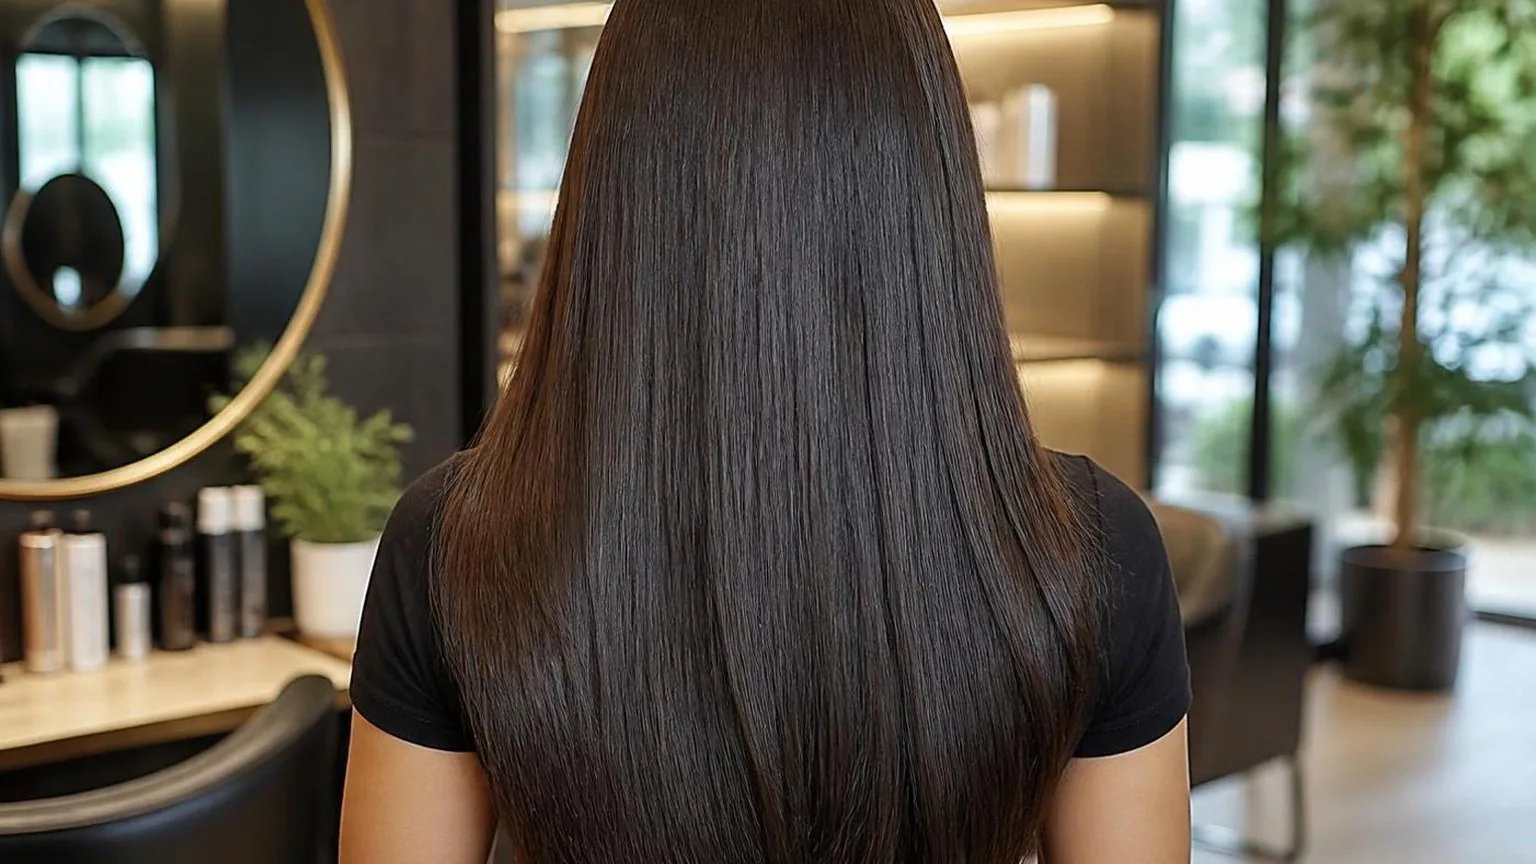
Straightening curly hair with a dryer is a balance of moderate heat, steady airflow and controlled tension, not maximum temperature. Keep the nozzle moving, stretch the curl before concentrating heat, and stop each section when it feels dry, not hot.
Cosmetic science texts from Robbins and the hair-fibre research behind the International Journal of Cosmetic Science agree on the practical point: wet hair is mechanically weaker than dry hair.
That is why the rough-dry stage should remove surface water before any firm pulling begins.
| Stage | Hair feel | Tool setting | Technique |
| Prep dry | Damp, no dripping | Medium heat, high airflow | Lift roots and shake curls loose with fingers |
| Stretch dry | Mostly dry | Medium heat, concentrator nozzle | Use a paddle or vent brush with light tension |
| Polish dry | Dry to the touch | Low to medium heat, narrow nozzle | Round-brush small sections from root to end |
| Set | Dry and smooth | Cool shot | Hold the shape until the section cools |
For salon work, I keep the concentrator angled down the strand, about a finger’s width from the brush, rather than pressed onto the hair. Direct contact traps heat against one spot and can flatten shine instead of improving it.
| Control point | Practical target | Why it matters |
| Section width | About the width of the brush barrel | Air reaches the full section evenly |
| Section depth | No deeper than the brush bristles can penetrate | Prevents damp hair hidden inside the section |
| Nozzle gap | Roughly one finger’s width from hair | Reduces hot-spotting while keeping direction |
| Pass speed | Slow, continuous movement from roots to ends | Keeps tension even without repeated tugging |
Tension should feel like a firm ribbon pull, never a yank. If curls spring back immediately after a pass, the section is either too damp, too thick, or the airflow is not following the brush closely enough.
- Start at the back. It is usually denser and harder to reach, so it needs the most patience and the cleanest sectioning.
- Dry roots first. Curly regrowth holds shape strongly; smooth roots make the mid-lengths easier to control.
- Do not chase steam. Visible steam usually means excess water, product load or heat concentration. Step back and keep the dryer moving.
- Finish with cooling. A cool pass helps the new shape feel firmer before the hair is brushed out.
A boar-and-nylon mix brush gives grip and polish on many curl patterns, while a vented paddle brush is kinder for the first stretch. Save high-tension round brushing for the final smoothing pass, when the hair is already nearly dry.
The Mechanism, Step by Step
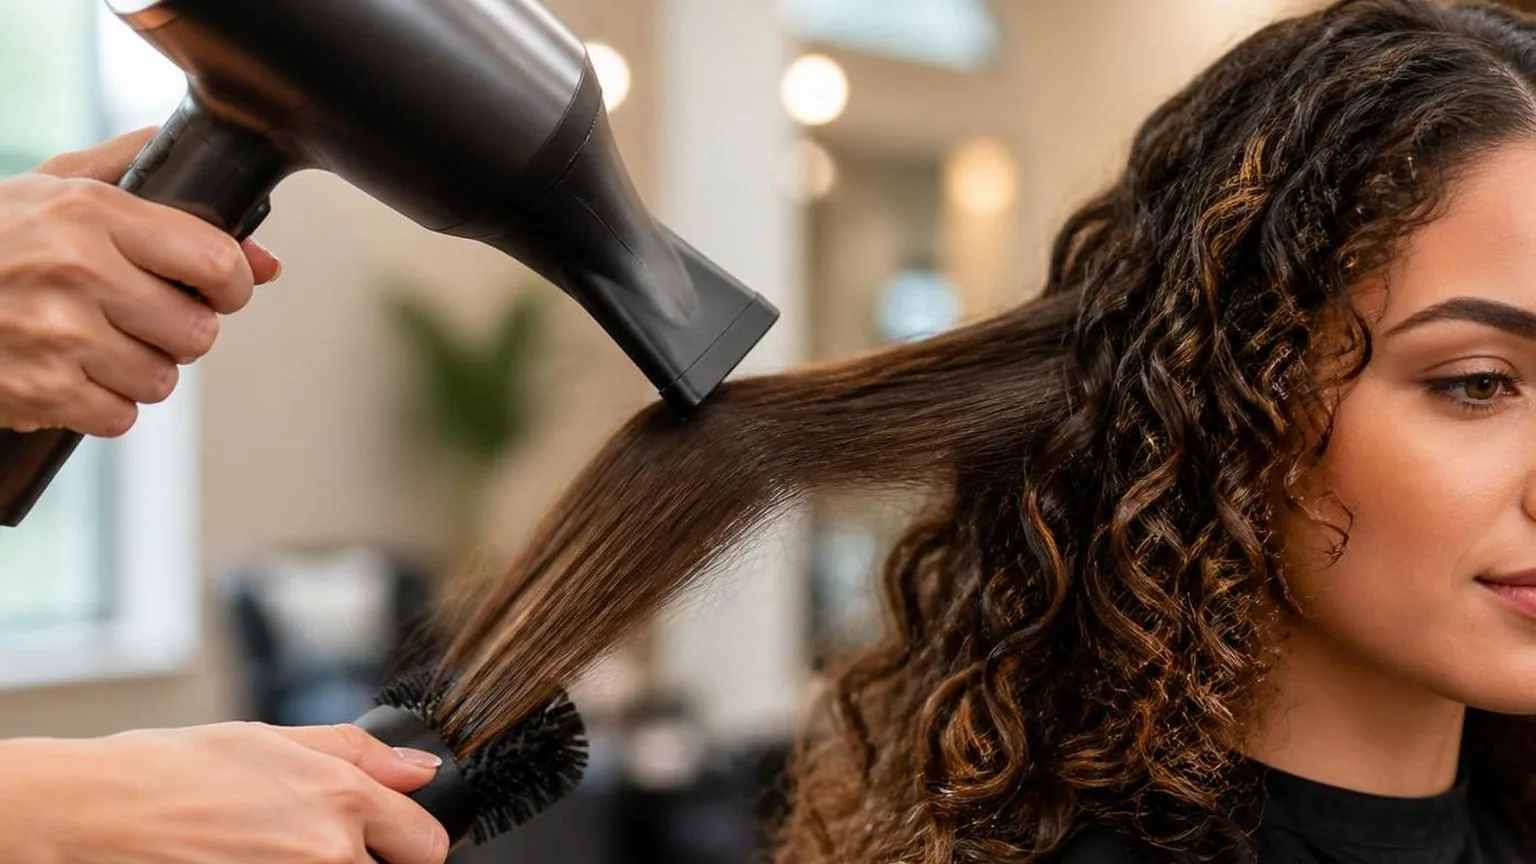
The straightest finish comes from treating curly hair like fabric under tension: wetter at the root, controlled in small sections, and directed from consistent angles.
Frizz control depends on a concentrator nozzle, medium airflow, and steady brush tension rather than maximum heat.
Curly hair ranging from loose S-waves to tight corkscrews needs enough moisture left in the curl to allow reshaping. After washing, microfiber towel-blotting, heat protectant, and light rough-drying, curls should still look visibly clumped and damp.
| Variable | Working range |
| Section width | 1 to 2 inches at the hairline, 2 inches through the back |
| Section thickness | About 0.5 inch for dense curls, up to 0.75 inch for looser curls |
| Nozzle distance | 2 to 3 inches from the brush, never pressed into the hair |
| Dryer direction | Root to end, nozzle angled down the strand |
| Passes per section | 3 to 5 slow passes, then 1 cool pass |
| Brush size | 1.5-inch barrel for short layers, 2 to 2.5-inch barrel for mid-lengths |
Section thickness changes the result because air and tension must reach the interior of the curl. Chunky sections may smooth on the surface while staying damp inside. Those sections can swell within minutes.
Half-inch sections take longer, but create cleaner ends.
Heat and speed also change the finish. High heat with fast passes can dry the surface before the curl is fully stretched. Medium heat with slower tension gives the brush time to align the strand, especially around the temples and nape.
| Method | Typical effect |
| High heat, fast passes | Faster surface drying, more roughness at the crown |
| Medium heat, slower passes | Smoother cuticle lay and better root control |
| No nozzle | Expanded curl pattern and frizz at the ends |
| Concentrator nozzle | Cleaner stretch with less re-wetting needed |
| Brush pulled straight down | Flatter roots but bent ends |
| Brush lifted 45 degrees at root | Straighter root area with better movement |
The nape usually needs the most patience because it is dense, compressed, and easy to under-dry. If rushed, the top layers can look polished while the underneath stays puffy. Clip the top away and dry the nape in narrow horizontal panels.
The finishing step is one cool shot per section while the hair is still wrapped on the brush. Cooling under tension helps set the straighter shape before release. Releasing while warm allows the curl pattern to rebound sooner.
The practical takeaway for salon owners and home users is simple: use smaller sections than instinct suggests, keep the nozzle moving downward, and stop chasing shine with hotter air. Control, tension, and full drying beat heat every time.
Mistakes Worth Avoiding
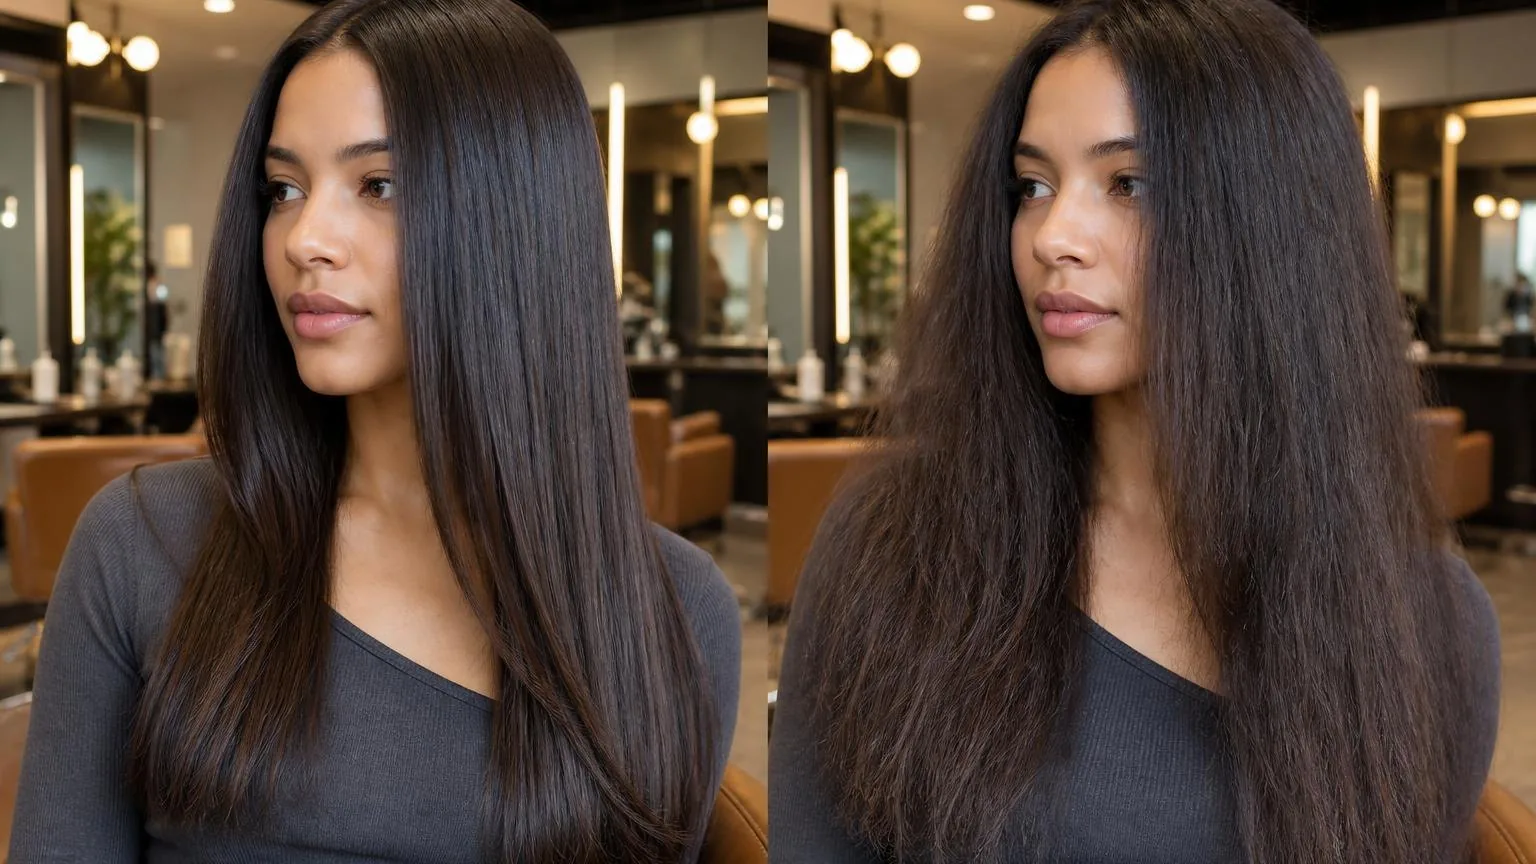
Most damage comes from combining too much water, too much heat, and too much tension in the same pass. Curly hair can be blown straight cleanly, but only if you reduce moisture first, keep airflow moving, and use brush tension without dragging.
The biggest myth is that a hotter dryer creates a smoother finish. In practice, high heat on wet curls can make the cuticle swell and roughen before the hair is aligned.
The American Academy of Dermatology advises letting hair partially air-dry before styling and keeping heat tools on the lowest effective setting.
| Mistake or myth | Better salon practice |
| Starting with dripping hair | Towel-blot with a microfiber towel, then rough-dry to about 70% dry before brush work |
| Holding the nozzle on one spot | Keep the dryer moving and hold the nozzle about 15 cm from the hair |
| Using maximum heat throughout | Use medium heat for drying, then a cool shot for about 10 seconds per section |
| Taking oversized sections | Work in sections about 2.5 cm to 5 cm wide, depending on density |
| Pulling hard to “stretch” curls | Use firm, even tension with the brush parallel to the strand, not downward yanking |
Another common error is using the round brush too early. If the hair is still wet, the brush becomes a heat clamp. The section steams, the finish takes longer, and stylists usually compensate with more passes.
Boar, nylon, and mixed-bristle brushes all have a place, but size matters. A small barrel creates bend and can overwork tight curls.
For straightening, many stylists prefer a larger round brush or paddle brush that keeps the hair stretched in broader panels.
| Hair length | Useful brush diameter |
| Chin to shoulder length | About 35 mm to 45 mm |
| Below shoulder length | About 45 mm to 55 mm |
| Very long or dense hair | About 55 mm or a vented paddle brush |
Do not skip the concentrator nozzle. A bare dryer blows hair in multiple directions, which raises frizz and forces extra passes. A narrow nozzle aims airflow down the strand, following the brush from roots to ends.
- Myth: Smoke or steam means the product is “working.” It usually means too much moisture, too much product, or heat held too close.
- Myth: More tension equals straighter hair. Controlled tension works better than tugging, especially around the hairline.
- Myth: The cool shot is optional. Cooling each section helps set the shape before the hair is released from the brush.
- Myth: One large section saves time. Smaller sections dry faster and need fewer corrective passes.
For at-home work, the safest benchmark is simple: if one section needs repeated passes, stop and reassess moisture level, section size, nozzle direction, or heat setting before continuing.
Frequently Asked Questions
What heat setting should I use to straighten curly hair with a blow dryer?
Start at medium heat, around 250–300°F at the airflow, and only move higher if the hair is coarse, dense, and still too damp. Keep the nozzle 1–2 inches from the brush and finish each section with 5–10 seconds of cool air.
How wet should curly hair be before blow drying it straight?
Begin styling when hair is about 70–80% dry, not dripping. Blot with a microfiber towel first, then rough-dry the roots on low tension before using a brush, which reduces repeated passes on the more fragile mid-lengths and ends.
Which brush size works best for a smooth straight blowout on curls?
Use a round brush with a 1.5–2 inch barrel for short to medium lengths and a 2.5–3 inch barrel for long hair. Smaller barrels create too much bend, while oversized brushes may not hold enough tension to smooth tighter curl patterns.
How many passes are safe on each section?
Work in sections no wider than the brush barrel and about 1 inch thick. Aim for 2–4 slow passes per section, moving from roots to ends; if a section needs more, it is usually too wet, too large, or lacking even tension.
How do I keep curly hair straight after blow drying?
Let each section cool fully before touching it, because hair sets as it cools. After the blowout, use a pea-sized amount of lightweight serum on mid-lengths and ends, then avoid steam, heavy oils, and tight elastics that can reintroduce bends.
Should I use a concentrator nozzle when blow drying curly hair straight?
Yes, a concentrator nozzle helps direct airflow down the hair shaft for a smoother finish. Keep the nozzle pointed from roots to ends to reduce frizz and help the cuticle lie flat.
Do I need to apply product before blow drying curly hair straight?
Use a heat protectant before you start, then add a smoothing cream or lightweight serum if your hair needs extra control. Avoid heavy products that can make the hair greasy or harder to stretch straight.
How should I section curly hair for a straighter blowout?
Divide the hair into small, clean sections so the brush can hold enough tension. Start at the lower layers and work upward, clipping away hair you are not drying yet.
How do I reduce frizz while blow drying curly hair straight?
Keep airflow aimed down the hair shaft and keep steady tension on each section. Avoid rough-drying the curls in different directions, which can lift the cuticle and cause frizz.
Related Reading
- Round brush diameter, by hair length
- How to blow dry a finish that survives humidity
- Blow drying fine hair for volume that holds
- Blow dry or air dry: what each does to hair
- How to make a blowout last past day two
- Root volume that survives the first hour
- Blow drying short hair without losing the shape
- The complete guide to blow drying technique
- American Academy of Dermatology Association
- PubMed Hair Shaft Heat Damage Search
- Occupational Safety and Health Administration Hair Salons
- U.S. Small Business Administration Business Guide
- California Board of Barbering and Cosmetology
- Electrical Safety Foundation International
- Cornell Legal Information Institute Occupational Safety and Health Act