

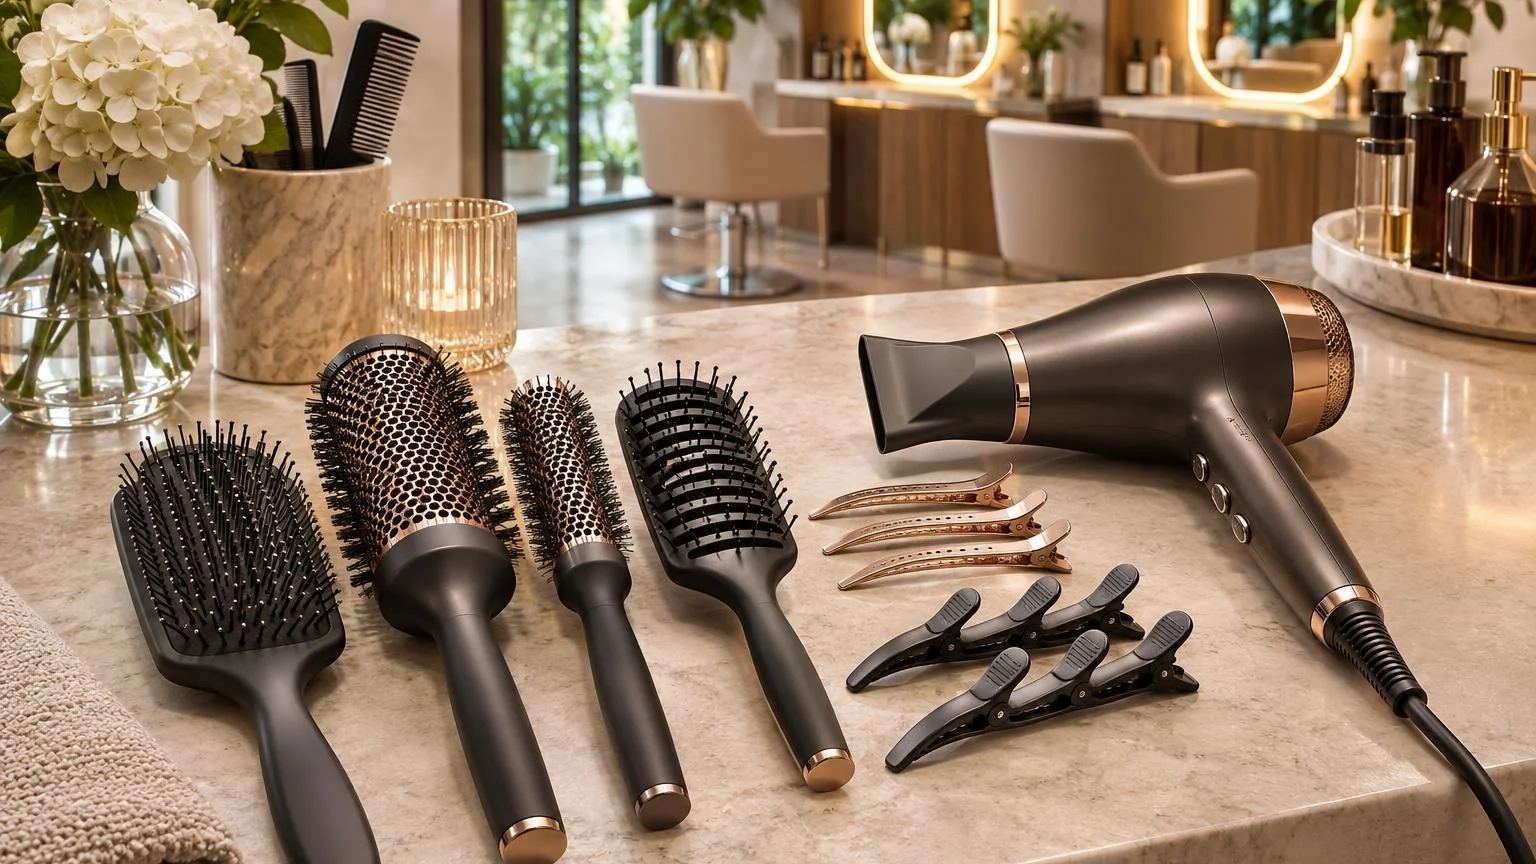
Sectioning clips types split into four working categories — duckbill, butterfly (also sold as claw or croc), alligator, and double-prong — and a full-head blowout requires eight to ten clips at once.
Duckbill clips measure roughly 9 cm with a flat, serrated body, pinning fine sections without creasing the dried result.
Butterfly clips grip sections up to 5 cm thick, so they suit coarse or high-density hair, while alligator teeth anchor at the root and hold tension during round-brush smoothing.
Matching clip to section size prevents slippage mid-dry, which protects your section boundaries and the lift at the crown.
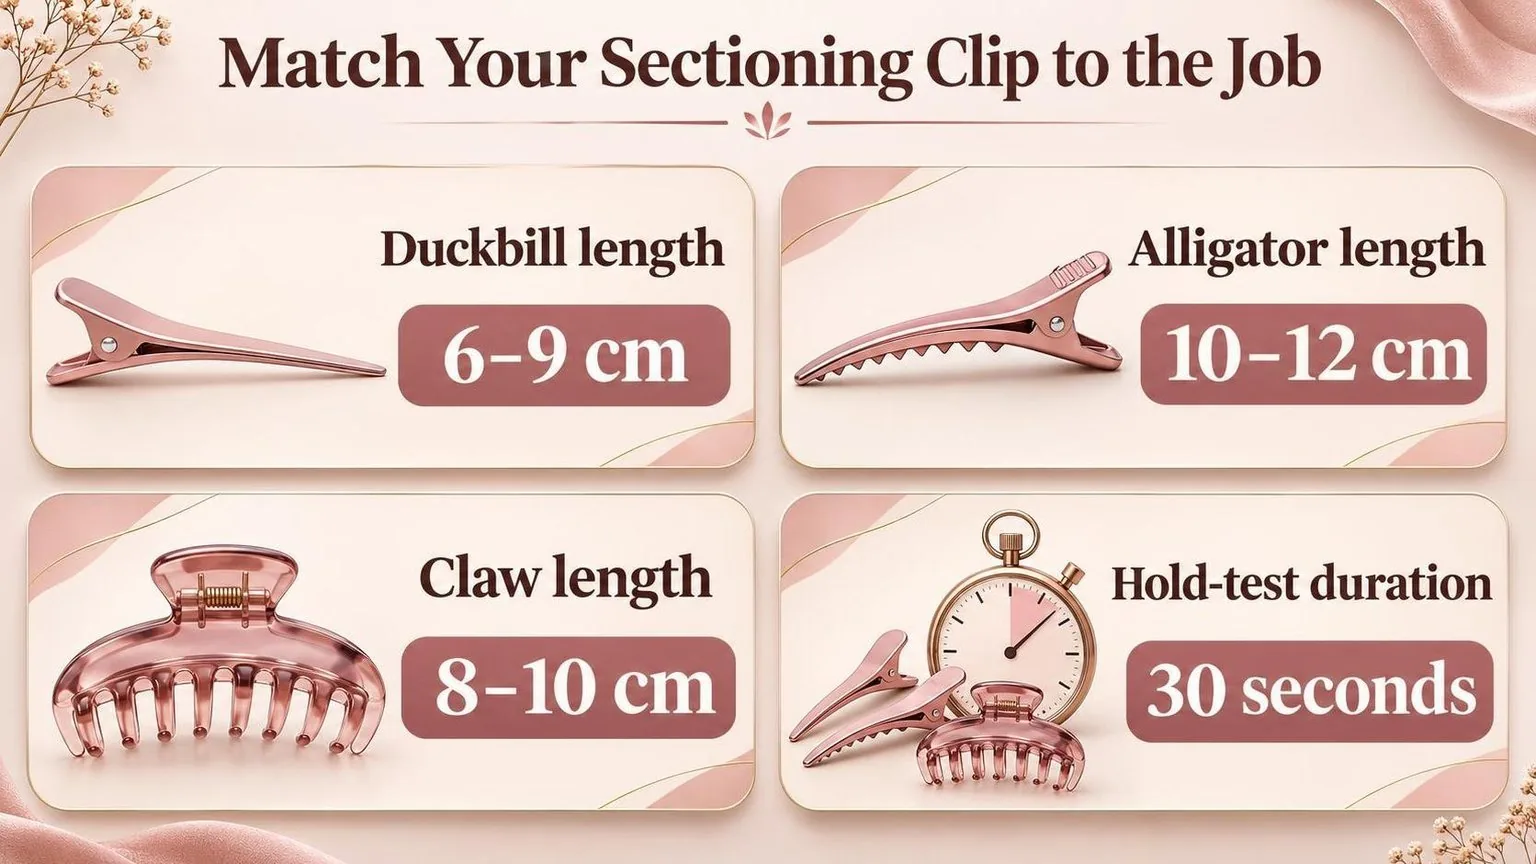
Match Clips to Your Sections
Choose sectioning clips by the bundle they must hold, not hair length alone. Gather your current clips, a comb and a ruler. Run this check on dry hair, then repeat on towel-dried hair if you section before blow-drying.
Make a panel approximately 3 cm wide at the temple. Twist it loosely once, clip it away from your working area and turn your head left and right. Wait 30 seconds. Repeat with a 5 cm panel at the back, where your holding sections may be larger.
| Your result | Clip type to try | Next adjustment |
|---|---|---|
| The small panel slips out. | Flat duckbill or single-prong sectioning clip, approximately 6–9 cm long. | Reduce the panel to 2 cm; position the jaws across the folded section. |
| The larger bundle forces the jaws apart. | Hinged alligator clip, approximately 10–12 cm long. | Split the bundle if the jaws cannot close securely. |
| You need to park a loose twist. | Butterfly or claw clip, approximately 8–10 cm long. | Keep the twist inside the teeth, clear of your brush path. |
These dimensions are shopping starting points, not guaranteed capacities. Check jaw opening, spring grip and smooth edges. Reject any clip that catches strands during removal.
Build your kit around the winners: start with four holding clips and two smaller detail clips per station. At home, buy one candidate before committing to a multipack. Grip should hold the section without pulling at the roots.
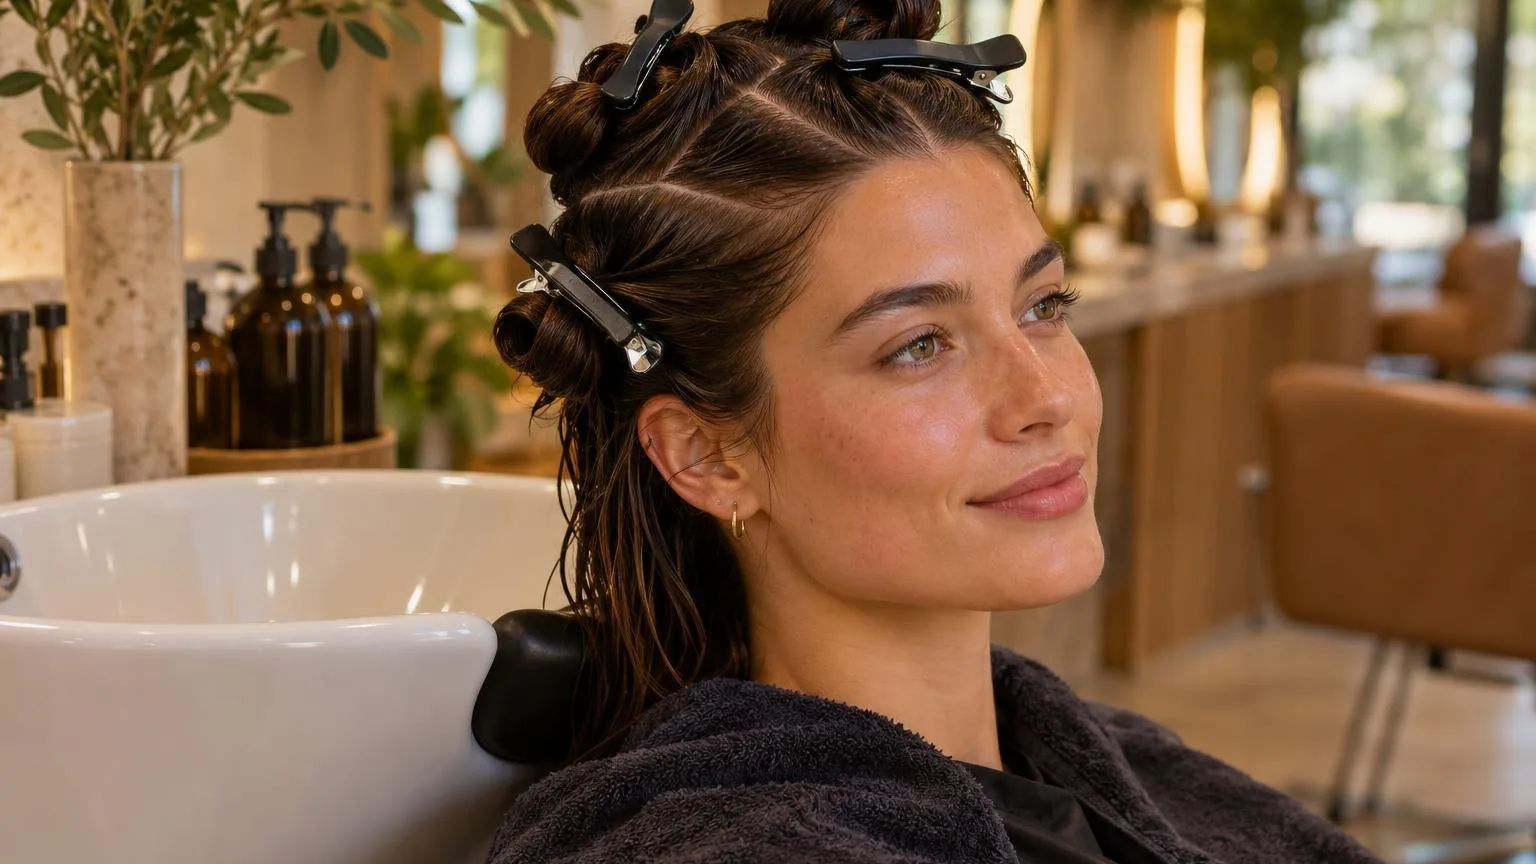
What the Figures Add Up To
Sectioning clips earn their place through secure hold, clean access and quick release, not pack size alone. Calculate how many sections must stay parked, then choose a jaw shape that holds each bundle without forcing the closure.
Count parked sections, not total sections
The figures below are workflow arithmetic, not manufacturer performance claims. Each example assumes you work on one section while securing every other section separately.
Your actual requirement changes if you release several sections together or subdivide them while styling.
| Example setup | Total sections | Active sections | Clips holding parked sections |
| Four-quadrant foundation | 4 | 1 | 3 |
| Each quadrant divided in half | 8 | 1 | 7 |
| Each quadrant divided into thirds | 12 | 1 | 11 |
Keep a spare within reach for temporary subdivisions. More clips do not automatically improve a blowout: unnecessary divisions add handling, while oversized sections make it harder to direct airflow and maintain consistent brush tension.
Match the mechanism to the job
| Clip type | Useful feature | Practical limitation |
| Duckbill | Long, relatively slim jaws provide access beside a parting. | Shallow jaws may struggle with bulky bundles. |
| Alligator or crocodile | Toothed jaws help retain gathered hair; some designs have an additional hinge. | Teeth and joints require careful opening during removal. |
| Creaseless | Flat pads spread contact across the held section. | Often better suited to keeping finished front pieces aside than parking substantial bundles. |
| Claw | A curved body contains a gathered or twisted bundle. | Its bulk can obstruct close brush placement. |
Names are not standardised specifications. “Alligator” and “crocodile” can describe overlapping designs, so inspect the hinge, tooth profile and jaw opening rather than treating the label as a guaranteed capacity rating.
Drybar’s Hold Me Hair Clips product description identifies an alligator-jaw design. Kitsch’s Creaseless Clips descriptions identify their flat construction and intended crease-minimising function.
These manufacturer descriptions establish design intent, not independently measured grip strength or a guarantee of mark-free results.
Check fit before buying multiples
- Close the clip around a representative section. The jaws should secure the bundle without needing to be forced together.
- Move the section into its working position. Replace the clip if the bundle slides or the clip rotates into the brush path.
- Open the jaws fully before removal. Dragging a closed toothed clip through hair defeats clean sectioning.
- Inspect springs, hinges and contact surfaces between clients. Retire clips with cracks, rough edges or unreliable closure.
Clip length alone cannot tell you holding capacity. Jaw depth, opening angle, spring tension and bundle size all matter; a longer clip is not necessarily the stronger or more suitable choice.
Build the kit around parked-section count, then add a different mechanism for finishing work. That produces a defensible purchase: enough holding points for your workflow, without confusing clip quantity with control.
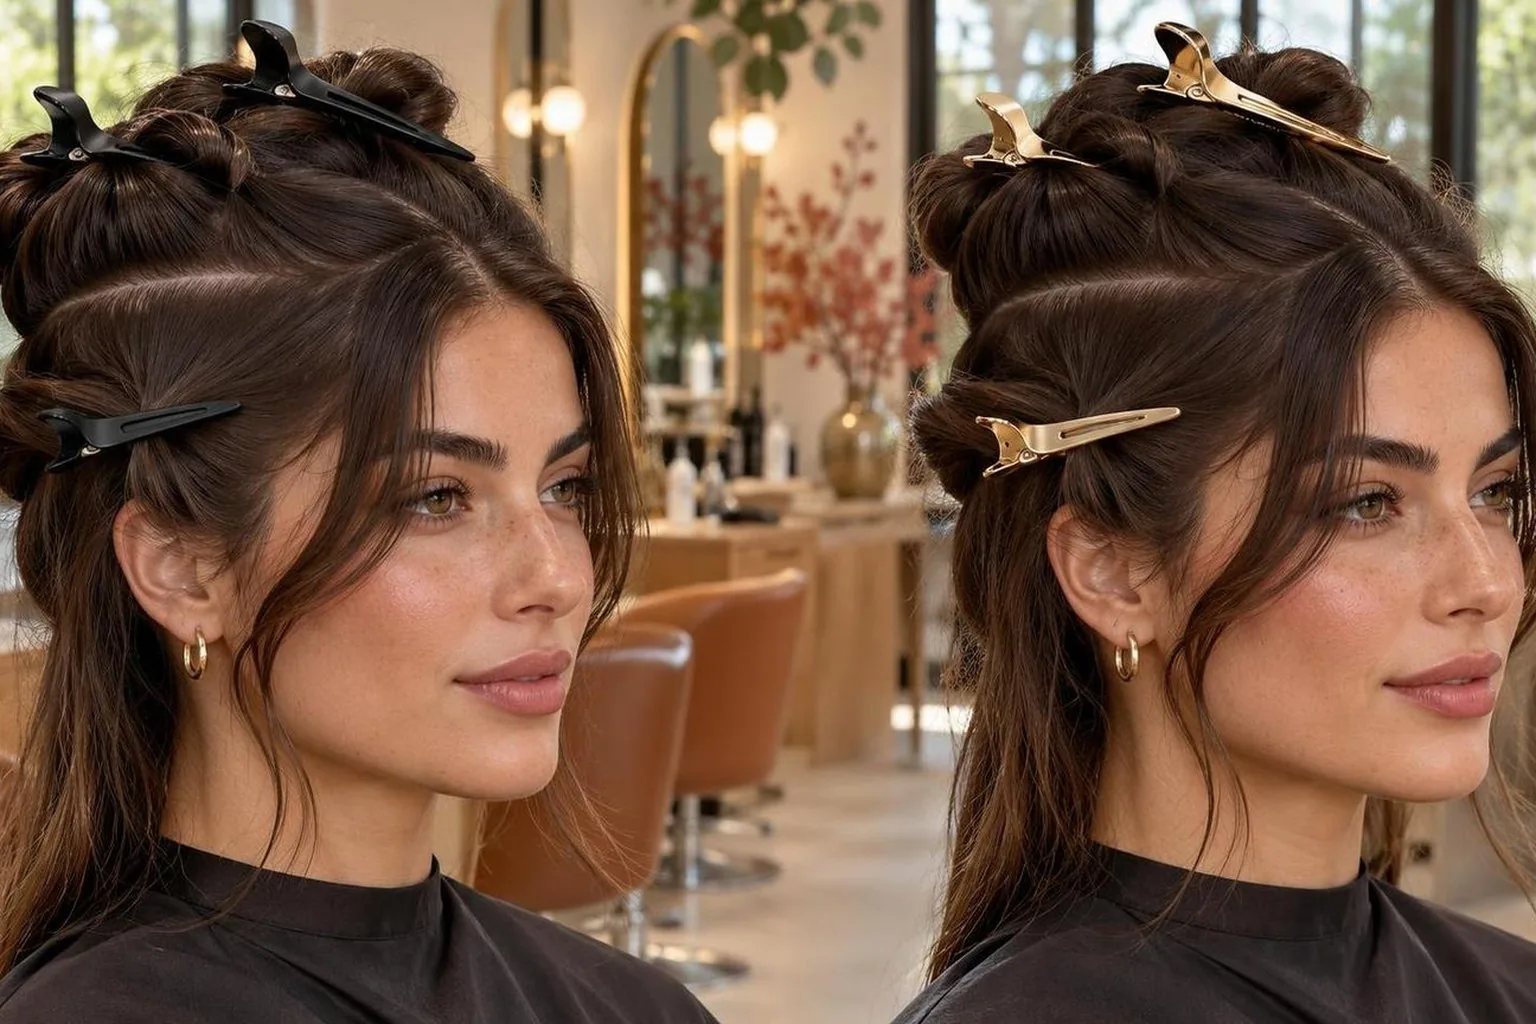
Which Factors Carry Weight
Grip, jaw opening, contact surface and release control matter more than colour or pack size. Choose sectioning clips for the amount of hair they must hold and the finish they must preserve.
A secure clip should keep the working section clear without snagging during removal.
Match the Mechanism to the Section
Duckbill clips have long, relatively narrow jaws that suit flat sections and precise placement. Alligator-style clips use toothed jaws; articulated versions accommodate a bulkier bundle.
Flat, padded clips prioritise protecting a finished surface rather than gripping a large, twisted section.
Names vary between suppliers, so inspect the hinge and inner surfaces instead of buying by label alone. Framar’s Gator Grips product description identifies a double-hinged design.
Kitsch’s Creaseless Clips description identifies their intended role: holding hair back without leaving creases.
Test Capacity, Not Length Alone
A longer clip does not automatically hold more hair. Jaw opening, tooth placement, spring force and the shape of the bundle all affect retention. Test the same section with competing clips, keeping its twist and placement consistent.
Use the following as a repeatable salon trial, not as manufacturer specifications or universal capacity limits. Section width measures the parting at the head; density and strand thickness still change the amount of hair inside each bundle.
| Trial | Starting setup | Pass criterion |
| Small-section control | 2 cm-wide parting; observe for 30 seconds | No sliding into the working area |
| Bulkier-section control | 4 cm-wide parting; observe for 30 seconds | Jaws close securely without forcing |
| Finished-surface check | Hold cool, dry hair for 60 seconds | No visible indentation after release |
If a clip slips, reduce the bundle before increasing pressure. Overfilling can prevent the jaws from closing properly. Conversely, a bulky clip can obstruct brush access when the working section is narrow.
Check Contact Points and Release
- Teeth: Inspect tips and moulding seams. Rough edges can catch strands even when the spring feels smooth.
- Hinge: Open the jaws fully before withdrawing the clip. Pulling a partly closed clip through hair increases snagging.
- Pads: Check that protective inserts sit flush. Lifted edges can trap individual hairs.
- Handle: Test with your usual styling product on your hands. A slippery lever interrupts section changes.
Prioritise Finish and Maintenance
Crease-resistant does not mean crease-proof. Pressure, placement and whether the hair is still warm or damp influence the result. Let the section cool before using a holding clip near a visible face-framing bend, and test underneath first.
Follow the supplier’s cleaning instructions, including compatibility with salon disinfectants. Check hinges, springs and pads during cleaning.
Replace clips with rust, cracks, loose inserts or sharp edges; low purchase cost matters little when a damaged clip disrupts repeated section changes.
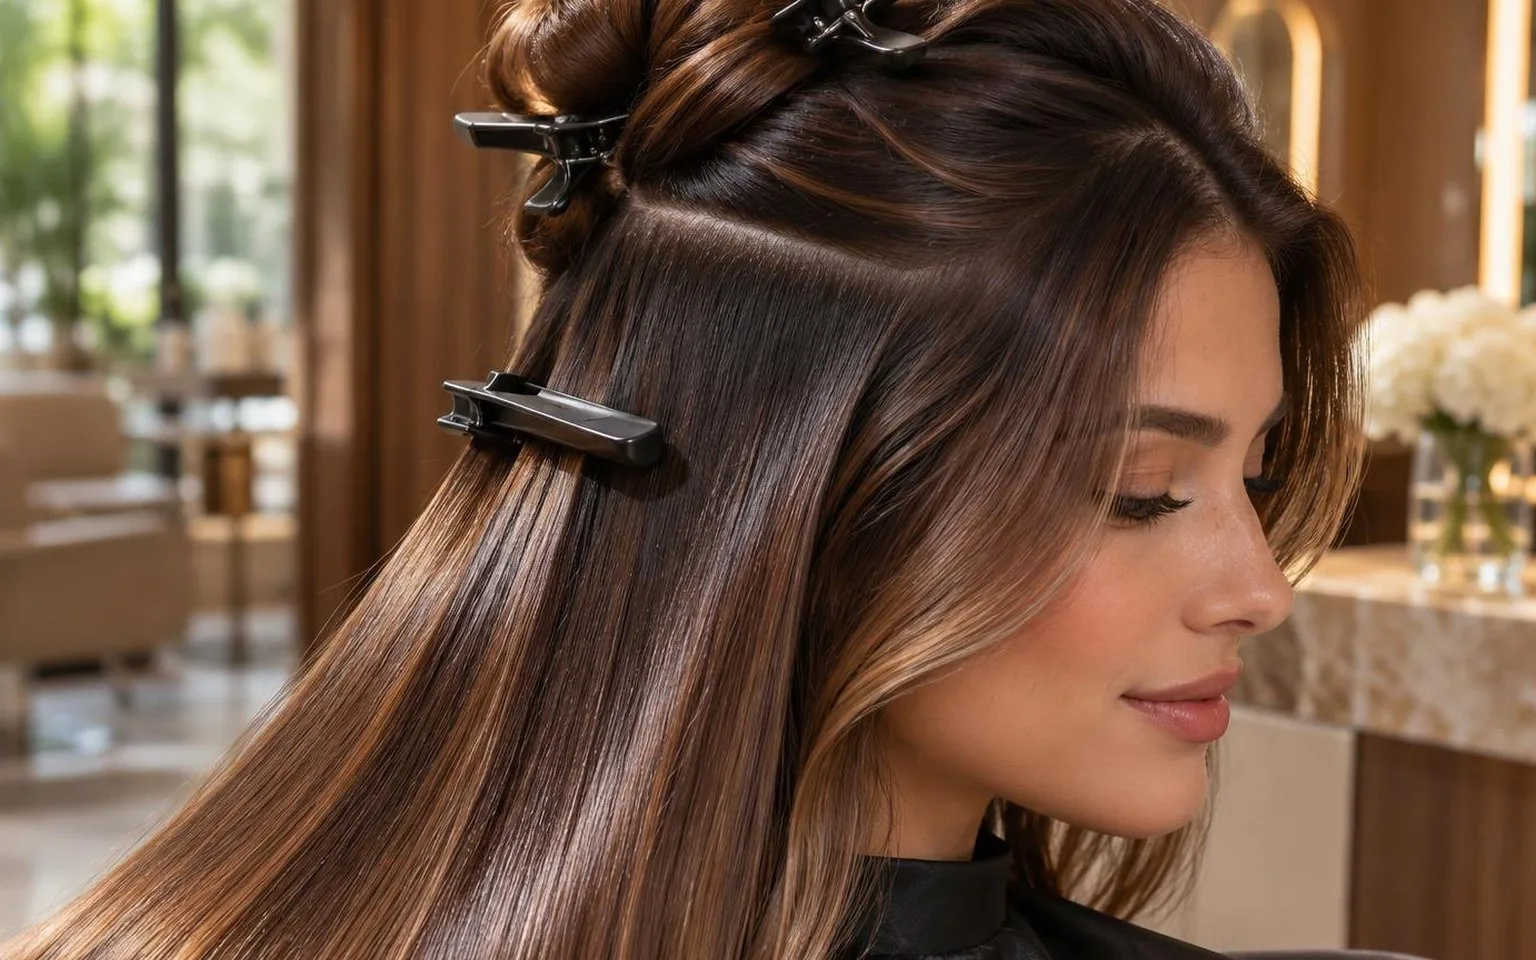
Reading the Result at the Chair
Read a sectioning clip by what happens after you place it and after you remove it: the panel should stay separated without pulling, slipping or retaining a visible dent.
Match the jaw shape to the section’s bulk, then check the finished surface under direct light.
Judge the Hold, Not the Spring
A stronger spring does not automatically produce better control. If hair spills around the jaws, reduce the section rather than forcing the clip shut.
If the clip drags the panel towards the floor, reposition it nearer the section’s base without pressing against the head.
| Clip type | Successful result | Reason to change it |
| Duckbill | The long jaws keep a shallow panel separated and accessible. | A bulky bundle holds the tips apart or slides through the jaws. |
| Articulated alligator | The hinged jaw accommodates a folded or bulky section. | Teeth catch loose strands, or the section shifts inside the clip. |
| Butterfly claw | The opposing teeth contain a loosely gathered bundle. | The body obstructs the brush path or captures neighbouring sections. |
| Flat, padded styling clip | The contact surface holds a finished panel with minimal marking. | A ridge remains after release, particularly where the pad edge rested. |
Run a Repeatable Chair Check
Use the following as a practical salon check, not a manufacturer rating. Keep hair condition, section size and placement consistent when comparing clips. A pass on fine, dry hair does not establish that the same clip will hold a dense, damp bundle.
| Check | Working protocol | What to record |
| Section control | Isolate a panel approximately 25 mm wide at the base. | Record its thickness separately; width alone does not describe bulk. |
| Initial hold | Observe for 30 seconds with the client sitting normally. | Note sliding, opening jaws or escaped strands. |
| Release quality | Open fully and remove once, following the section’s direction. | Note snagging, displaced hairs and visible pressure lines. |
Do not tug the closed clip out to test its grip. That confuses holding power with friction during removal. Support the section, open the jaws completely and check whether hair remains caught around the hinge or teeth.
Read Marks in Context
- A dent across a finished panel suggests excessive pressure, unsuitable placement or clipping before the section has cooled.
- Loose strands between panels suggest incomplete separation; redraw the parting before changing tools.
- Repeated slipping suggests a mismatch between jaw capacity, surface grip and section bulk.
- A client reporting pulling means repositioning immediately, not waiting for the hold check to finish.
For blow-drying, reserve bulky holding clips for unworked sections and keep them outside the brush’s travel. Remove holding clips before assessing root lift: trapped hair can disguise the direction and tension established during drying.
The foundation is controlled sectioning, as taught in Milady Standard Cosmetology. The checks above are practical assessment criteria, not published performance thresholds.
Choose the clip that preserves separation and releases cleanly on the hair in your chair.
Set Against the Other Options
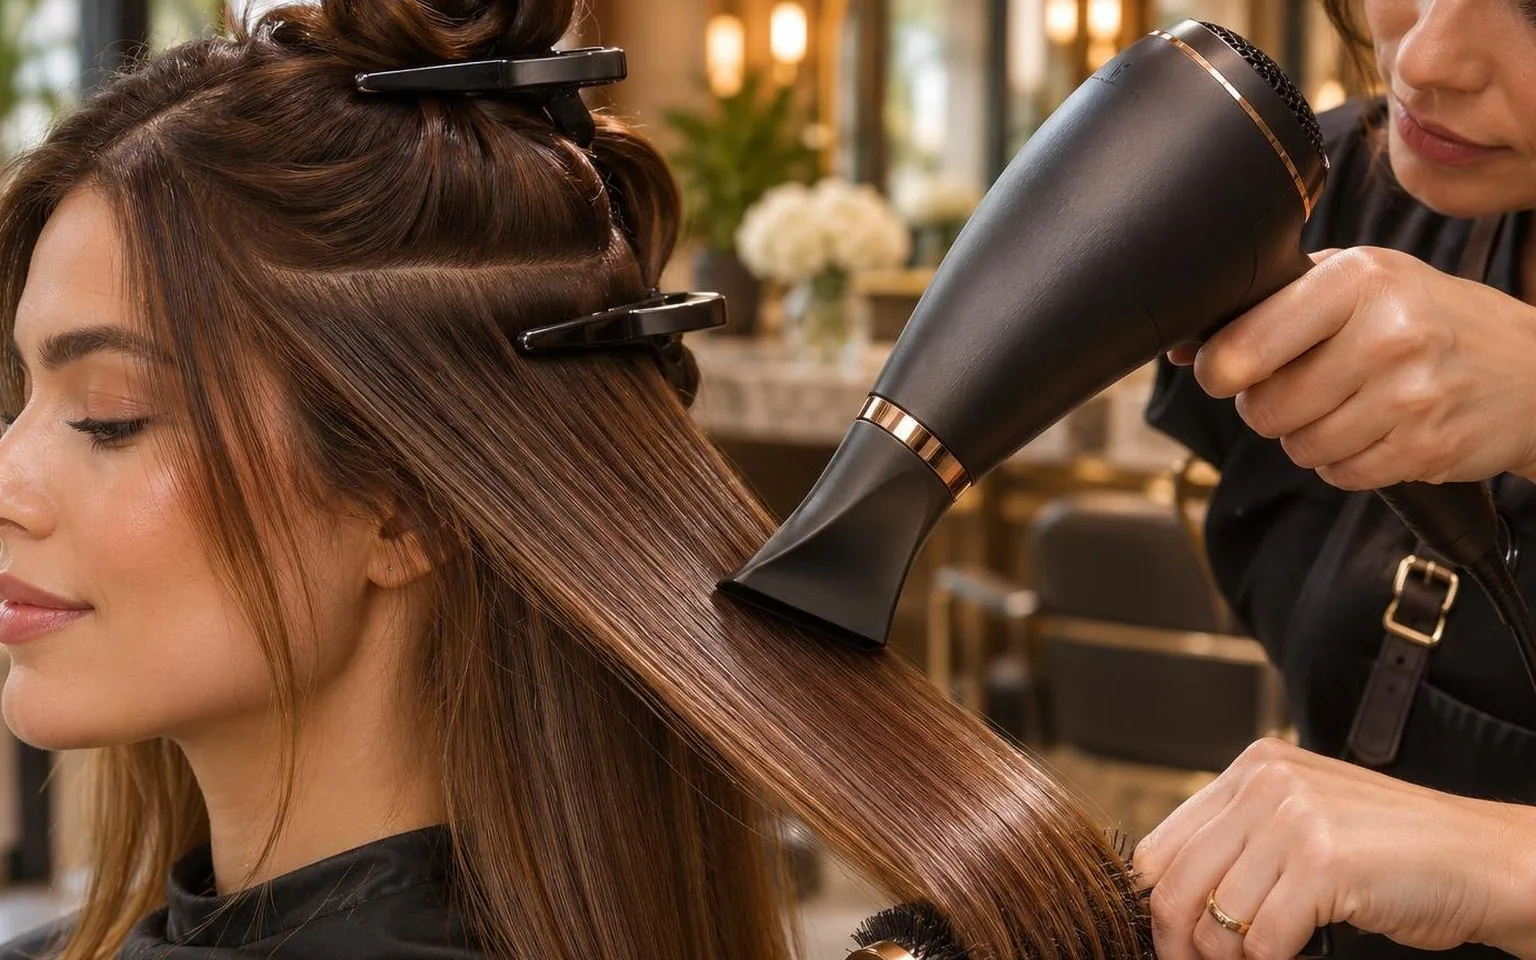
Sectioning clips outperform decorative clips when their jaw shape matches the amount of hair being held.
Duckbills suit flat, controlled panels; articulated alligator clips accommodate bulkier bundles, while butterfly clips work best for temporary parking rather than precise section control.
Match the Mechanism to the Job
A long duckbill slides beneath a panel without gathering everything into a tight bunch. Its relatively flat profile helps keep neighbouring sections accessible.
Choose smooth edges and an aligned closing tip; a bent tip can catch strands during removal.
An articulated alligator clip opens around a larger bundle. Drybar’s official Hold Me Hair Clips description identifies an alligator jaw and jointed arm for holding sections.
That mechanism explains the category’s usefulness, but it does not establish identical grip across competing products.
Butterfly clips gather hair between opposing curved jaws. They are convenient for parking lengths above the working area, but their taller shape can obstruct the brush near section boundaries.
Small pin-curl clips serve a different purpose: securing individual formed curls while they cool.
Build a Working Set, Not a Collection
The quantities below are an editorial starting kit for an individual blow-dry station, not manufacturer capacity ratings. Adjust the mix after testing it on your usual clients.
Hair density, panel thickness and jaw geometry matter more than the category name alone.
| Clip type | Starting quantity | Best assignment | Main compromise |
| Long duckbill | 4 | Separate working panels and hold flatter sections. | A shallow jaw can struggle with bundled lengths. |
| Articulated alligator | 2 | Park heavier bundles away from the brush. | Its raised body occupies more working space. |
| Butterfly | 0 initially | Add when quick gathering suits the workflow. | Curved jaws offer less precise panel placement. |
| Small pin-curl clip | 0 for sectioning alone | Add separately for clipped cooling sets. | Its small opening limits bulk section storage. |
Check Grip Before Buying Multiples
Compare samples on the same person, with hair equally dry and free of product changes between trials. Use this repeatable screening setup; it is a practical purchasing check, not a laboratory standard or a published performance claim.
| Test variable | Suggested setting |
| Starting panel | 3 cm wide and 1 cm deep at the roots. |
| Hold period | 30 seconds with the remaining lengths hanging freely. |
| Repeat placements | 3 per clip, returning to the same panel. |
Watch for sliding, twisting and strands trapped in the hinge. Open the jaws fully before withdrawal rather than dragging the clip through the panel. Reject a sample that repeatedly catches hair, even if its spring feels stronger.
For finishing work, smooth contact surfaces matter more than aggressive teeth. “Creaseless” describes an intended function, not a guarantee: pressure, placement and hair moisture still influence marks.
Keep clips out of the dryer’s concentrated airflow and follow the supplier’s cleaning instructions.
Protecting the Hair While You Work
Protect hair by matching the sectioning clip to the bundle, keeping the jaws clear of tangles, and releasing the spring before moving it.
Choose enough grip to hold the section without pulling at the roots; stronger springs do not automatically mean better control.
Match the Clip to the Section
Duckbill clips suit flatter sections, hinged alligator clips accommodate bulk, and flat shielded clips help keep finished pieces out of the way. “No-crease” describes the design intention, not a guarantee: moisture, pressure.
And placement still affect the result.
Use these section widths as starting points, measured across the scalp rather than across the open jaws. Reduce the amount of hair if the clip slips, twists, or needs force to close. Density matters as much as width.
| Clip type | Starting section width | Placement check |
| Duckbill | 2–3 cm | Keep the bundle flat between the jaws. |
| Hinged alligator | 3–4 cm | Let the hinge accommodate bulk without forcing closure. |
| Flat shielded | 2–3 cm | Use on a light, finished section without folding it. |
Check Contact Points Before Clipping
- Run a fingertip along both jaws. Retire clips with burrs, cracked teeth, peeling coatings, or exposed spring edges that catch strands.
- Remove trapped hair and product residue before reuse. Follow the manufacturer’s cleaning instructions, then check that the spring opens and closes smoothly.
- Open the jaws fully before placement. Gather the section loosely, support its weight, and close the clip without dragging teeth through the bundle.
- Keep loose ends outside the hinge. If hair enters the spring, reopen the clip and free it rather than pulling it through.
Avoid Tension, Heat, and Dents
Do not anchor a heavy section by catching only a few strands near the hairline. Divide the bundle instead. Ask the client about pulling after placement; at home, reposition any clip that creates a noticeable tug when you turn your head.
Handle damp hair gently. The American Academy of Dermatology’s “Hair styling without damage” guidance advises limiting manipulation of wet hair and using low heat.
For tightly curled or textured hair, its guidance differs on brushing while wet; avoid treating every texture identically.
Keep clips outside the dryer’s concentrated airflow where possible. Metal conducts heat, while plastic heat tolerance varies by material.
Do not assume a clip can tolerate contact with a straightener or curling barrel unless its manufacturer explicitly permits that use.
To release, support the section, open the jaws completely, and lift the clip away. Never slide closed teeth down the lengths. Before finishing, inspect clipped areas for bends and reposition remaining clips away from the visible surface of the style.
Step by Step Through the Change
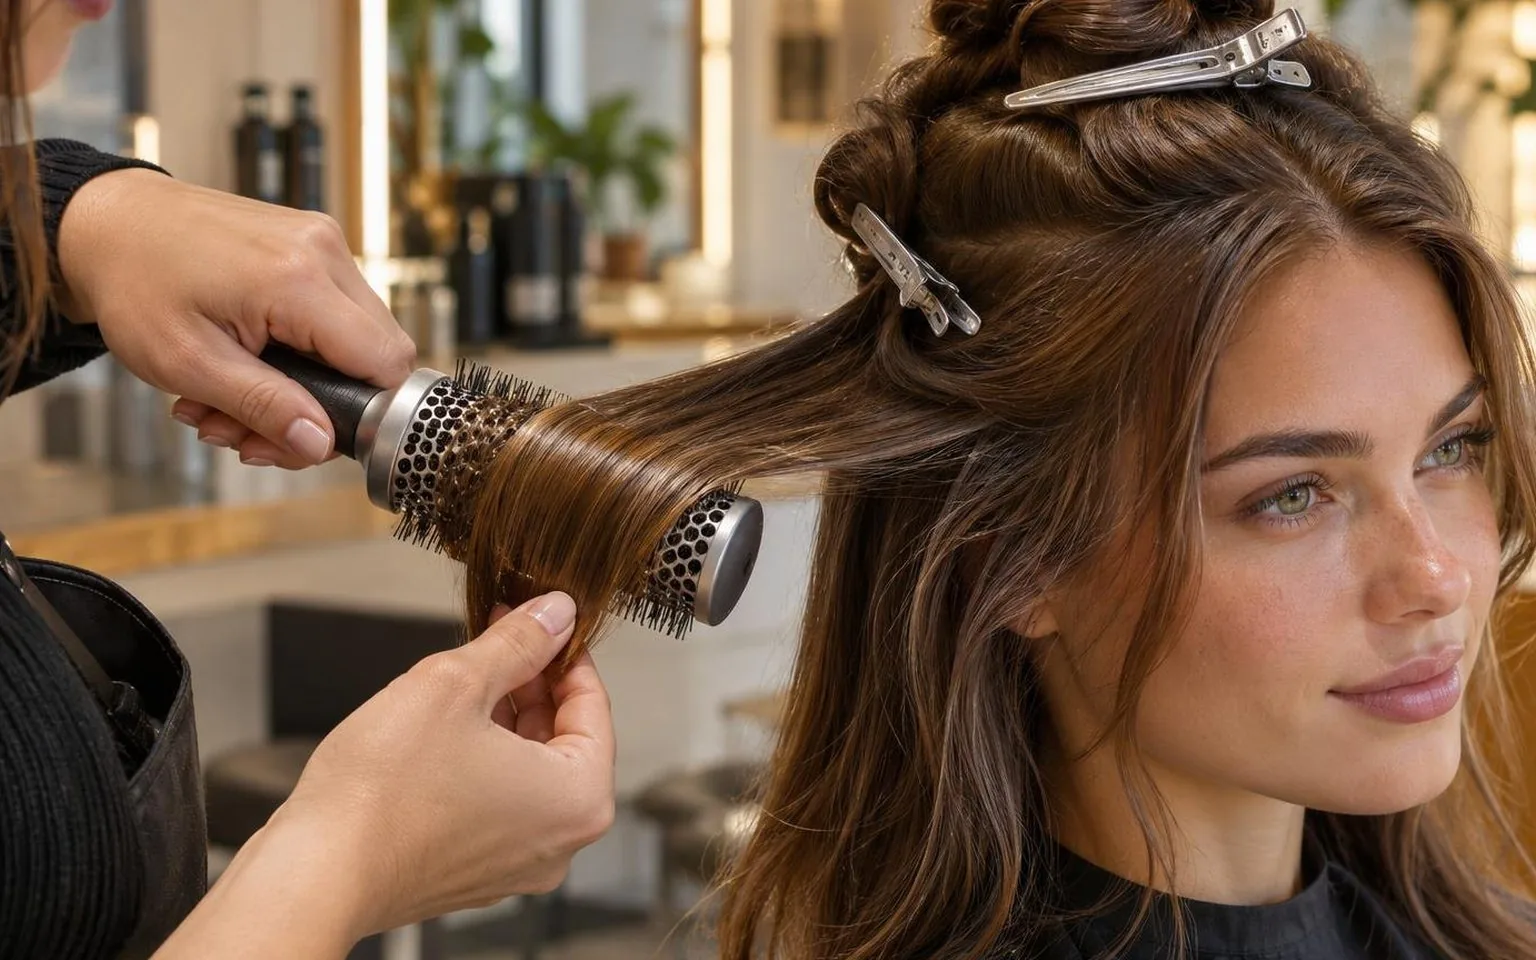
Change sectioning clips as the work shifts from holding damp bulk to isolating brush-sized subsections and protecting the finished surface.
Match jaw shape to section density, then reduce the amount held whenever the clip slides, twists or compresses a ridge into the hair.
Establish the working sections
Blot excess water before dividing the hair. Start with a central parting and an ear-to-ear division, then subdivide wherever density makes the bundle difficult to secure.
Damp strands cling together, so an apparently tidy section can conceal more bulk than the jaws can comfortably contain.
Milady Standard Cosmetology teaches sectioning as part of controlled hairstyling. The dimensions below are practical starting points, not universal clip specifications or guaranteed styling times.
Section thickness means the depth of the parting at the scalp, not the diameter of a twisted bundle.
| Working stage | Suggested dimensions | Clip choice and purpose |
| Holding unworked hair | Choose approximately 10–12 cm clips; begin with 4 main sections. | Hinged crocodile clips accommodate bulky bundles without forcing the jaws shut. |
| Brush work | Start with subsections 3–5 cm wide and 1 cm thick. | Duckbill clips separate adjacent hair while keeping the working subsection accessible. |
| Dense or resistant areas | Reduce subsection thickness to 0.5 cm. | Separate clips keep the smaller divisions from merging during drying. |
| Protecting finished hair | Check placement after 30 seconds; reassess cooling after 60 seconds. | Flat, shielded no-crease clips spread contact over a broader surface. |
Change the grip before changing the heat
Use hinged crocodile clips where the bundle needs jaw capacity. Their articulated design accommodates uneven thickness, while teeth resist slipping.
Close the clip around the folded section rather than clamping it tightly against the scalp; excessive tension makes releasing subsections harder.
If a clip creeps downward, split the bundle before choosing a stronger spring. More clamping force can increase pressure without correcting poor placement.
Keep the clip clear of the next parting so its teeth do not capture hair intended for the brush.
Switch to a narrow duckbill when access matters more than capacity. Its tapered jaws help isolate a clean boundary.
Keep the working subsection within the brush’s usable width: hair spilling beyond the bristles receives less consistent tension and often needs another pass.
Protect the finish during release
For already-smoothed hair, use a clean, flat shield rather than exposed teeth wherever practical.
A broader contact surface distributes pressure, reducing concentrated marks. “No-crease” describes the design intention; dampness, placement and prolonged pressure can still leave an impression.
- Open the jaws fully before withdrawing the clip. Dragging closed teeth through a section disrupts alignment.
- Let the shaped section cool before brushing it through. Cooling helps preserve the temporary shape created during drying.
- Check the underside before release. A cool exterior does not establish that the interior is dry; retained moisture can undermine the finish.
Frequently Asked Questions
What are the main types of sectioning clips?
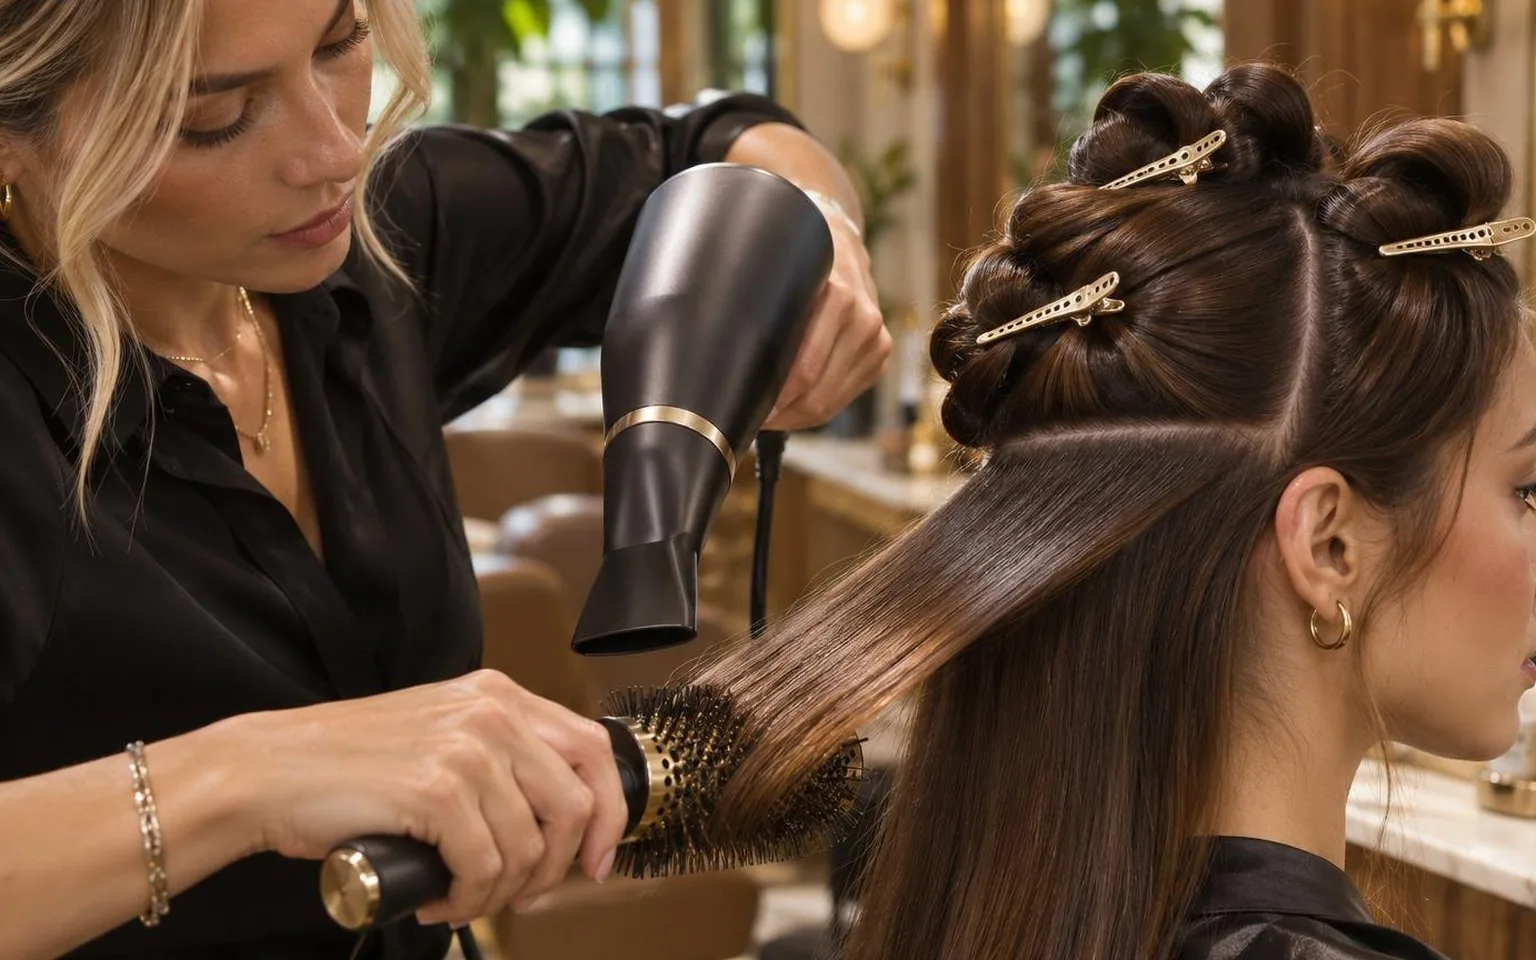
Common types include duckbill, alligator, butterfly or claw, and flat no-crease clips.
Choose duckbills for precise panels, alligator clips for bulky sections, claws for holding twisted lengths, and no-crease clips for protecting finished front pieces.
When should you use duckbill clips?
Duckbill clips have long, tapered jaws that slide into narrow sections without gathering much extra hair. Choose an 8–10 cm clip for separating blow-dry panels, and position it away from the roots you need to reach with your brush.
Are alligator clips better for thick hair?
Alligator clips use toothed jaws, often with an articulated upper arm, to grip substantial sections. For thick hair, try a 10–12 cm clip; if the jaws cannot close securely, divide the section rather than forcing more hair inside.
Can butterfly or claw clips hold blow-dry sections?
Butterfly and claw clips hold loosely twisted lengths out of the working area, making them useful during rough-drying. Their bulky shape can obstruct a round brush, so switch to slimmer clips when working close to the roots.
What are no-crease sectioning clips used for?
No-crease clips have broad, flat pads that spread pressure across the hair instead of concentrating it at exposed teeth. Use them on dry fringes or face-framing pieces while the finish cools; they are less suited to securing heavy bundles.
Should you choose metal or plastic sectioning clips?
Metal clips offer a slim profile, while plastic designs often provide wider jaws or articulated grips.
Neither material guarantees heat resistance; follow the tool manufacturer’s guidance and keep clips away from hot barrels and concentrated dryer airflow.
Which sectioning clips work best for short or fine hair?
For short or fine hair, start with lightweight duckbill clips around 5–7 cm long rather than oversized clamps.
Secure a small, flat panel and check for slipping; use padded clips instead when preserving an already-smoothed surface matters more than firm hold.
Related Reading
- Ionic or ceramic: what the labels actually mean
- How long a dryer can run before it needs a rest
- Paddle or round: which brush does which job
- What a paddle brush is actually for
- Boar, nylon or mixed: choosing round brush bristles
- What a diffuser does that a concentrator cannot
- The complete guide to blow dry tools
- OSHA — Small Business Safety
- U.S. Small Business Administration — Legal Compliance
- PubMed — Hair Shaft Damage from Heat and Drying Time of Hair Dryer
- California Board of Barbering and Cosmetology
- American Academy of Dermatology — Hair and Scalp Care
- Electrical Safety First
- National Hair & Beauty Federation