

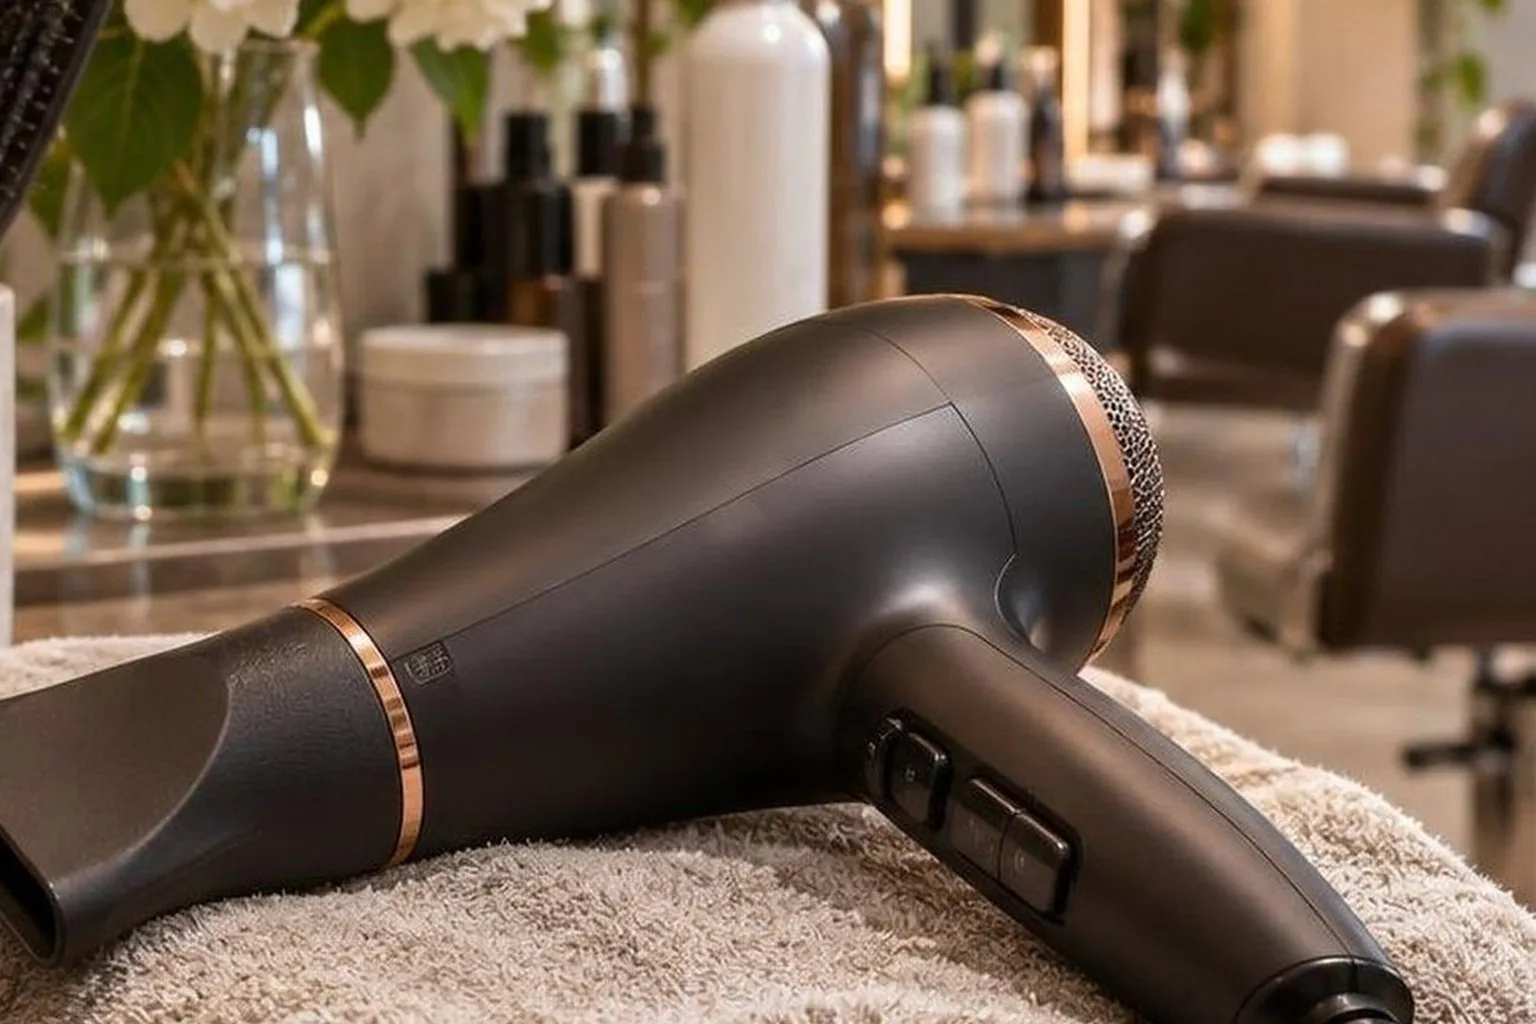
Keep your wrist straight and your elbow close: hair dryer weight and wrist strain involve tool balance and working position, not weight alone. Compare dryers with their nozzles attached, then rehearse your usual brush-and-dryer movements.
A lighter model can still feel awkward if its handle forces your wrist sideways.
For salon owners, stylists and home users, the useful comparison goes beyond grams. Check handle diameter, switch placement and cord drag alongside listed weight.
This guide explains how to assess those details, position each section within easy reach and choose a dryer that supports a controlled, comfortable blowout.
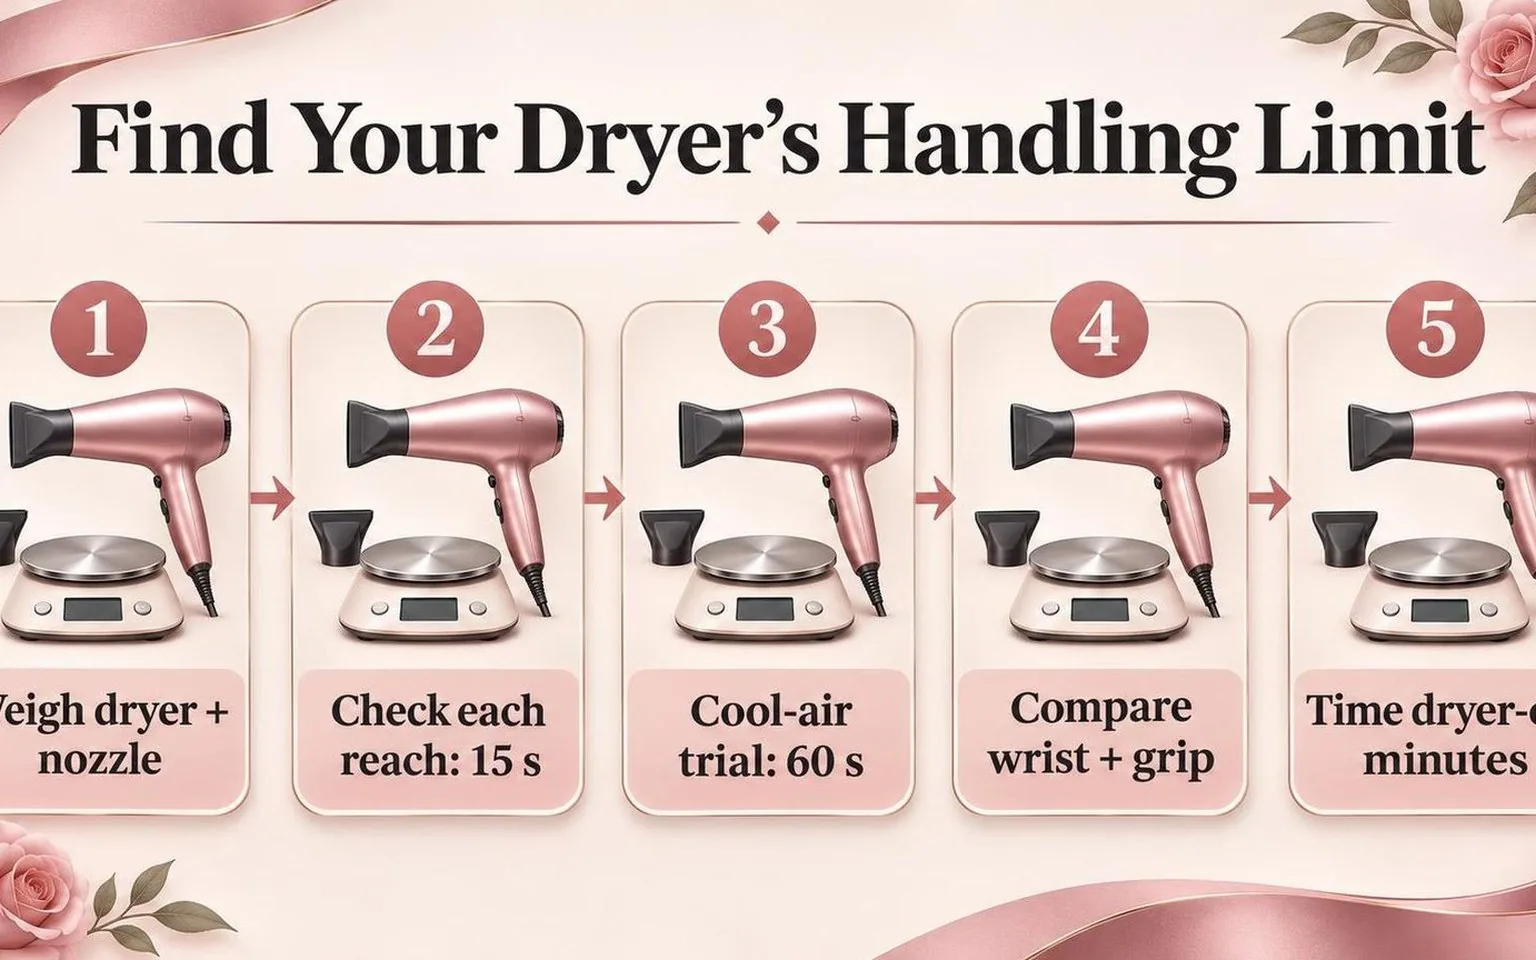
Find Your Dryer’s Handling Limit
Compare dryers in the configuration you actually use. A published weight may exclude attachments or cable; it also cannot tell you how the handle, balance and cord pull feel during your blow-dry.
Gather kitchen scales, a timer, your usual nozzle and your working brush. Record the brush diameter, such as 25 mm or 45 mm, so you repeat the same task with each dryer.
| Step | Do this now | Record your answer |
|---|---|---|
| 1. Weigh your setup. | Unplug the dryer. Fit your nozzle, weigh the dryer with its cable supported separately, then repeat with any alternative. | Record grams and exactly what was on the scales. |
| 2. Check your reach. | At your normal station, hold the dryer beside the crown and nape for 15 seconds each, switched off. | Note cord tug, wrist bending or a raised shoulder. |
| 3. Compare handling. | Use cool airflow for 60 seconds while moving the dryer over a 3 cm section with your usual brush. Repeat with the alternative after resting. | Record grip tightening, hand switching and how readily you keep the nozzle moving. |
Choose by the task, not grams alone. Prefer the setup that lets you keep your wrist straighter without squeezing harder. Stop if discomfort starts; this is a handling comparison, not an endurance test.
During your next normal blow-dry, time actual dryer-on minutes. Salon owners should repeat the comparison at each stylist’s working height: a comfortable counter-height trial may not reflect reaching around a seated client.

The Measured Picture
Dryer weight alone does not predict wrist strain. The more useful mechanical measure is the turning force around the wrist: a lighter dryer held farther from the joint can demand more holding effort than a heavier, better-balanced one.
Measure leverage, not just mass
The examples below calculate the gravitational turning moment about the wrist. They use gravitational acceleration of 9.81 m/s² and the horizontal distance from the wrist joint to the dryer’s centre of mass.
They are illustrations, not product measurements or injury thresholds.
| Example | Dryer mass | Horizontal offset | Turning moment |
| Closer balance | 0.50 kg | 8 cm | 0.39 N·m |
| More mass, same offset | 0.70 kg | 8 cm | 0.55 N·m |
| Less mass, longer offset | 0.50 kg | 12 cm | 0.59 N·m |
Multiply mass by gravitational acceleration and horizontal offset to reproduce these results.
The calculation isolates the dryer’s gravitational contribution; it excludes the hand’s weight, cord pull, acceleration during movement and the muscular effort needed to grip the handle.
Make the comparison repeatable
- Weigh the working setup, including the concentrator or diffuser you actually use. Record whether the manufacturer’s quoted mass includes attachments and the cord before comparing specifications.
- For a body-and-attachment measurement, support the cord separately without pulling upward on the dryer. Keep that arrangement consistent across tools; cord tension can distort the scale reading.
- Repeat the same drying movements with each candidate. Check root access, crown lifting and ends work, rather than judging comfort from a stationary hold at waist height.
- Keep brush, section size and task duration consistent. Record wrist position, grip effort and cord drag separately from overall preference.
Interpret the numbers cautiously
The Health and Safety Executive’s Assessment of Repetitive Tasks tool considers force, repetition, posture and additional factors, including breaks and task duration.
That framework supports evaluating the complete blow-drying task rather than treating a low advertised weight as an ergonomic guarantee.
Source: Health and Safety Executive, Assessment of Repetitive Tasks: https://www.hse.gov.uk/msd/uld/art/index.
Use mass and balance to shortlist tools, then assess them during representative work.
A comfortable handle, manageable cord and less bent wrist can matter alongside weight; the table cannot establish a universally comfortable dryer or predict an individual stylist’s symptoms.
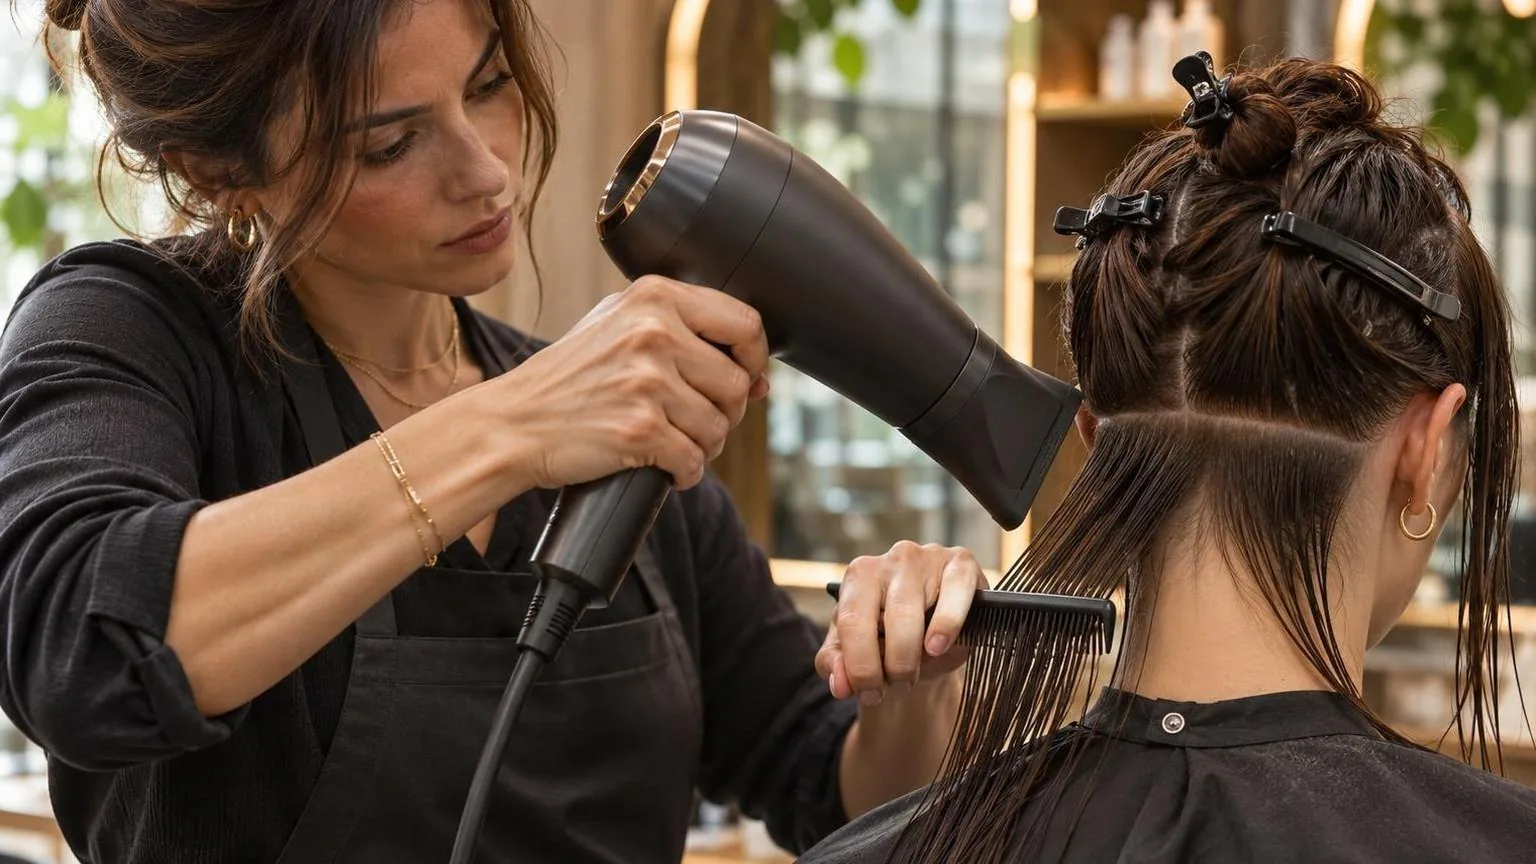
What Moves the Outcome
Dryer weight matters, but balance, wrist position, grip force and holding time determine how demanding it feels. A lighter dryer can still require more effort if its weight sits farther from your wrist or its handle forces an awkward angle.
Measure leverage, not weight alone
The relevant mechanical quantity is torque: mass multiplied by gravitational acceleration and the perpendicular distance from the wrist to the tool’s centre of mass. Shortening that distance reduces the turning force your muscles must counter.
This illustrative calculation uses gravitational acceleration of 9.81 m/s². These are hypothetical dryers, not product specifications or measured strain results; the calculation excludes the hand’s weight, cable pull and movement.
| Illustrative setup | Dryer mass | Horizontal offset from wrist | Static wrist torque |
| Lighter, farther out | 500 g | 6 cm | 0.294 N·m |
| Heavier, closer in | 650 g | 4 cm | 0.255 N·m |
The heavier example produces less static torque because its centre of mass sits closer to the wrist. That does not establish comfort or safety: handle shape, working angle and individual technique still matter.
Check the working configuration
- Weigh the actual setup. Fit the concentrator or diffuser you use. Record whether the quoted weight includes attachments and cable; specifications without matching measurement conventions are not directly comparable.
- Check cable drag. Keep the cord clear of trolley corners and chair arms. A snag adds an external pull that a bare-tool weight cannot describe.
- Test your normal grip. Operate the switches without tightening your fingers unnecessarily. Check whether directing airflow down the section requires sustained wrist bending.
- Bring the work closer. Adjust chair height and reposition around the client rather than reaching across the head. For home styling, position the mirror so you can avoid leaning forward.
Include exposure time
Run a 60-second handling check with your usual attachment, moving through your normal styling positions. This is a practical screening exercise, not a validated ergonomic test.
Assess drying performance separately: low mass alone does not establish low effort across a complete service.
Sources: CCOHS, Hand Tool Ergonomics—Tool Design, supports attention to tool weight, balance and grip. HSE guidance on upper-limb risks identifies repetition, force, posture and exposure duration as relevant factors.
Neither establishes a universal safe dryer weight.
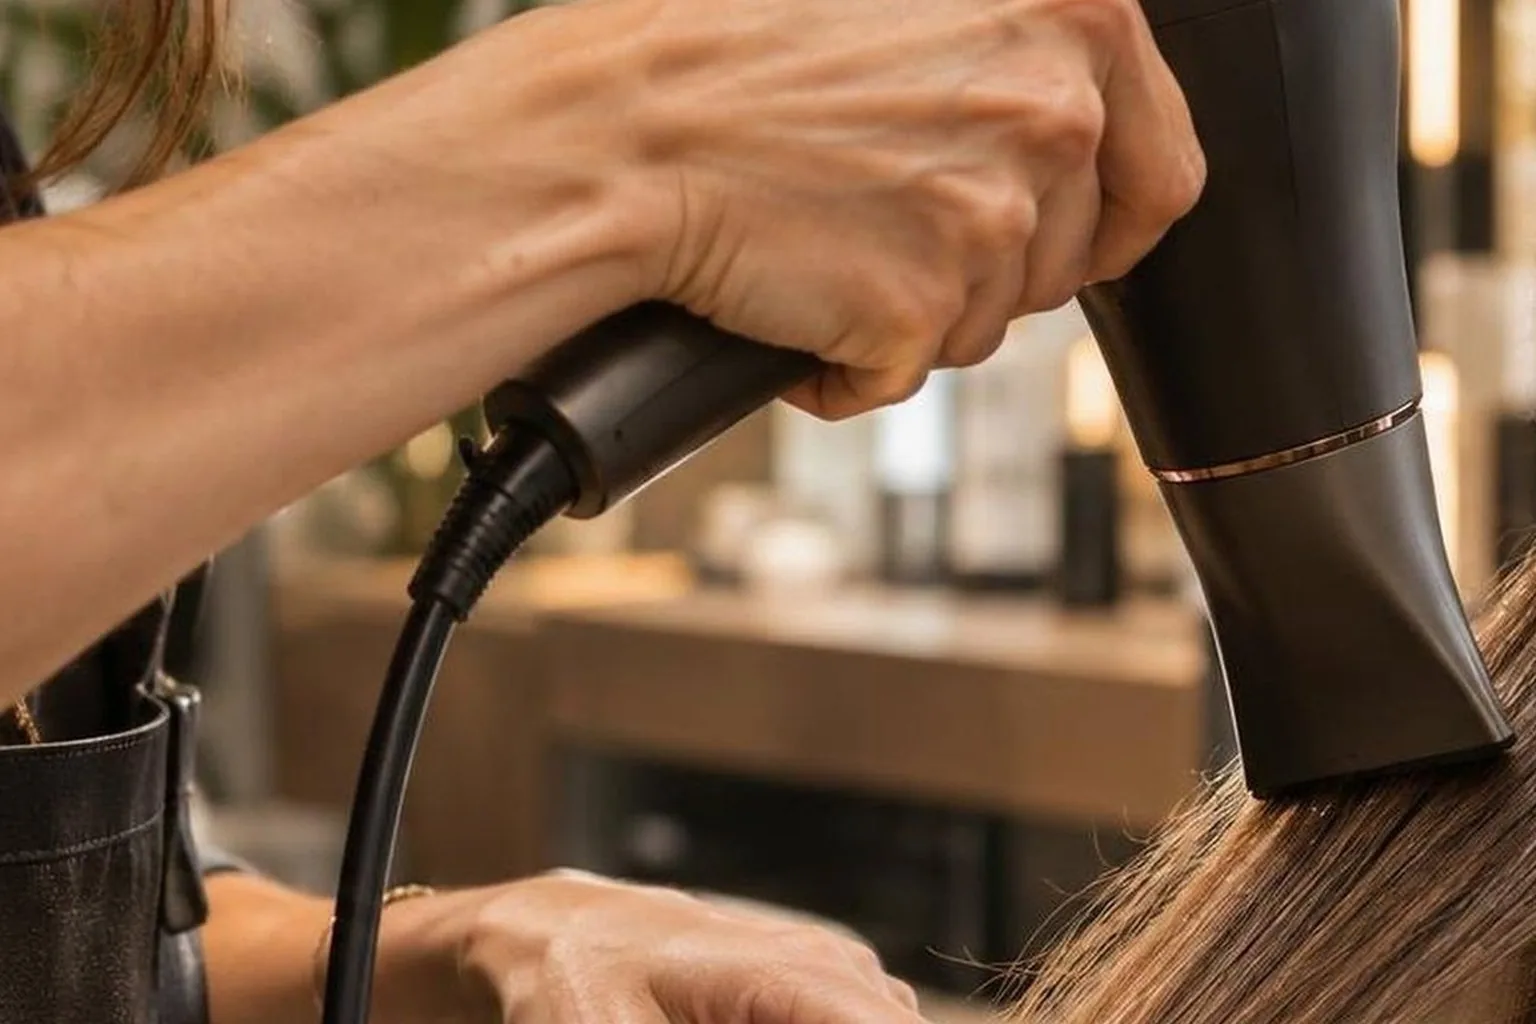
Spotting It on the Day
A dryer feels too demanding when your wrist bends to hold its angle, your grip tightens, or your shoulder rises during ordinary brushwork. Watch for those changes during a working trial, not merely when lifting the dryer off its stand.
Test the working position
Fit the attachment you actually use, connect the cord safely, and hold your usual brush. Check the dryer’s ready-to-work mass on a scale; published weights may exclude attachments or describe cord weight differently.
Support the trailing cable consistently when comparing tools.
Run this practical handling check on a mannequin or during normal styling. These timings structure the trial; they are not validated safety limits. Keep airflow moving rather than directing heat at one spot.
| Trial stage | Duration | What to observe |
| Work around the front hairline. | 60 seconds. | Notice wrist bending and finger pressure. |
| Work through the side sections. | 60 seconds. | Check whether the elbow drifts outward. |
| Reach the crown and back. | 60 seconds. | Watch for shoulder lifting and repeated regripping. |
Separate mass from balance
Mass alone does not describe handling. The dryer’s centre of mass and its distance from your wrist affect the turning force you must resist. A front-heavy barrel can demand more effort even when its listed weight looks attractive.
The illustration below uses gravity of approximately 9.81 metres per second squared. It isolates the dryer’s static turning effect with the centre of mass horizontally forward of the wrist; it excludes hand weight, cable pull and movement.
| Illustrative dryer mass | Horizontal distance from wrist | Turning effect |
| 500 g. | 10 cm. | 0.49 N·m. |
| 700 g. | 10 cm. | 0.69 N·m. |
| 500 g. | 14 cm. | 0.69 N·m. |
Act on the handling clues
- Keep the wrist close to straight. Reposition the client or mannequin rather than maintaining a bent wrist to reach the section.
- Check handle fit. You should reach the controls without repeatedly loosening and rebuilding your grip.
- Remove cable snags and bring tools within easy reach. Stop the trial if discomfort develops; do not push through it.
The Canadian Centre for Occupational Health and Safety’s hand-tool guidance supports neutral wrist positioning, suitable handle design and attention to tool weight and balance.
These principles inform this handling check; they do not establish a universal safe dryer weight.
Source: CCOHS, Hand Tool Ergonomics — Tool Design. https://www.ccohs.ca/oshanswers/ergonomics/handtools/tooldesign.
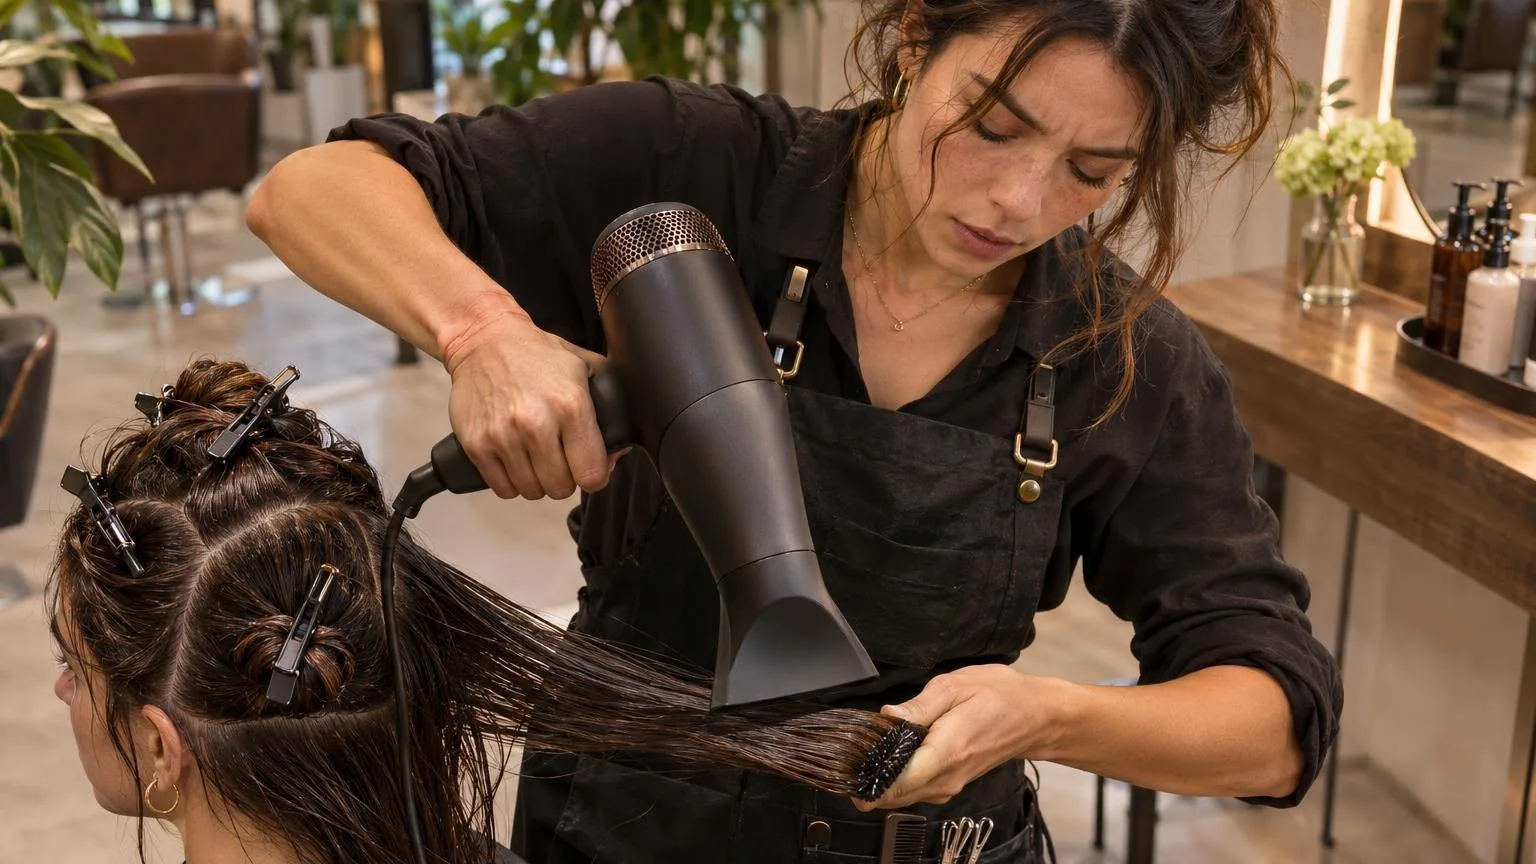
How the Choices Stack Up
A lighter dryer generally reduces the load you hold, but balance can matter as much as headline weight. Compare ready-to-use mass, how far that mass sits from your wrist, and the grip needed to keep the nozzle aimed.
Weight versus leverage
The examples below are calculations, not product specifications or measured strain results.
They show gravitational turning force at the wrist: dryer mass multiplied by gravity and the horizontal distance between the wrist joint and the dryer’s centre of mass.
| Illustrative setup | Dryer mass | Horizontal distance | Turning force |
| Lighter, forward-loaded | 400 g | 10 cm | 0.39 N·m |
| Midweight, forward-loaded | 600 g | 10 cm | 0.59 N·m |
| Heavier, forward-loaded | 800 g | 10 cm | 0.78 N·m |
| Midweight, closer-balanced | 600 g | 6 cm | 0.35 N·m |
The closer-balanced example produces less gravitational turning force than the lighter, forward-loaded example. That does not establish comfort: these calculations exclude hand weight, cord pull, movement and gripping effort.
Dryer angle also changes the horizontal distance, so the load changes throughout a blowout.
Compare the working setup
- Check the weight definition. Confirm whether the published figure includes the cable and attachments. Figures measured on different bases cannot support a fair comparison.
- Fit the attachment. Test with the concentrator or diffuser you actually use. Added mass and its position both affect handling.
- Route the cord. Keep it clear of trolley corners and chair arms. Drag can make an otherwise manageable dryer harder to reposition.
- Check the controls. Change heat and airflow without twisting your wrist or squeezing harder. A comfortable stationary grip can become awkward during adjustment.
Choose for the task, not the label
For salon buying, trial the dryer through root lifting, crown work and downward smoothing, rather than holding it at your side. At home, rehearse the same positions with your brush.
Reject a setup that repeatedly forces your wrist away from a straight alignment.
The Canadian Centre for Occupational Health and Safety’s “Hand Tool Ergonomics – Tool Design” identifies tool weight, balance and handle design as selection factors.
Its general guidance supports this approach; it does not establish a dryer-specific safe weight or prove that a particular model prevents wrist strain.
Heat and Tension Without the Damage
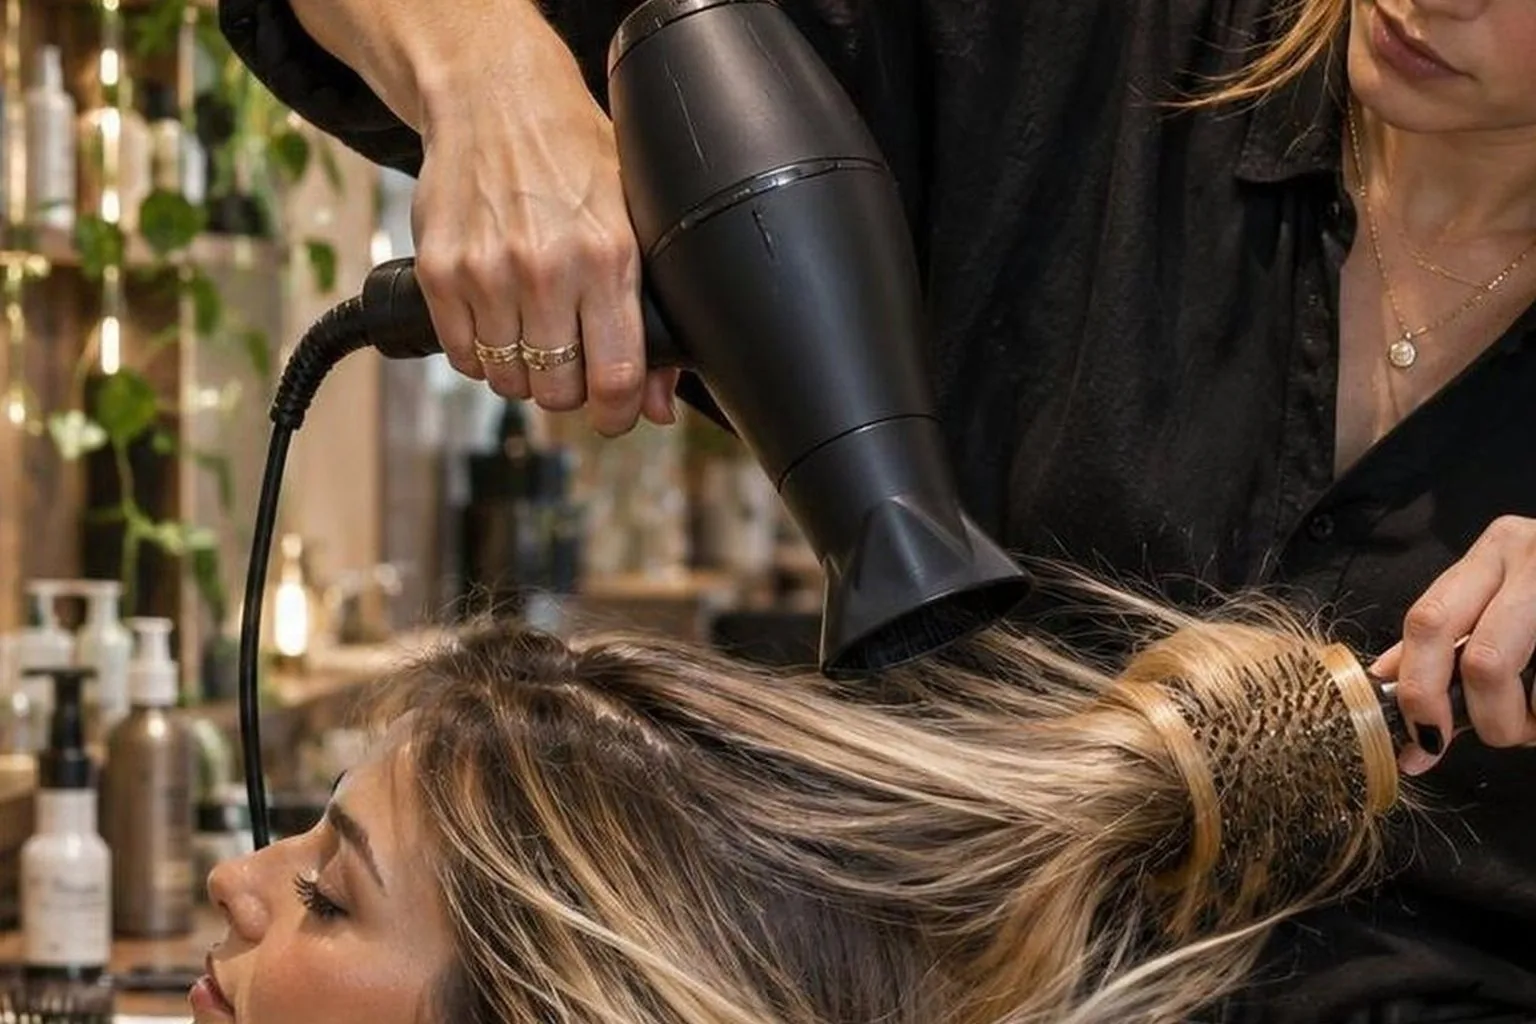
Control heat with distance and movement, and create shape with modest brush tension rather than pulling harder. To limit wrist loading, keep the dryer close to your body and reposition the section instead of reaching farther.
Separate drying speed from heat
Use airflow to remove moisture before detailed brush work. Blot with a towel, then dry loose sections until they stop dripping and feel damp rather than wet. This reduces the time you spend holding both tools under tension.
A laboratory study by Lee and colleagues, published in Annals of Dermatology, tested these drying conditions. Temperature refers to the measurement position corresponding to the hair surface, not a universal dryer setting.
| Distance from hair | Temperature | Exposure per drying cycle |
| 15 cm | 47°C | 60 seconds |
| 10 cm | 61°C | 30 seconds |
| 5 cm | 95°C | 15 seconds |
Surface damage increased as temperature rose. These laboratory conditions are not safe-temperature guarantees: dryer output, moisture and movement vary.
Keep the nozzle moving, avoid close stationary heating, and reduce heat when a section becomes dry.
Source: Lee et al., “Hair Shaft Damage from Heat and Drying Time of Hair Dryer.” https://pmc.ncbi.nlm.nih.
Use section size, not force
- Start with sections approximately 2 cm deep. Make them thinner if the underneath remains damp while the surface dries.
- Keep each section narrower than the brush’s usable barrel. Overloaded brushes encourage repeated passes and harder pulling.
- Use only enough tension to straighten the section against the bristles. Release and detangle if the brush catches; do not pull through resistance.
- Direct air from roots toward ends without resting the nozzle against the brush or hair. Maintain the dryer’s recommended clearance.
Reduce the lever at your wrist
Weight alone does not describe handling. A front-heavy dryer creates more turning force around your grip than an equally heavy, better-balanced tool. Test it with the concentrator attached and the cord hanging in its working position.
Keep your wrist near straight, lower your elbow between sections, and move around the client rather than reaching across them. At home, reposition your chair or mirror.
Practise the working angle with the dryer switched off before committing to a purchase.

What Is Going On Underneath
Dryer weight creates a downward force, but wrist demand also depends on where that force acts.
A centre of mass farther from the wrist increases turning force, so a lighter dryer can require more stabilising effort than a heavier, better-balanced one.
Mass and balance work together
Static torque equals force multiplied by the perpendicular distance from the joint to the force’s line of action. The examples below use gravitational acceleration of 9.81 m/s².
They illustrate mechanics, not measured dryers or thresholds for discomfort.
| Illustrative dryer mass | Horizontal offset from wrist | Static torque |
| 500 g | 8 cm | 0.39 N·m |
| 750 g | 8 cm | 0.59 N·m |
| 750 g | 4 cm | 0.29 N·m |
The offset is not simply barrel length: it changes with dryer orientation and grip position. Attachments shift the combined centre of mass.
Cord tension adds another external force, making an otherwise manageable tool harder to steer when the cable catches against furniture.
Grip and posture add load
A bent wrist changes the working position of the muscles and tendons controlling the hand. Keeping the wrist near neutral reduces awkward positioning.
Turning the body or repositioning the client helps maintain nozzle direction without repeatedly cocking the wrist sideways.
A slippery handle requires stronger finger pressure to resist rotation. A handle that fits the hand, accessible switches and a relaxed grip reduce unnecessary holding effort.
These principles match guidance in the Canadian Centre for Occupational Health and Safety’s “Hand Tool Ergonomics — Tool Design”.
Holding the upper arm away from the body also increases shoulder demand because the arm and dryer act through a longer lever. Lowering the working section and keeping the elbow nearer the torso reduces that leverage without changing dryer mass.
Exposure depends on the working pattern
Continuous holding leaves little opportunity to release the grip. For a practical starting routine, use sections approximately 3 cm wide and 1 cm deep, then rest the dryer securely for 5 seconds between sections.
These are workflow cues, not established safety limits.
Section depth matters because airflow must reach the interior before drying finishes. Overloaded sections can prolong holding time; excessive subdivision adds handling. Match section size to density and airflow.
The torque explanation follows OpenStax’s “University Physics”, in its discussion of torque.
What Trips People Up
People mistake a low advertised weight for an easy-to-hold dryer. Balance, grip size, cord drag and working position also affect wrist effort, so the lightest specification does not automatically identify the most comfortable tool.
Comparing weights that measure different things
Check whether the stated weight includes the cord and styling attachment. Manufacturers do not always report the same configuration.
If the specification leaves this unclear, ask before comparing models; do not treat an unspecified weight as directly equivalent to a body-only measurement.
For a practical check, fit your usual nozzle and hold the dryer with its cord hanging naturally. A kitchen scale can establish mass, but it cannot tell you how the handle fits or how strongly the dryer pulls against your grip.
Ignoring where the weight sits
A dryer’s centre of mass matters because gravity creates a turning force around the wrist. The table illustrates this principle, not measured performance from commercial dryers.
Distance means the horizontal separation between the wrist joint and the dryer’s centre of mass.
| Illustrative setup | Dryer mass | Horizontal distance | Static wrist torque |
| Lighter, farther out | 400 g | 8 cm | 0.31 N·m |
| Heavier, closer in | 500 g | 5 cm | 0.25 N·m |
These rounded values use torque = mass × gravitational acceleration × horizontal distance, with acceleration at 9.81 m/s². They exclude the hand’s own weight, cord forces and movement.
The takeaway: a lighter dryer can demand more holding torque when its weight sits farther from the wrist.
Testing the dryer without testing the job
- Run a 60-second handling check with the normal attachment fitted. Move through your usual styling positions; a brief pickup at waist height misses overhead handling.
- Keep the wrist reasonably straight rather than repeatedly bending it sideways to aim the nozzle. Reposition your body, the section or the client’s chair instead.
- Check switch placement while maintaining a relaxed grip. Awkward controls can make you squeeze harder or interrupt your technique.
- Leave enough cord slack for movement. A cord catching on the workstation adds resistance that the advertised weight cannot capture.
The Canadian Centre for Occupational Health and Safety’s Hairdresser guidance supports lightweight dryers and ergonomically designed tools. Apply that guidance to the complete working setup, not the specification sheet alone.

Frequently Asked Questions
What hair dryer weight should I look for to reduce wrist effort?
Compare dryers around 400–600 g as a shopping shortlist, not a proven safety threshold. Check whether the listed weight includes the nozzle and cord, then hold each dryer with its styling attachment fitted before choosing.
Can a lighter hair dryer still feel harder to hold?
Yes: a front-heavy dryer creates more turning force at your wrist than an equally heavy, better-balanced model.
Hold each candidate in your working position for 60 seconds, with permission, and compare wrist angle and grip effort; this screens comfort, not long-session endurance.
How should I position my wrist while blow-drying?
Keep your wrist close to straight and reposition your body rather than repeatedly bending your wrist to aim the nozzle.
OSHA’s ergonomics guidance supports neutral wrist postures; work in smaller sections and bring the hair toward the airflow instead of reaching continuously.
Does brush size affect effort in my other wrist?
A larger brush changes your grip and leverage, so dryer weight is only part of the workload.
Compare 25 mm and 45 mm barrels on suitable sections, checking whether dimensions describe the barrel or bristles; choose the size that achieves your finish without repeated rewrapping.
How often should I pause during a blow-dry?
No single break interval suits every dryer, technique, or workload; HSE guidance emphasizes reducing prolonged repetition and awkward postures.
As a practical routine, put the dryer down while clipping each new section, and pause sooner if your grip tightens or your wrist becomes uncomfortable.
Related Reading
- Brushless motors, and what they change for a salon
- How often a dryer filter needs clearing
- A maintenance schedule that keeps dryers alive
- How long a dryer can run before it needs a rest
- Diffuser or concentrator: which nozzle when
- How long a hair dryer lasts, and what shortens it
- Choosing a professional dryer: what actually matters
- Paddle or round: which brush does which job
- The complete guide to blow dry tools