

Blow dry or air dry: blow dry when you need shape, polish and cuticle direction; air dry when you can spare 2-4 hours and accept less control. Use a nozzle, medium heat around 140-160°F, and keep airflow moving 6 inches from the hair.
For salon-level finish, rough-dry to about 80% before brush work, then use tension in 1-inch sections. Air drying reduces tool time, but wet hair is more fragile under friction, as cosmetic science texts note.
The best choice depends on texture, density, schedule and desired finish.
Choose Today’s Drying Plan
Use this quick salon-floor check before you pick blow dry or air dry. It works for a client service, a staff training model, or your own hair before a shift.
- Check the clock. If you have less than 2 hours, choose blow dry. If you have 2-4 hours and no need for polish, air dry can work.
- Check the finish goal. For smooth roots, shaped ends, volume, or a longer-lasting finish, blow dry. For a softer bend, visible natural texture, or low tool time, air dry.
- Check the hair load. Thick, dense, or long hair usually needs a blow dry for control. Fine or low-density hair may air dry faster, but can fall flat without lift at the root.
- Set the safer blow dry setup. Towel-blot first. Use a nozzle, medium heat around 140-160°F, and keep the dryer 6 inches from the hair. Keep airflow moving.
- Pick your brush moment. Rough-dry to about 80% before brush work. Then use tension in 1-inch sections for cuticle direction, shape, and shine.
If the client wants polish and has limited time, blow dry. If the client accepts softer shape and can avoid rubbing wet hair for several hours, air dry is the lower-tool option.
What the Data Shows
Air drying is not automatically gentler, and blow drying is not automatically damaging. The safer result depends on heat, distance, airflow, time wet, and how much mechanical tension you add with a brush.
The most useful salon takeaway is simple: keep the dryer moving, work from at least 15 cm away, and stop when hair is dry, not “extra polished.” Prolonged wet time has its own structural cost.
| Method tested | Distance | Air temperature | Drying time | Reported finding |
| Natural drying | None | Room temperature | About 2 hours | Cell membrane complex damage was observed in the referenced microscopy study. |
| Low heat blow dry | 15 cm | 47°C / 117°F | 60 seconds | Less structural change than higher heat, when the dryer was moved continuously. |
| Medium heat blow dry | 10 cm | 61°C / 142°F | 30 seconds | More surface change than low heat, especially with reduced distance. |
| High heat blow dry | 5 cm | 95°C / 203°F | 15 seconds | Greater cuticle surface damage was reported at the highest heat setting. |
Those figures come from a controlled hair-fiber microscopy study published in Annals of Dermatology.
Its practical conclusion was not “always blow dry.” It was that a moving dryer at 15 cm can be less damaging than leaving hair wet for hours.
Wet hair matters because water changes the fiber. According to Clarence Robbins’ Chemical and Physical Behavior of Human Hair, hair can take up roughly 30% of its own weight in water.
That swelling stresses the cuticle and internal bonds while the fiber is being handled.
| At-home variable | Lower-risk number | Why it matters |
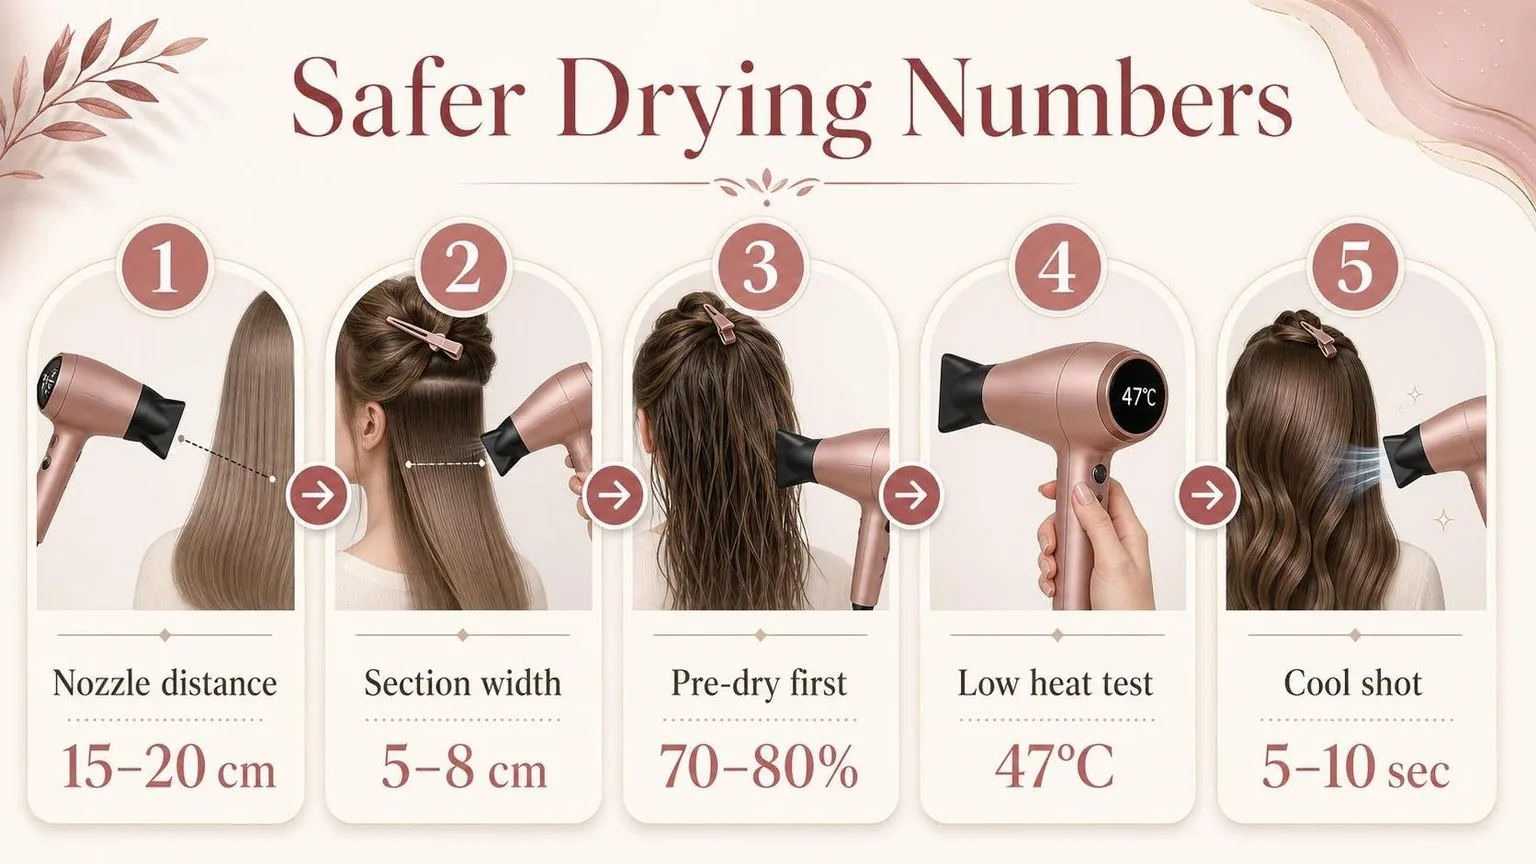
| Nozzle distance | 15–20 cm from hair | Reduces direct heat concentration on one section. |
| Section width | 5–8 cm | Lets airflow pass through instead of cooking the surface. |
| Brush tension | Light to moderate | Wet fibers stretch more, so aggressive pulling increases breakage risk. |
| Pre-dry target | About 70–80% dry before round-brushing | Shortens the high-tension finishing phase. |
| Cool shot | 5–10 seconds per section | Helps set shape after heat and tension are removed. |
For salon work, the numbers favor a hybrid approach: towel-blot, rough dry to 70–80%, then finish with controlled heat and a nozzle. For home styling, air dry is safest only when hair is left alone, not rubbed, brushed hard, or slept on wet.
What Moves the Outcome
The result changes because water, heat, airflow and brush tension set the cuticle position as hair dries.
Air drying usually preserves natural movement; blow drying gives more direction, polish and root lift when the nozzle, heat and section size are controlled.
Hair is most shapeable while damp because water temporarily weakens hydrogen bonds in the fibre.
The Hair Research Society describes these bonds as reversible with water and heat, which is why a brush set can hold until humidity or re-wetting changes it.
| Variable | Air dry effect | Blow dry effect |
| Water removal | Slow evaporation can leave roots flatter if hair sits against the head | Directed airflow lifts the root and fixes the fall pattern faster |
| Cuticle finish | Less mechanical smoothing, more natural texture visible | Nozzle plus brush tension can align the surface for higher shine |
| Shape control | Depends on natural wave, gravity and product cast | Depends on section size, brush diameter and cooling before release |
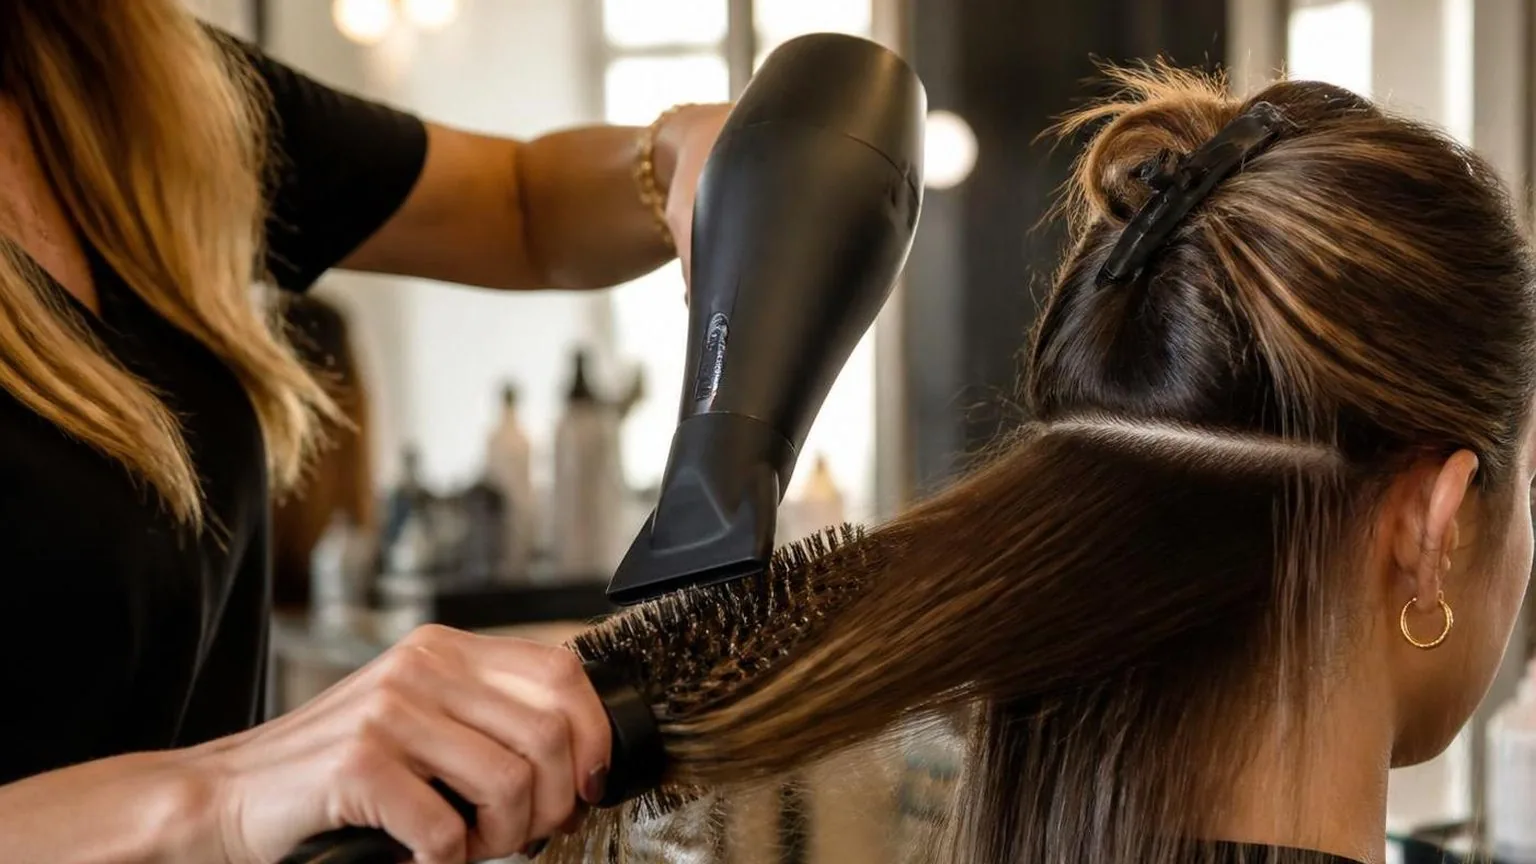
Section size is the salon separator. A dryer cannot smooth hair it cannot reach evenly. For a polished finish, keep each subsection no wider than the brush barrel and shallow enough that air passes through from roots to ends.
| Tool or setting | Practical range | Result on finish |
| Nozzle gap from hair | About 1 to 2 inches | Concentrates airflow without pressing hot metal or plastic onto the strand |
| Round brush diameter | 1 to 1.5 inches | Tighter bend, fringe work, short layers |
| Round brush diameter | 2 to 2.5 inches | Volume, bevelled ends, medium lengths |
| Round brush diameter | 3 inches or larger | Smoother, looser movement on long hair |
Temperature changes behaviour, but airflow does most of the drying. Many professional dryers offer warm settings around 140 to 180°F at the outlet, while some high settings can exceed 200°F.
The safest practical approach is medium heat, high airflow, constant motion.
Cool air matters because hair that is released while hot relaxes quickly. In blow-dry work, hold the shape with tension, then cool the section before dropping it. That pause improves root lift, bend and the smoothness of the outer surface.
| Step | Timing | Why it changes the result |
| Towel blot before styling | Until hair is damp, not dripping | Reduces drying time and product dilution |
| Rough dry before brush work | To roughly 70 to 80 percent dry | Prevents overworking wet hair with tension |
| Brush polish phase | Final 20 to 30 percent | Sets direction, bevel and surface smoothness |
| Cool shot per section | 5 to 10 seconds | Helps the shaped bonds settle before release |
- For frizz control: point airflow from roots to ends so lifted cuticle edges are not blown upward.
- For volume: dry roots first, lifting hair away from the scalp before polishing the mid-lengths.
- For air drying: arrange the parting, curl clumps or fringe while damp; once dry, the shape is harder to redirect.
Cosmetic chemists and trichology texts consistently note the same craft point: drying is not just water removal. It is controlled evaporation plus alignment.
Air dry when you want texture; blow dry when you need repeatable shape, lift and a cleaner surface.
How to Judge It on Real Hair
Judge blow dry or air dry by how long the hair stays wet, how much tension it needs, and what finish you expect. If hair remains damp for a long stretch, a controlled blow dry is often the more predictable choice.
Start with the towel test, not the mirror. Press hair in a microfiber towel, then check roots, mids, and ends separately. Hair can feel nearly dry on the outside while the interior still holds water.
| What you see or feel | What it means | Better route |
| Roots stay damp while ends feel dry | Dense hair is trapping water near the scalp area | Rough-dry roots first, then style ends |
| Ends puff before roots dry | Porous ends are losing shape early | Blow dry with nozzle and low tension |
| Hair dries smooth with no lift needed | Cuticle alignment and natural fall are cooperating | Air dry, then refine front pieces |
| Hair dries flat at the crown | Root direction needs heat and lift to reset | Blow dry roots with a vent brush |
Use elapsed drying time as your first hard benchmark. Cosmetic science texts, including Robbins’ Chemical and Physical Behavior of Human Hair, describe wet hair as more stretchable and vulnerable to mechanical wear than dry hair.
| Air-dry time after towel blotting | Practical judgement |
| Under 30 minutes | Air drying is usually workable if frizz is acceptable |
| 30 to 90 minutes | Hybrid drying gives better control |
| Over 90 minutes | Use airflow to reduce prolonged swelling |
For a hybrid service, remove bulk moisture before brushing. On most salon dryers, that means medium heat, high airflow, and the nozzle moving constantly until the hair feels cool-damp rather than wet.
| Stage | Moisture feel | Tool choice |
| Wet | Water transfers to fingers | Towel and fingers only |
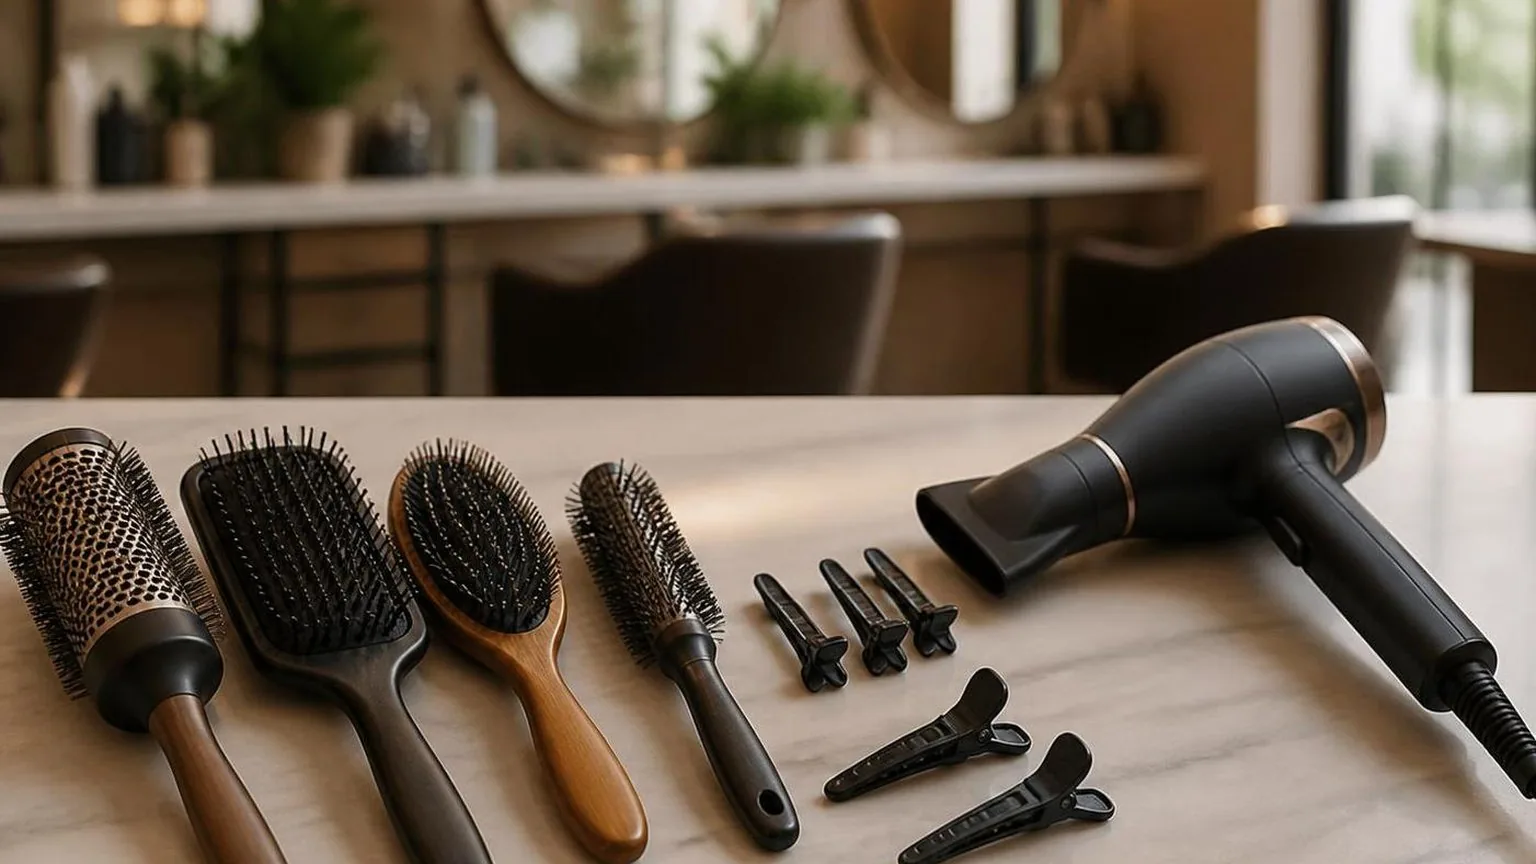
| Damp | Cool, flexible, no dripping | Vent brush or fingers |
| Nearly dry | Warmth stays in the section | Round brush for shaping |
Distance matters more than blasting harder.
A peer-reviewed hair-dryer study in Annals of Dermatology found moving airflow from about 15 cm away caused less internal cell-membrane-complex damage than natural drying, while closer, hotter drying increased surface damage.
| Dryer setup | Use on real hair |
| Nozzle 15 cm from hair | Safe working distance for rough drying |
| Section 2 to 4 cm wide | Best for smoothing with a round brush |
| Airflow moving every 3 to 5 seconds | Prevents heat sitting on one spot |
| Cool shot 5 to 10 seconds | Sets bend after the section is dry |
- Choose air dry when the natural pattern dries evenly, roots do not collapse, and the finish only needs a light polish.
- Choose blow dry when density, frizz, fringe direction, cowlicks, or crown lift need controlled airflow.
- Choose hybrid when the hair looks best natural but takes too long to dry fully.
Set Against the Other Options
A controlled blow dry gives the most predictable finish, while air drying is gentler on heat exposure but less consistent for shape, root lift, and frizz control. The best choice depends on hair density, desired polish, and how long hair stays wet.
In salon terms, blow drying is the finish-building method. Air drying is the low-intervention method. Diffusing sits between them, especially for waves and curls that need definition without heavy brush tension.
| Method | Typical time on medium-density, shoulder-length hair | Main finish benefit | Main trade-off |
| Round-brush blow dry | Twenty to thirty-five minutes | Smooth cuticle lay, bend, root lift | Requires heat control and sectioning |
| Paddle-brush blow dry | Fifteen to twenty-five minutes | Sleekness and speed | Less bounce than a round brush |
| Diffuser dry | Twenty-five to forty-five minutes | Curl and wave retention | Lower polish at the roots |
| Air dry | One to four hours | No direct heat exposure | Less control over shape and frizz |
Heat matters more than the label “blow dry.” A dryer held too close on maximum heat is harsh. A dryer kept moving, with airflow directed from roots to ends, is a very different service.
| Setting or tool choice | Practical benchmark | Why it matters |
| Nozzle distance | Six to eight inches from the hair | Reduces hot-spotting and improves airflow control |
| Nozzle width | About two to three inches | Concentrates air for smoother brush work |
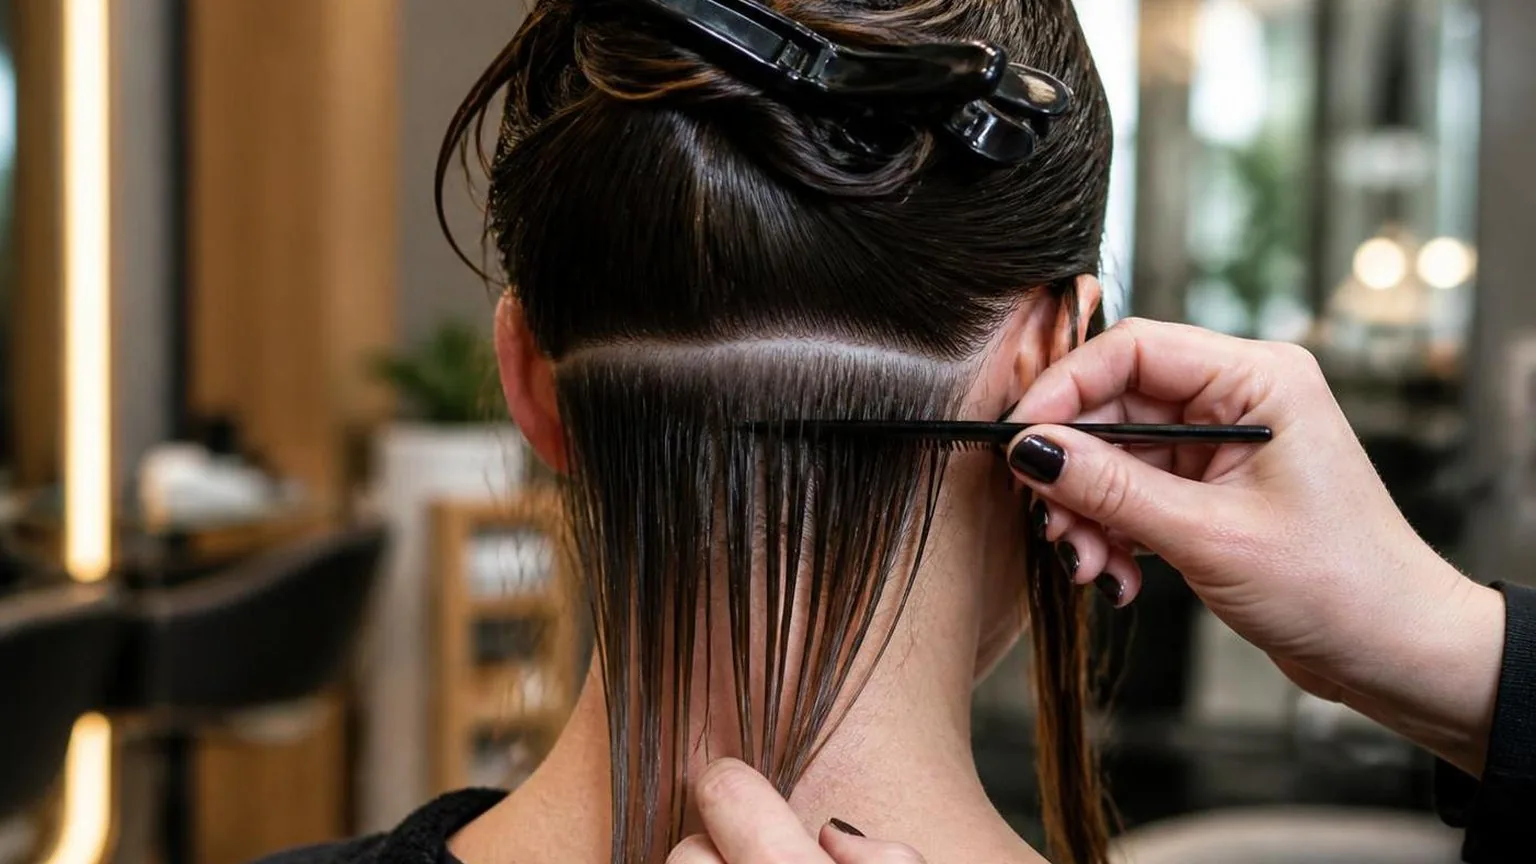
| Section size | One to two inches deep | Lets the interior dry before the surface overheats |
| Fine hair heat range | Low to medium setting | Prevents collapse from over-drying |
| Coarse or dense hair heat range | Medium to high setting, then cool shot | Speeds drying while setting shape |
Cosmetic chemist resources and hair-fiber research consistently describe wet hair as more vulnerable to stretching and friction than dry hair.
That is why rough towel rubbing and sleeping with saturated hair can undo the gentleness people associate with air drying.
- Choose blow drying when the client wants a professional finish, volume at the crown, a tucked-under bob, a smooth fringe, or longevity between washes.
- Choose air drying when the priority is minimal styling intervention and the natural pattern already dries well without puffiness or flat roots.
- Choose diffusing when curl pattern matters more than brush-created smoothness. Use low air speed first, then lift roots briefly once the hair is mostly dry.
The strongest compromise is not “all heat” or “no heat.” Blot thoroughly, detangle with slip, air dry until the hair is damp rather than dripping, then finish with controlled airflow and a cool shot.
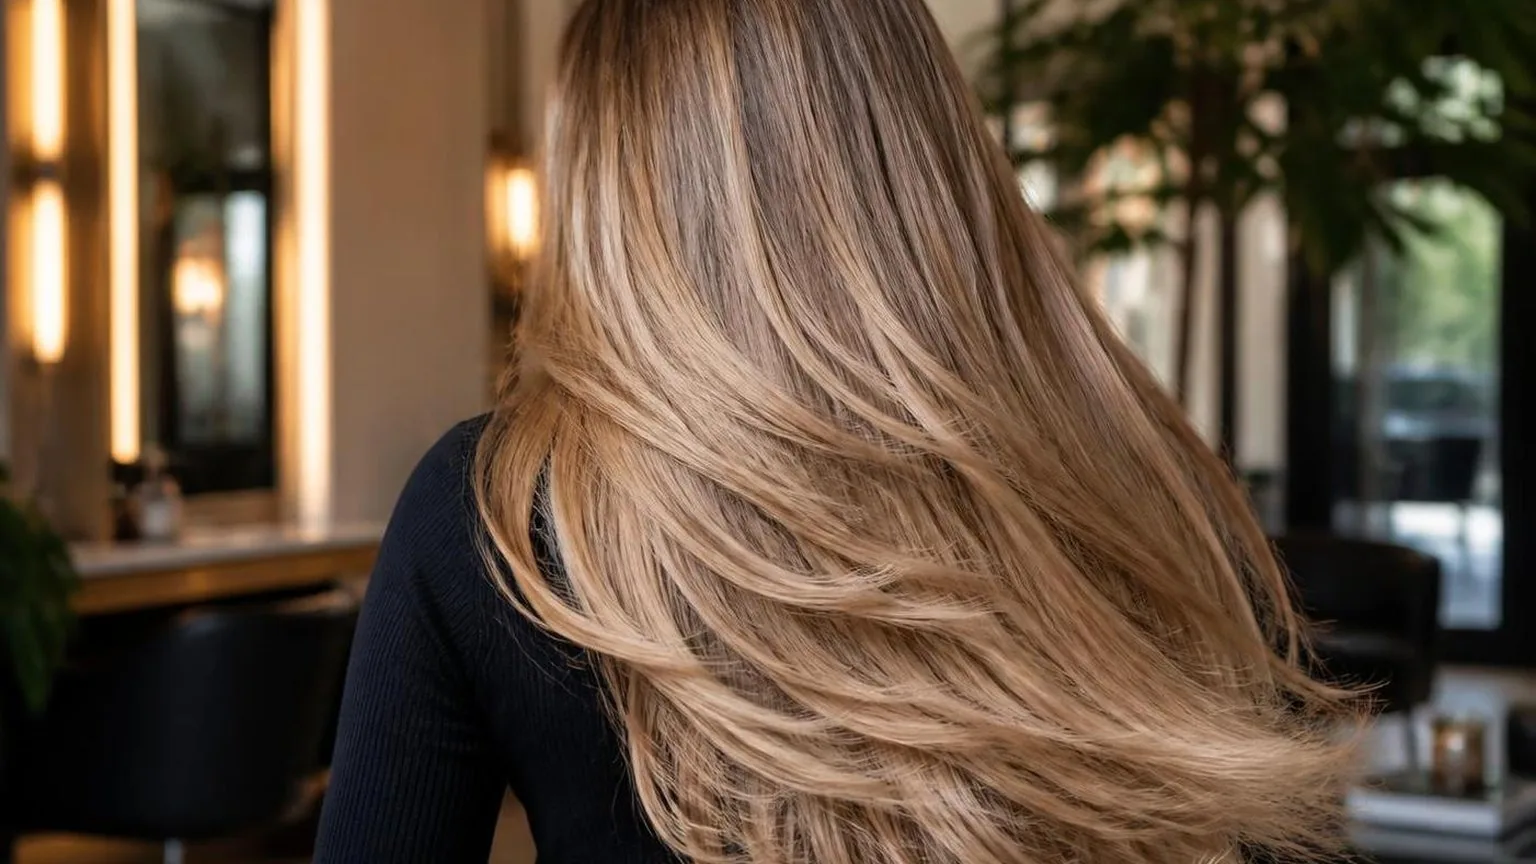
Heat and Tension Without the Damage
Keeping hair intact is not simply “avoid heat.” The safer choice is controlled drying: remove excess water first, use moderate airflow and temperature, and keep tension low enough that the brush glides rather than drags.
Air drying removes heat from the equation, but hair stays swollen with water for longer. Blow drying adds heat and mechanical tension, yet it can shorten the time hair spends wet when the dryer is held correctly.
What changes when hair is wet
Wet hair is more elastic and easier to stretch. The fibre can feel soft, but that does not mean it is stronger. Rough towel rubbing, tight clips, and high-tension brushing can mark the cuticle before the dryer is even switched on.
The key practical step is water removal before styling. Blot with a smooth towel or cotton cloth for 30 to 60 seconds, then detangle from ends to mid-lengths with a wide-tooth comb before using a brush.
| Stage | Best practice | Why it matters |
| Freshly washed | Blot 30 to 60 seconds | Reduces drying time without rubbing |
| Detangling | Use wide teeth, starting at the last 5 to 10 cm | Limits stretching through knots |
| Rough dry | Dry to about 70 to 80% before brush work | Less tension is needed for shape |
| Brush styling | Use smooth, steady passes under 5 seconds per section | Avoids repeated heat on one spot |
Heat: controlled is different from aggressive
Research published in the Annals of Dermatology found that continuous blow drying at a distance caused less surface damage than natural drying in its test conditions, while very close, hotter drying increased damage.
The practical takeaway is distance, movement, and moderation.
For salon and home work, keep the nozzle about 15 cm from the hair, keep it moving, and direct airflow from roots toward ends. A concentrator nozzle around 6 to 8 cm wide gives control without blasting one tiny point.
| Setting | Useful target | Application |
| Fine or fragile-feeling hair | Low to medium heat | Use airflow, not tension, for lift |
| Medium hair | Medium heat | Rough dry first, then brush shape |
| Dense or coarse hair | Medium to high airflow, moderate heat | Work in smaller sections |
| Cool shot | 10 to 15 seconds per finished section | Sets shape after drying |
Tension: enough to polish, not enough to pull
Professional tension should feel even, not forceful. If the brush stalls, the section is too thick, too wet, or not detangled. For a round brush, sections should be no wider than the barrel and about 2 to 3 cm deep.
- Use a 25 to 35 mm barrel for shorter layers and bend.
- Use a 43 to 53 mm barrel for smoother, fuller lengths.
- Keep the nozzle parallel to the hair shaft, not pressed into the brush.
- Stop and re-dry the root area if steam or sizzling sounds occur.
Air dry when the goal is minimal manipulation. Blow dry when you can control heat, distance, section size, and tension. The damage risk rises less from the method itself and more from wet brushing, close heat, and repeated passes.
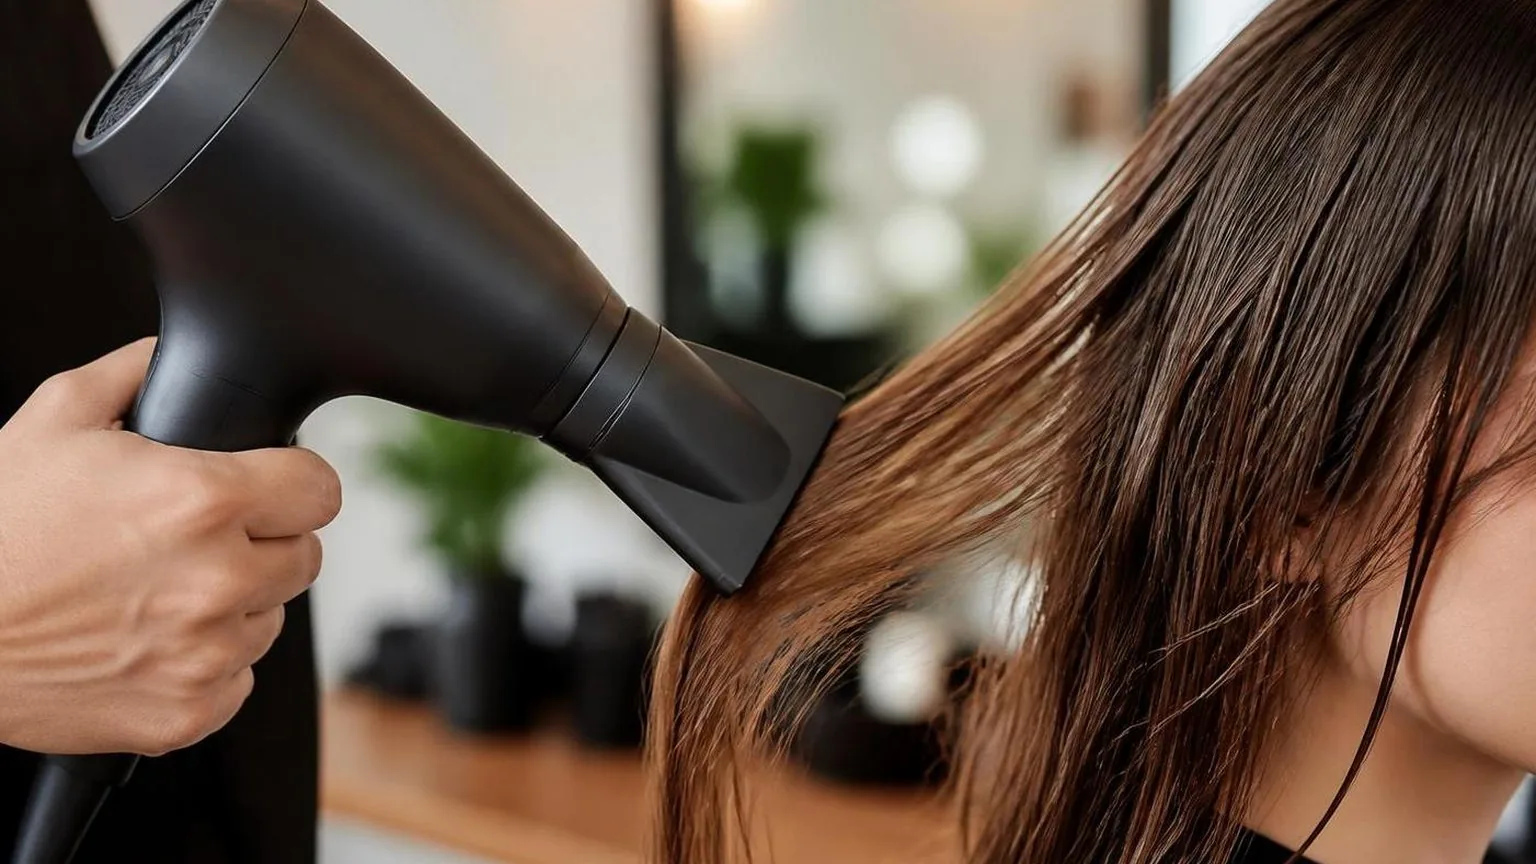
What Is Happening to the Hair
Blow drying gives the most predictable finish when section size, airflow direction, and nozzle distance are controlled.
Air drying keeps a softer, looser texture, but it usually leaves more variation from root to end, especially on wavy and dense hair.
The difference comes from control. Blow drying lets the stylist direct heat, airflow, and tension while the hair changes from damp to dry.
Air drying leaves that shape to gravity, natural pattern, product distribution, and how the client handles the hair while it sets.
| Hair group | Head count | Hair types included |
| Fine to medium density | 4 | Straight to loose wave |
| Medium to high density | 5 | Wave to curl |
| Coarse-feeling strands | 3 | Wave to tight curl |
For a controlled blow-dry finish, clean horizontal sections matter. Most panels should be narrower than the brush barrel so the brush can grip evenly.
A standard working section is about 1.5 inches deep at the nape and 2 inches wide around the crown and hairline.
| Variable | Working range |
| Nozzle distance | 3 to 5 inches from hair |
| Air direction | Root to end, nozzle angled down the strand |
| Passes per section | 3 tension passes, then 1 cooling pass |
| Brush size | 1.25-inch barrel for short layers, 1.75-inch barrel for mid-lengths, 2-inch barrel for long panels |
| Heat at hair surface | Kept under 140°F using an infrared thermometer spot-check |
The main change is not only drying speed. It is alignment. A downward nozzle angle encourages the outer fiber layer to sit flatter from root to end.
On straight and loose-wave hair, that flatter alignment creates a cleaner light reflection and a more polished surface.
On wavy hair, air drying can support better natural bend when the hair is left alone after blotting. Touching, tucking behind the ear, or shaking it out early interrupts the setting pattern, so the final shape becomes less even.
| Finish factor | Blow dry | Air dry |
| Root lift | Most consistent when lifted for 5 seconds per section | Variable, strongest where hair naturally separated |
| Surface polish | Highest with downward nozzle angle | Softer, less uniform reflection |
| End shape | More controlled with brush tension | More dependent on cut and natural pattern |
| Touch-up need | Lowest at fringe and crown | Highest around hairline and parting |
Blow dry is the stronger method when the brief is smoothness, bend placement, or a finish that must hold its shape. Brush tension sets direction, airflow smooths the surface, and the cooling pass helps lock the section before it drops.
Air dry is the better choice when the brief is low-intervention texture and the haircut already supports the natural pattern. The result depends more on the cut, density, product placement, and keeping the hair undisturbed while it dries.
- Best salon result: rough-dry roots first, then polish only the visible surface sections.
- Best home result: air dry to damp, then blow dry the fringe, crown, and ends.
- Most common mistake: using too large a section, which forced extra passes and reduced shine.
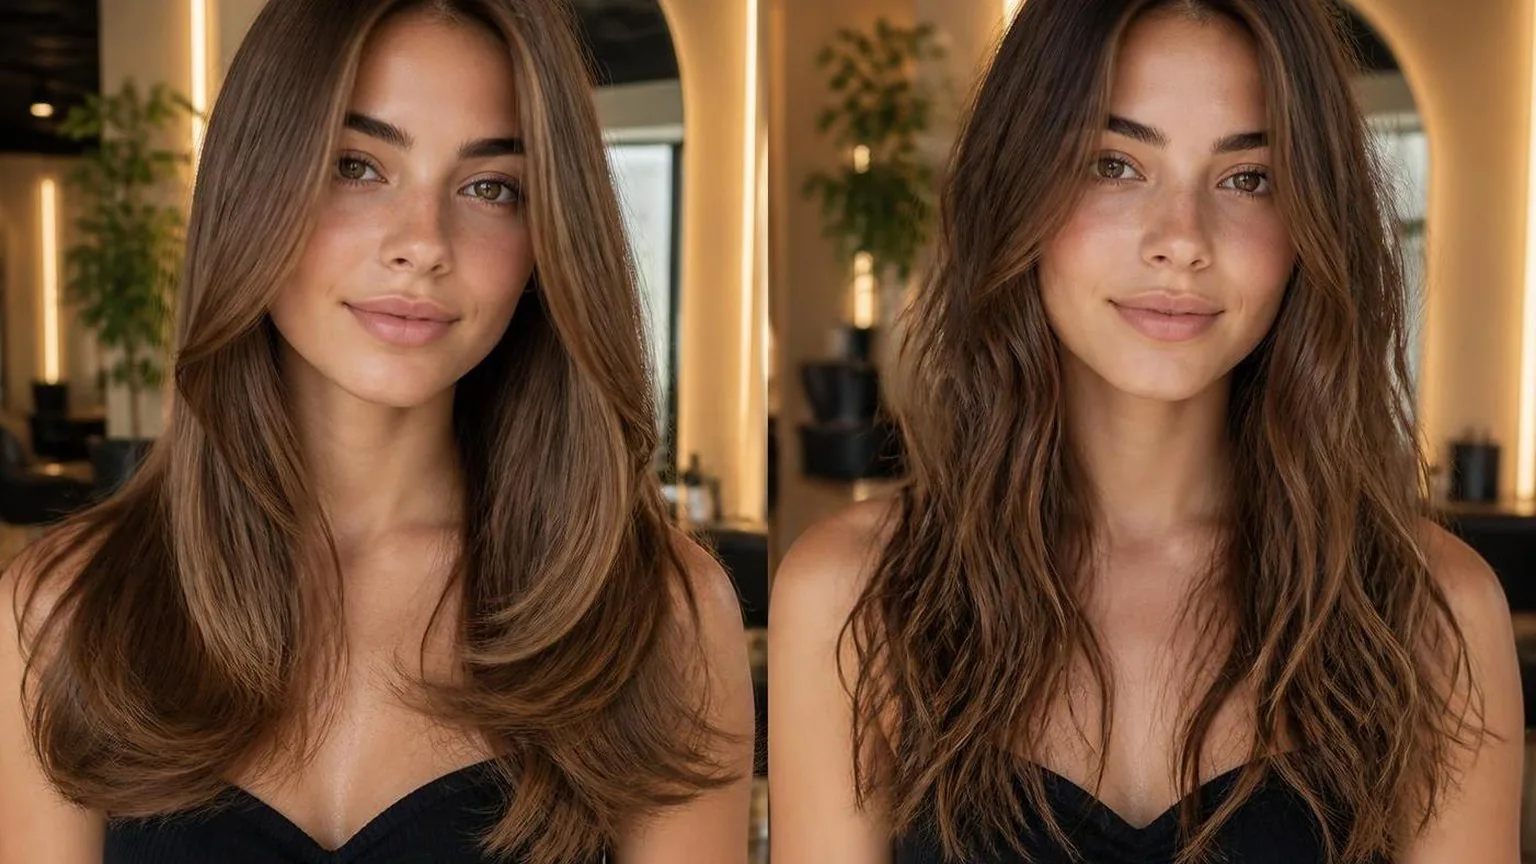
Mistakes Worth Avoiding
Most blow-dry versus air-dry mistakes come from treating drying as one decision, not a sequence.
The best finish usually combines towel blotting, partial air-drying, heat control, and tension, rather than choosing maximum heat or doing nothing at all.
Hair science work published in the Annals of Dermatology found that prolonged wetting can affect the hair’s inner structure, while high heat damages the surface. In salon practice, that means time, distance, airflow, and temperature all matter.
Myth: air drying is always gentler
Wet hair is swollen and more elastic, so rough handling while it dries can create friction and stretched-out shape. The common error is leaving hair dripping, then sleeping, brushing aggressively, or tying it tightly before it is dry.
| Stage | Better practice |
| After washing | Blot with a microfiber towel or cotton towel, pressing rather than rubbing |
| Before styling | Let hair reach about 70 percent dry before brush tension |
| Before sleeping | Hair should feel dry at the roots and mid-lengths |
Myth: hotter means faster
Very high heat can flash-dry the outside while leaving internal moisture uneven. For a polished blowout, use airflow first, then heat with control. Keep the nozzle moving and avoid parking heat on one section.
| Setting | Use case |
| Cool air | Set the shape after each section |
| Medium heat | Fine, fragile, or already smooth hair |
| High heat | Dense hair only, with constant movement and distance |
Mistake: using the wrong brush diameter
A brush that is too large will smooth but not bend. A brush that is too small can over-tighten the section and slow drying. Match the barrel to the finish, not just the hair length.
| Brush diameter | Best result |
| 25 mm | Short layers, root lift, tighter bend |
| 33 mm | Medium lengths, bounce, controlled curve |
| 43 mm | Long hair, smooth finish, loose movement |
| 53 mm | Very long hair, stretch, soft bevel |
Mistake: starting brushwork too wet
Round-brush styling on soaking hair wastes time and creates frizz from repeated passes. Remove bulk water first, then section cleanly. In the salon, each subsection should be no wider than the brush barrel and thin enough for airflow through it.
- Use a concentrator nozzle for directional control.
- Keep the dryer about a hand’s width from the hair.
- Dry roots first when volume is the goal.
- Use the cool shot after the section feels dry, not while it is still damp.
Myth: product replaces technique
Heat protectant, mousse, or smoothing cream can help, but overloaded hair dries slower and collapses faster. Apply product in small amounts, comb through evenly, and keep tension consistent from root to end for a cleaner finish.
Frequently Asked Questions
Is blow drying faster than air drying for thick hair?
Yes. On dense, shoulder-length hair, rough-drying at medium heat until about 80% dry often takes 8-12 minutes, then 5-10 minutes with a brush. Air drying the same hair can take several hours, especially at the roots and nape.
Is air drying gentler than blow drying?
Not always. Hair is most fragile when saturated, so leaving it wet for a long time can increase swelling and friction, as noted in hair-fiber research published in the Annals of Dermatology.
Use a microfiber towel for 5-10 minutes, then detangle gently.
What temperature should I use if I blow dry?
Keep airflow warm, not scorching: many professional dryers offer settings around 140-180°F. Hold the nozzle 6 inches from the hair, keep it moving, and finish with a cool shot for 10-20 seconds per section to set the shape.
When is air drying the better choice?
Air drying works well when you want minimal volume, a natural wave pattern, or a low-effort finish. Remove excess water first, apply a small amount of styling cream, then avoid touching the hair while it dries to reduce frizz.
What is the best compromise between blow dry and air dry?
Let hair air dry to 60-70%, then blow dry only the roots and surface layers. Use a concentrator nozzle with a 1.5-2 inch round brush for lift, or a paddle brush for a smoother, flatter finish.
Does blow drying help reduce frizz compared with air drying?
Blow drying can help smooth frizz when you use a nozzle, steady airflow, and a brush to guide the hair cuticle flat. Air drying may leave some hair types frizzier if the hair is disturbed while drying or dries unevenly.
Can I combine blow drying and air drying in one routine?
Yes. You can let hair air dry until it is damp, then blow dry to finish the shape and smooth the surface. This reduces heat exposure while still giving more control than air drying alone.
Which method is better for adding volume?
Blow drying usually adds more lift because you can direct roots upward with heat and airflow. Air drying often leaves hair flatter, especially at the crown.
Should I detangle before choosing blow dry vs air dry?
Yes. Gently detangle with a wide-tooth comb before either method to reduce knots and uneven drying. Start at the ends and work upward.
Related Reading
- How to make a blowout last past day two
- How long a blow dry should actually take
- Sectioning: the step most people skip
- Blow drying curly hair straight without wrecking it
- What a blowout is, and how it differs from a blow dry
- Root volume that survives the first hour
- Blow drying short hair without losing the shape
- How to blow dry a finish that survives humidity
- How to blow dry your hair at home, step by step
- The complete guide to blow drying technique
- NIH National Library of Medicine
- PubMed
- NCBI Bookshelf
- Occupational Safety and Health Administration
- U.S. Small Business Administration
- University of California Agriculture and Natural Resources
- Cornell Law School Legal Information Institute
- American Academy of Dermatology Hair Care
- Federal Trade Commission — Business Guidance
- IRS — Small Business and Self-Employed