
Dial In Your Smoothing Pass
Before drying your whole head, use one hidden section to choose your brush, section size and airflow. Your target is a smooth, fully dry strand without repeatedly heating the same patch.
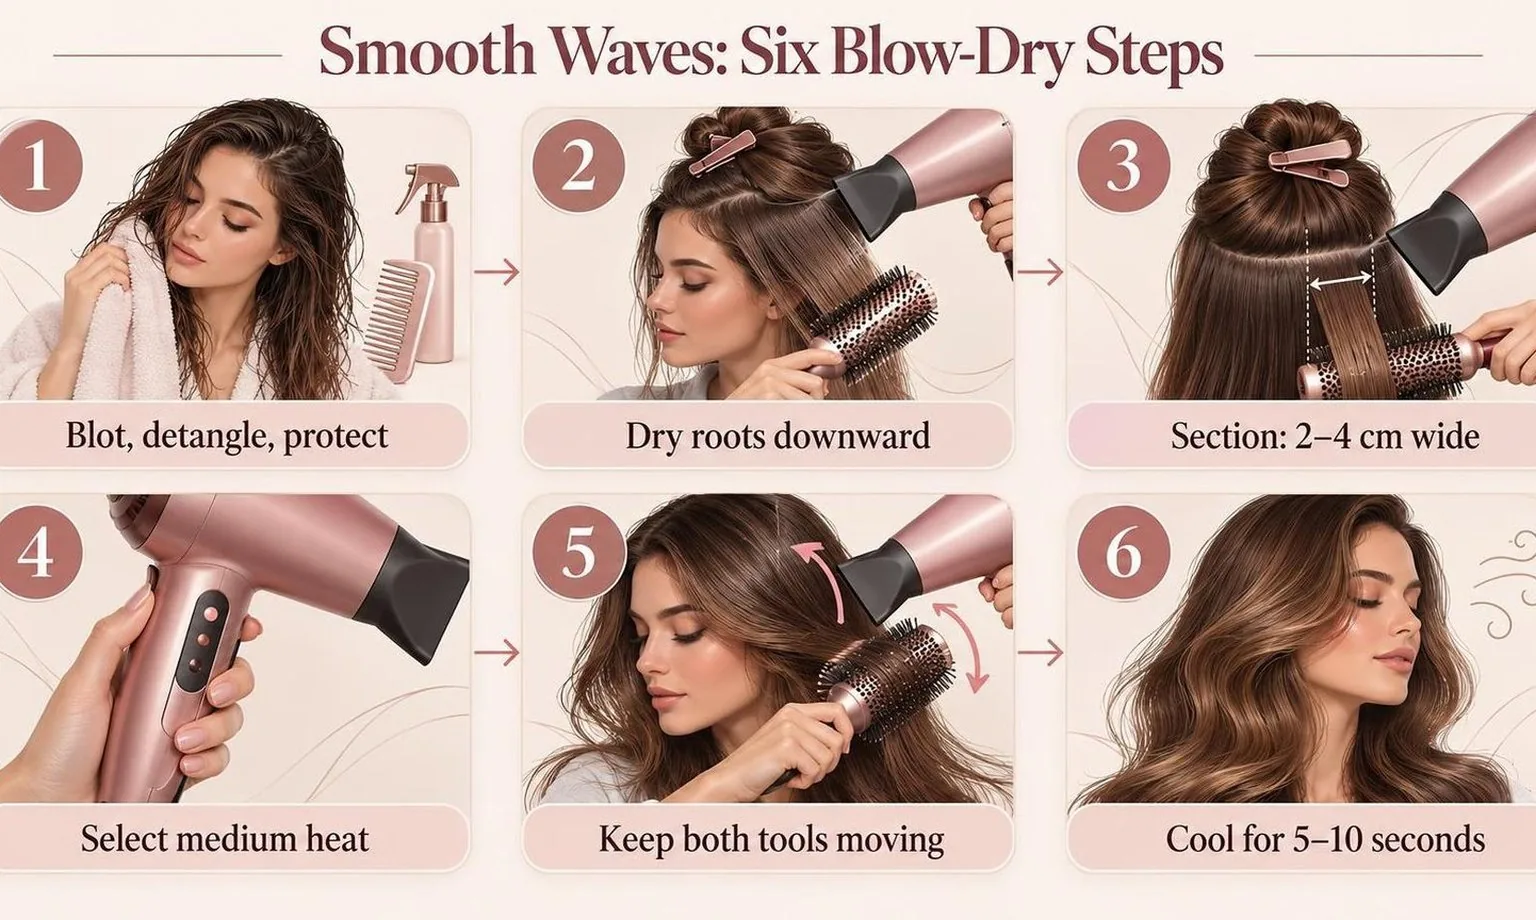
Blot out drips, detangle gently and apply heat protectant according to its label. Dry the roots first, directing air downward. Start brush work while the lengths still feel damp, not wet enough to release droplets when squeezed.
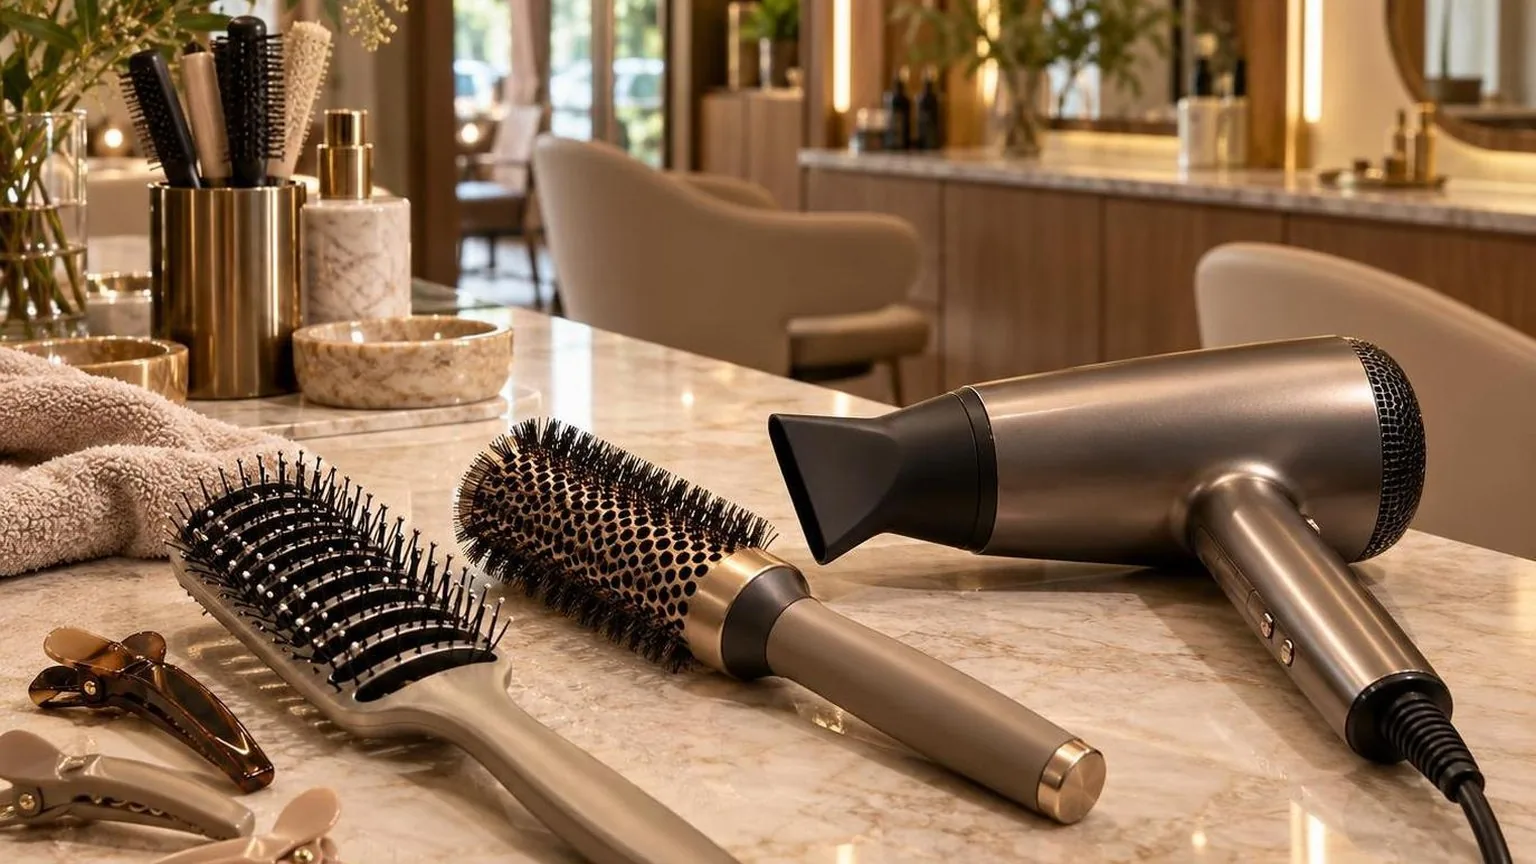
Choose your starting setup below. Brush measurements refer to barrel diameter, excluding bristles. These are starting points, not required purchases; use the nearest size in your kit.
| Your hair or challenge | Starting setup |
|---|---|
| Above-shoulder waves | Use a 25–35 mm round brush and sections approximately 3 cm wide. |
| Shoulder-length or longer waves | Use a 35–45 mm round brush and sections approximately 4 cm wide. |
| Dense hair or stubborn bends | Keep your chosen brush; reduce each section to approximately 1 cm thick. |
Take your trial section near the nape. Select medium heat and controlled airflow. Point the concentrator from roots toward ends, roughly 5 cm from the hair. Keep both brush and dryer moving; never rest the nozzle against the barrel.
Cool the section for 5–10 seconds, then release it. If the underside feels damp, make the next section thinner. If it feels dry but looks fluffy, improve downward airflow and steady brush tension before increasing heat.
Repeat your successful setup across the head.
What the Numbers Actually Say
The strongest numbers describe drying conditions, not a guaranteed recipe for smooth waves.
Laboratory evidence supports keeping a moving dryer away from the hair, but it does not establish a universal heat setting, brush size, or drying percentage that produces the smoothest finish.
What controlled testing measured
In “Hair Shaft Damage from Heat and Drying Time of Hair Dryer,” Lee and colleagues compared untreated hair samples under different drying conditions.
Published in Annals of Dermatology, the study repeated washing and drying for 30 cycles and examined structural changes.
| Dryer distance | Reported temperature | Exposure per cycle |
| 15 cm | 47°C | 60 seconds |
| 10 cm | 61°C | 30 seconds |
| 5 cm | 95°C | 15 seconds |
Surface damage increased as temperature rose. However, distance, temperature, and exposure time changed together, so this was not an isolated test of temperature. The results cannot tell you exactly how long your particular waves should take to dry.
The researchers concluded that drying at the greatest tested distance, with continuous movement, caused less damage than natural drying under their experimental conditions.
That finding concerns structural damage, not salon smoothness, shine ratings, or how well a blowout survives humidity.
Translate the evidence into technique
Use the study as a reason to avoid parking a hot nozzle against a section. Keep airflow moving from roots toward ends, and create control with manageable sections and steady brush tension rather than concentrated heat.
The following dimensions are practical starting points, not study-validated thresholds. Barrel diameter means the brush body, not the span across its bristles.
Adjust section size downward when the interior remains damp or the brush cannot grip the full section evenly.
| Variable | Starting point | Purpose |
| Working section width | 2–4 cm | Keep strands evenly supported across the brush. |
| Round-brush barrel for shoulder-length hair | 35–45 mm | Guide waves into a smooth shape with a gentle bend. |
| Nozzle distance | Approximately 15 cm where practical | Use the study’s lower-temperature distance as a reference, not a guarantee. |
Skip unsupported precision
Claims that hair must be a particular percentage dry before brushing lack a reliable at-home measurement. Remove dripping moisture first, then begin controlled shaping while the waves remain damp enough to redirect.
Waiting until they have dried into their natural pattern makes reshaping harder.
- Follow the dryer manufacturer’s instructions; temperature labels do not establish the temperature reaching your hair.
- Check the section’s interior before moving on. A smooth surface can conceal damp strands underneath.
- Finish with cool airflow, then release the brush after the section cools. Judge readiness by dryness and shape, not a fixed countdown.
What Changes the Result
Smoothness depends on how much water remains, how evenly you tension each section, and whether airflow follows the hair toward the ends.
Wave strength, strand thickness, existing wear, and humidity change how much control you need; higher heat alone does not solve them.
Starting moisture and section size
Remove excess water by squeezing with a towel rather than rubbing. Begin controlled brush work while the hair remains damp and flexible. Stronger waves need direction earlier; leaving them to dry into their natural pattern makes reshaping harder.
Use these dimensions as practical starting points, not tested thresholds. Reduce section size whenever the brush cannot grip the whole section evenly or the underside stays damp.
| Variable | Starting point | What changes |
| Section thickness | Approximately 1 cm for dense hair; up to 2 cm for less-dense hair. | Thinner sections make it easier to dry the interior evenly. |
| Round-brush barrel diameter | Approximately 25–35 mm for shorter lengths; 40–50 mm for longer lengths. | Smaller barrels create more bend; larger barrels generally produce a straighter-looking finish. |
| Cooling time | Start with 5–10 seconds per section, extending until the hair feels cool. | Hold the shape under light tension instead of releasing it while hot. |
Airflow, tension, and temperature
Fit the concentrator and direct airflow from roots toward ends. Keep the dryer moving with the brush rather than pointing back up the section.
Maintain enough tension to align the strands, without pulling painfully or trapping the ends against a hot barrel.
Choose the lowest heat that dries the section efficiently. Outlet temperature is not hair temperature: distance, airflow, movement, and the amount of water present all affect exposure. A hot setting cannot compensate for an overloaded brush.
Laboratory research titled Hair Shaft Damage from Heat and Drying Time of Hair Dryer found greater surface damage under hotter, closer drying conditions.
It supports controlling heat exposure, not treating any single dryer setting as universally safe.
Dryness, product load, and humidity
Check the roots, nape, and underside before finishing. Let each section cool, then feel for remaining dampness. Cooling does not replace drying; moisture left inside a section allows the wave to reappear after the outside looks smooth.
Spread a lightweight styling product evenly through damp lengths, following its directions. Start sparingly on fine strands.
More product can weigh down movement or leave a coated finish; it does not substitute for controlled airflow and complete drying.
Humidity can disrupt the temporary shape created by blow-drying. An anti-humidity finishing product may help, but it cannot guarantee a straight finish.
The American Academy of Dermatology’s Hair styling without damage guidance also recommends partial air-drying to reduce dryer exposure.
How to Judge It on Real Hair
Judge a smooth blow-dry by whether the roots, mid-lengths and ends stay aligned after the hair cools, not by shine alone.
Wavy hair should feel dry throughout, move freely and retain the intended shape without immediately developing ripples underneath.
Use a Repeatable Test Section
Choose an underneath section near the nape, where surface polish cannot disguise unfinished waves.
Detangle it, apply your usual heat protectant according to its label, and dry it with consistent brush tension and airflow directed from roots towards ends.
Use these practical starting points for shoulder-length hair. They standardise your test rather than establish universal settings; density, length and the strength of the wave will change what works.
| Variable | Starting point | What to check |
| Section width | 2–3 cm | Every strand stays supported on the brush. |
| Section depth | About 1 cm | The interior dries, not only the outer surface. |
| Round-brush barrel diameter | 35–45 mm | The brush smooths the length without creating an unwanted tight bend. |
| Cool-air finish | 10–15 seconds, then check | The section feels cool before release. |
| Settling time | 10 minutes | Check for returning waves before adding finishing product. |
Inspect More Than the Top Layer
- Roots: Lift the top layers and inspect underneath. A persistent ridge suggests that the root area needs more controlled drying, not more polishing of the ends.
- Mid-lengths: Look along the section in side lighting. A continuous outline shows alignment; scattered flyaways alone do not prove the blow-dry failed.
- Ends: Release the brush and let the hair fall. Ends should separate and swing rather than remain stuck together by finishing product.
- Touch: Check inside the section once it cools. A distinctly damp feel means drying is incomplete; coolness by itself does not establish remaining moisture.
Change the Technique Before Raising Heat
If waves return underneath, try a thinner section and steady, comfortable tension. Keep the nozzle moving along the hair rather than holding it against the brush. Stop if the airflow feels painfully hot or the brush pulls uncomfortably.
The American Academy of Dermatology’s “How to stop damaging your hair” recommends the lowest heat setting when using a blow-dryer.
A dryer’s setting does not establish a universal hair temperature: distance, airflow and movement affect exposure.
Photograph the result in the same lighting before and after the settling period. Record the products and settings used.
Judge repeatability across washes, and note humid conditions separately: a successful indoor finish does not establish all-weather durability.
Weighed Against What Else Is Used
A dryer with a concentrator and brush gives wavy hair a smoother finish while preserving more movement than a flat iron.
Compared with a diffuser, it prioritises alignment over wave definition; compared with a hot-air brush, it offers independent control of airflow, tension and brush position.
Match the tool to the finish
The dimensions below are practical starting points, not manufacturer specifications or experimentally established limits.
Choose by hair length and section density: the brush must hold the section securely without trapping the ends or requiring repeated passes.
| Method | Starting setup | Main trade-off |
| Dryer and round brush | Approximately 35–45 mm barrel for shoulder-length hair; 45–55 mm for longer hair. | Creates smoothness with bend, but requires coordination. |
| Dryer and paddle brush | Sections approximately 3–5 cm wide, thin enough for air to penetrate. | Produces a flatter finish with less deliberate end curvature. |
| Hot-air brush | Sections approximately 2–4 cm wide; follow the tool’s damp-hair instructions. | Simplifies handling but combines brush position and airflow direction. |
| Flat iron after drying | Sections approximately 2–3 cm wide; use only on fully dry hair. | Refines remaining bends but adds direct-contact heat. |
Round brush versus paddle brush
A round brush suits a smooth blowout with lifted roots and turned ends. A paddle brush suits a straighter silhouette. Neither removes the need for controlled tension: loosely draped strands can dry with their original bends still visible.
Choose a manageable section, place the brush beneath it and direct the concentrator from roots towards ends. Keep the dryer moving with the brush.
Avoid pressing the nozzle against the hair or barrel; contact can concentrate heat without improving control.
Hot-air brush versus separate dryer
A hot-air brush reduces the coordination needed to handle separate tools. Its limitation is access: a bulky head can make short roots, fringes and the nape harder to control.
A separate concentrator lets the stylist change airflow direction without changing the brush angle.
Check the appliance instructions before choosing a starting moisture level. Hot-air stylers differ in whether they accept wet, towel-dried or nearly dry hair. Do not assume a heated brush without airflow can dry damp hair.
Diffuser or flat-iron finish?
A diffuser spreads airflow and helps preserve the existing wave pattern; it is not the most direct route to a stretched finish. Use it when definition matters more than straightness.
A flat iron can refine isolated bends after drying. The American Academy of Dermatology’s “Hair styling without damage” recommends using flat irons on dry hair at low or medium heat.
That supports selective finishing, not automatically adding an ironing pass to every blowout.
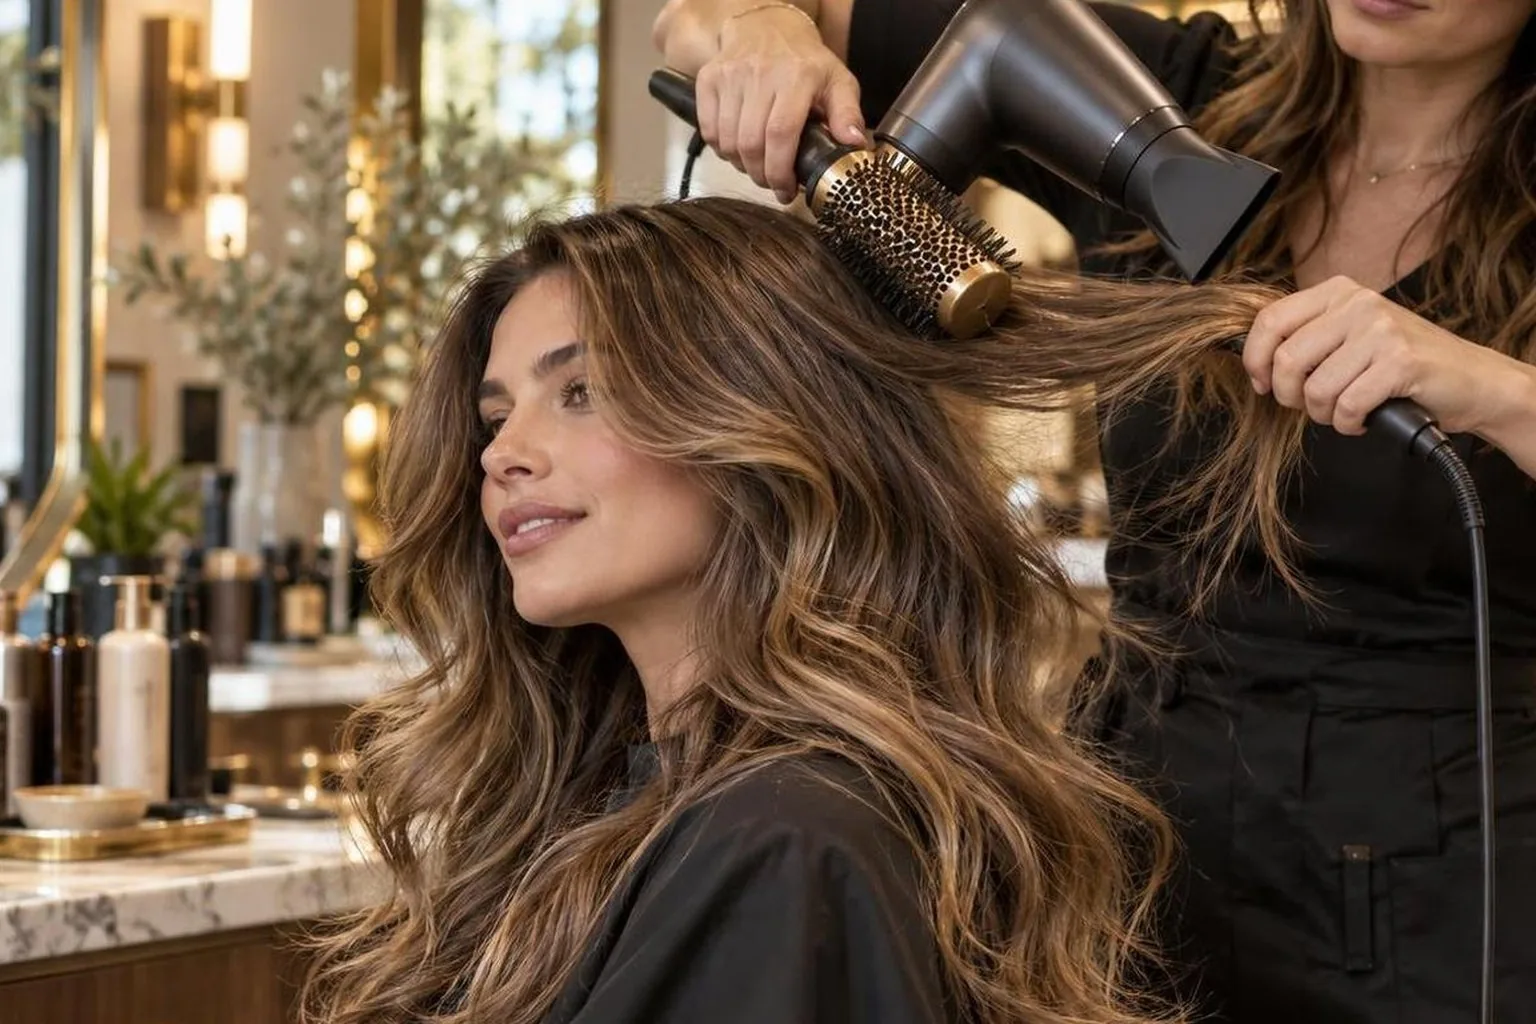
Holding Condition While You Work
Keep wavy hair pliable with rinse-out conditioner, a light leave-in where needed, and heat protectant applied before drying.
Preserve that slip by working in controlled sections, keeping airflow moving, and stopping when each section feels dry rather than repeatedly reheating it.
Prepare Slip Without Saturating
Distribute conditioner through the lengths and ends, then rinse according to its instructions. Blot with a towel instead of rubbing.
Detangle gently from the ends upward before introducing brush tension; knots interrupt the smooth movement needed to stretch a wave evenly.
The American Academy of Dermatology’s “Hair styling without damage” guidance supports using conditioner, limiting excessive heat, and allowing partial air-drying.
These are handling principles, not a guarantee that a particular product will prevent heat damage.
Apply heat protectant as its label directs, covering the underside as well as the surface. If your leave-in also provides labelled heat protection, check whether another product is necessary.
Layering several rich formulas can leave the finished lengths coated rather than supple.
Control the Working Section
Use these practical starting points, adjusting section size to density and brush grip. They are technique settings, not universal limits or manufacturer specifications.
| Control | Starting point | Purpose |
| Section width | About 3 cm | Keep the section narrow enough for even brush contact. |
| Round-brush barrel | Approximately 35–45 mm for shoulder-length hair | Support tension while retaining a gentle bend. |
| Dryer distance | About 15 cm from the hair | Maintain separation and keep the dryer moving. |
| Cooling pass | Start with 5 seconds | Check that the section has cooled before releasing tension. |
The paper “Hair Shaft Damage from Heat and Drying Time of Hair Dryer,” published in Annals of Dermatology, examined drying distance and temperature.
Its findings support distance and continuous movement; they do not establish a universally safe dryer setting for every head of hair.
Use the lowest heat setting that dries the section effectively. A dryer’s setting is not a reliable measurement of hair temperature: distance, airflow, attachment, and movement change exposure.
Keep the nozzle pointing along the hair toward the ends, without touching the brush or strands.
Correct Drag Before Adding Heat
- If the brush catches, stop and release the section. Detangle or reduce its size rather than pulling harder.
- If the ends feel coated, do not add more serum. Finish drying, then reassess the texture.
- If a section is dry but still wavy, improve section control rather than continuing hot passes without a plan.
Keep completed sections separate from damp hair. Let them cool before brushing through or gathering them together. Apply finishing product sparingly to the ends only if they need extra slip; it cannot substitute for controlled drying.
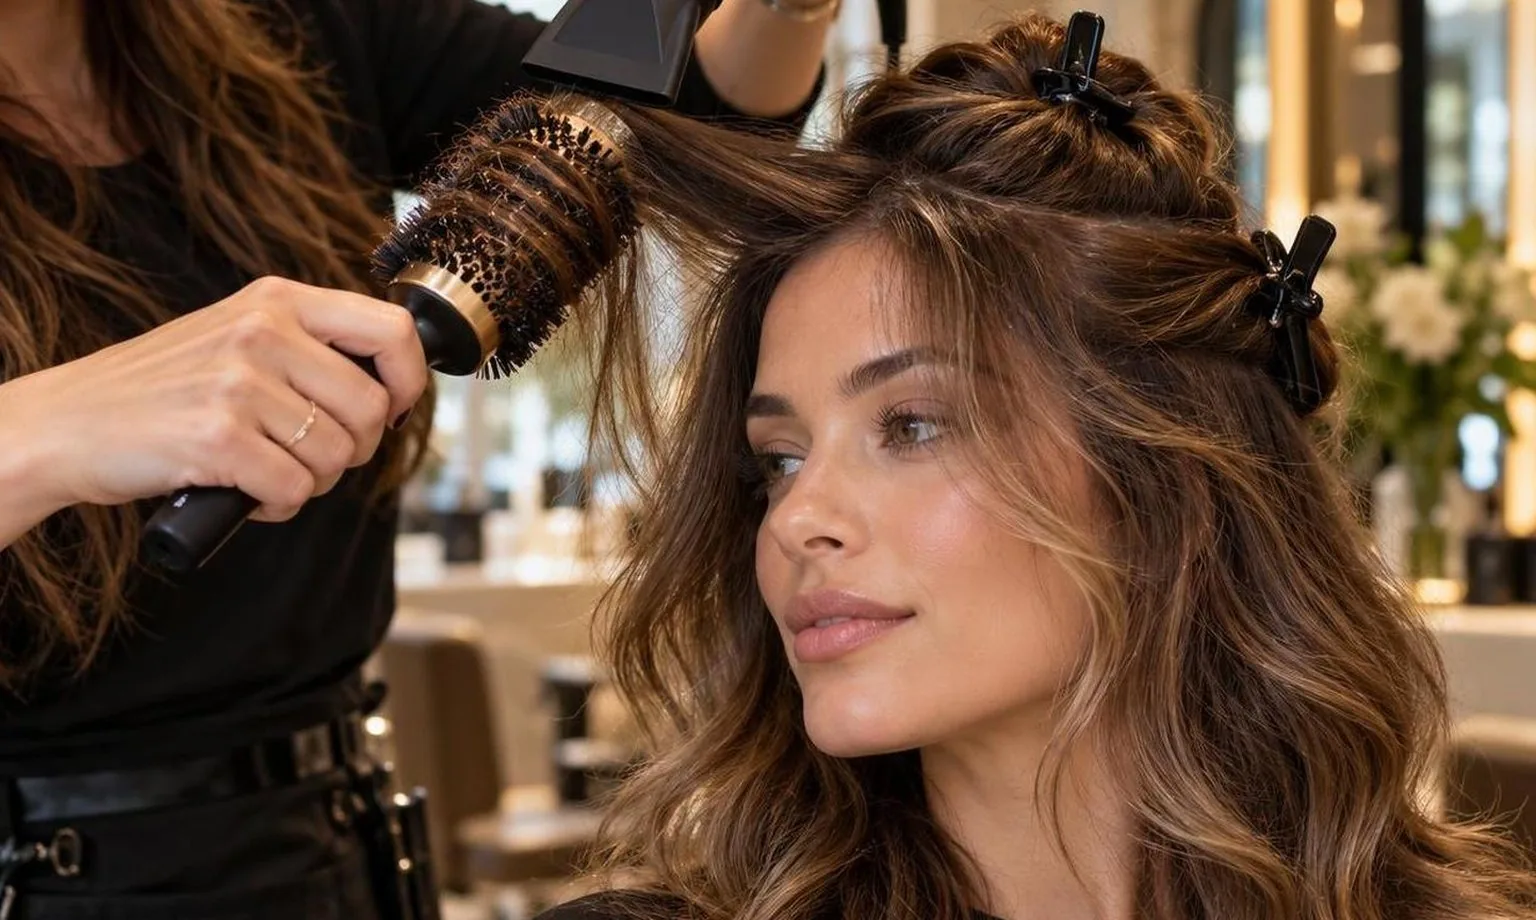
The Mechanism, Step by Step
Smoothing wavy hair depends on drying it under controlled tension, with airflow following the strand towards the ends. Water temporarily disrupts hydrogen bonding within hair; as moisture leaves, bonds reform in the shape imposed by the brush.
Remove excess water before adding tension
Blot rather than rub, then detangle from the ends upwards. Rubbing increases tangling and separates strands that need to lie together.
Begin with moving airflow and finger control; introduce the brush when hair remains evenly damp but no longer releases droplets when gently squeezed.
Avoid drying the lengths completely before shaping them. Once a wave has dried into its original pattern, pulling harder adds friction without reliably resetting it. Lightly re-dampen that section instead, then restore alignment while drying.
Match the section to the brush
The following dimensions are practical starting points, not laboratory thresholds. Density, strand thickness and dryer output determine whether smaller sections or more passes are necessary.
| Variable | Starting point | Why it matters |
| Section width | 3–4 cm | A manageable ribbon keeps strands aligned rather than spilling beyond the working surface. |
| Section depth | About 1 cm | A shallow layer exposes the interior to airflow, reducing damp pockets beneath a dry surface. |
| Round-brush barrel | 35–45 mm for shoulder-length hair | This diameter supports a broad bend rather than a tight curl; bristle length also affects the working diameter. |
| Nozzle clearance | Approximately 15 cm from the hair | Separation limits concentrated heating. Keep the dryer moving rather than compensating with prolonged exposure. |
| Cool-air finish | 5–10 seconds per section initially | Cooling under tension preserves alignment while the section loses warmth; check by touch before release. |
Direct heat through an aligned ribbon
Place the brush beneath the section and aim the concentrator from roots towards ends. Maintain enough tension to straighten the wave without pulling at the scalp. Move brush and dryer together, keeping the nozzle clear of both hair and bristles.
Root-to-tip airflow follows the overlapping orientation of cuticle scales and limits strand disturbance. It does not glue the cuticle shut.
Blow against the strand direction and loose fibres lift away from the ribbon, making the finish look less uniform.
Use the lowest heat that dries the section efficiently. There is no universal safe air-temperature setting: distance, airflow and exposure alter the heat reaching hair.
Lee and colleagues’ “Hair Shaft Damage from Heat and Drying Time of Hair Dryer,” in Annals of Dermatology, documents this relationship.
Finish drying before releasing the shape
Check the underside and root area for residual dampness, then cool while maintaining gentle tension. Cooling does not permanently seal hair; moisture removal establishes the temporary shape.
Later humidity can disrupt hydrogen bonding again, allowing the natural wave to return.
Frequently Asked Questions
How should I prepare wavy hair for a smooth blow-dry?
Blot wet hair with a microfibre towel instead of rubbing, then detangle from the ends upward. Apply a heat protectant labelled for damp hair, following its directions, and distribute it evenly before switching on the dryer.
Should I rough-dry wavy hair before using a brush?
Remove excess moisture with low-speed airflow and your fingers until hair feels damp rather than wet. Keep the airflow directed toward the ends; stop earlier around the hairline, where short waves can dry into shape before brushing.
Which brush works best for smoothing wavy hair?
Use a paddle brush for a straighter finish or a round brush for smoothness with movement.
A 45–55 mm round brush is a practical starting point for shoulder-length hair; choose a smaller barrel when shorter sections cannot wrap around it comfortably.
How small should my blow-dry sections be?
Start with sections about 2–3 cm thick and no wider than your brush. Clip away everything else, then reduce section thickness if the underside remains damp after the surface feels dry.
What dryer temperature should I use on wavy hair?
Start on low or medium heat; the American Academy of Dermatology recommends these settings when blow-drying.
There is no universal Celsius setting across dryers, so follow your tool’s instructions and reduce heat if a section feels uncomfortably hot.
Where should I point the dryer nozzle?
Fit the concentrator nozzle and aim its airflow from roots toward ends, following the brush down each section. Keep it roughly 15 cm from the hair where practical, keep it moving, and never press it against the strands or brush.
How do I straighten waves without pulling too hard?
Place the brush beneath a small section and hold it taut enough to guide the hair without tugging at the roots. Move brush and dryer together from roots to ends; use a smaller section rather than stronger pulling when waves persist.
How can I smooth the roots without losing all my volume?
Lift each crown section slightly with the brush while directing airflow along the hair rather than upward into it. Once the roots are dry, guide the lengths downward; keep the brush closer to the head where you want a flatter finish.
How do I stop the ends from looking fluffy?
Keep the ends supported on the brush instead of letting them flutter in the airflow. Use a slight inward turn for a bevelled finish, then try a 5–10-second cool shot before releasing the section.
Why does my wavy hair puff up after blow-drying?
Residual moisture and humid air can encourage waves to return. Let the hair cool, check the nape and roots for damp patches, and dry those areas before finishing with a light layer of anti-humidity product according to its label.
Related Reading
- How to blow dry a finish that survives humidity
- How long a blow dry should actually take
- Blow drying short hair without losing the shape
- What a blowout is, and how it differs from a blow dry
- Why a blow dry turns frizzy, and how to stop it
- Blow drying fine hair for volume that holds
- Refreshing a blowout on day three without water
- How to blow dry your hair at home, step by step
- Sectioning: the step most people skip
- The complete guide to blow drying technique
- PubMed: Hair Shaft Damage from Heat and Drying Time of Hair Dryer
- American Academy of Dermatology: Hair Care
- Occupational Safety and Health Administration: Electrical Safety
- U.S. Small Business Administration: Apply for Licenses and Permits
- California Board of Barbering and Cosmetology
- GOV.UK: Licence Finder
- National Hair & Beauty Federation
- PubMed — Hair Cosmetics: An Overview